Showing posts with label process. Show all posts

Saturday, September 14, 2013

[BONUS] Project Life System Day 6 - Kitting up a project life kit !

SURPRISE ! I'm adding a little something to my project life system post today! I'm sharing how i kit up a project life kit for myself! 

After finding that a studio calico kit really works well for me, i decide to go on and try to pack a kit for myself, adding embellishments that i find myself using from the studio calico kits, and eliminating those that i don't use. Of course, i'm adding stuff i put into the spreads but are out of the kit. Then, it became my own project life kits!

I started off by flipping through the project life cards i own.

I pick out some beautiful phrases card

then i pic out some journaling cards


Finally some background design cards which i can either choose to journal on or leave it like this or i can even add photos over it. I also love the transparent element that i share yesterday, hence i cut some Hambly transparency down into 3x4 . I repeat the process for 4x6 cards.

First example


This is the first kit i packed. YUMMY? :D hehe, i love love it!
There are about 36 3x4 cards and 8 4x6 cards
I added some stickers, small embellishments and etc

These are the cards

2 rolls of washi tapes

some flair buttons

and some wood veneers


Second example


I managed to find an alphabet sticker that is a small size, almost 4x6
I also think of some other products that is suitable to fit into this small cute box

Some other suggestions are these

From basic grey captured line

Dear Lizzy

Amy Tangerine Cut and Paste Line


Some close ups

Again, my favourite flairs and washi tapes

Where do i put the kit when i'm using it?


Well, I have this RATIONELL Waste sorting bin  from Ikea 

I dump the entire kit into this small bin while i'm crafting

I hang it on my trolley that sits beside me when i craft 
Awesome eh? :D


Currently the kits are sitting here nicely in my expedit
if i need to use them, i just use one of the bins and craft into them :)

Thanks for dropping by again!
Leave a comment sharing where do you get your supplies for PL. Do you get them from kit clubs? Do you get from Becky Higgins Core kits? Or do you get them from your own stash of supplies? Or maybe a combination of all. Stand a chance to win the following


Comments close end of the month and i will draw one winner from each week's comment. remember each comment entire you to one chance. So you can go back to the past post to leave a comment and share your ideas. Thanks for stopping by and do check in next week , i will be sharing organisation ideas and more giveaways!

Thursday, September 12, 2013

Project Life System Day 4 - Adding large ephemera and lots of photo into one spread

Greetings! I had a long day today. hence the late post. My apologies. Today i'm sharing spreads from August week 1. I love love love the spread! Because of lots of ephemera which i have collected over the week, during outings with my friends and etc. 

I have added tons of inserts this week. Let's see :)


The little ephemera tucked behind my photo as shared last week. This is the business card and a receipt from a new stationary store in town :)


I have added menu and brochures that i collected that day 

By adding a strip of washi tape, backed with pattern papers, and punching some holes, i can add them outside the pockets , and flip through them directly :) How awesome !


I also added this 6x8 page protectors from my studiocalico handbook collection
it fits the brochure nicely!


I backed the brochure with a transparency , to add some sturdiness and fun :)

Oh and love the ampersand paper clip from studio calico kit :D


fun photos from national day celebration

I added lots of photos to this spread, many events take place this week. But i still want them to be in one spread and not spend too much time decorating, so many of them are hidden. I used washi tape to tape 2 or more photos together and stick the last one to the card, and slip into the page pocket, the rest are left flapping outside the pocket, and anyone can flip through them :) I learnt this from Melissa Stinson , one of the garden girls in Two Peas In A Bucket, in her Project life video series :)

That's all from me today! Leave a comment and share with me what type of ephemera you love to collect them most . You don't necessary have to had used them already. Just your favourite :) My favourite is Menu, cos i love to look through my options over and over and usually they are have very nice designs! 

Remember to leave your comment after reading. Every comments is entitled to one winning chance throughout the month, for these goodies 

I have new goodies for next series of post, but comments are open until end of this month ! So do share your comments with me! Seeya tomorrow!

Wednesday, September 11, 2013

Project Life System Day 3 - Adding Small ephemera and journaling spot

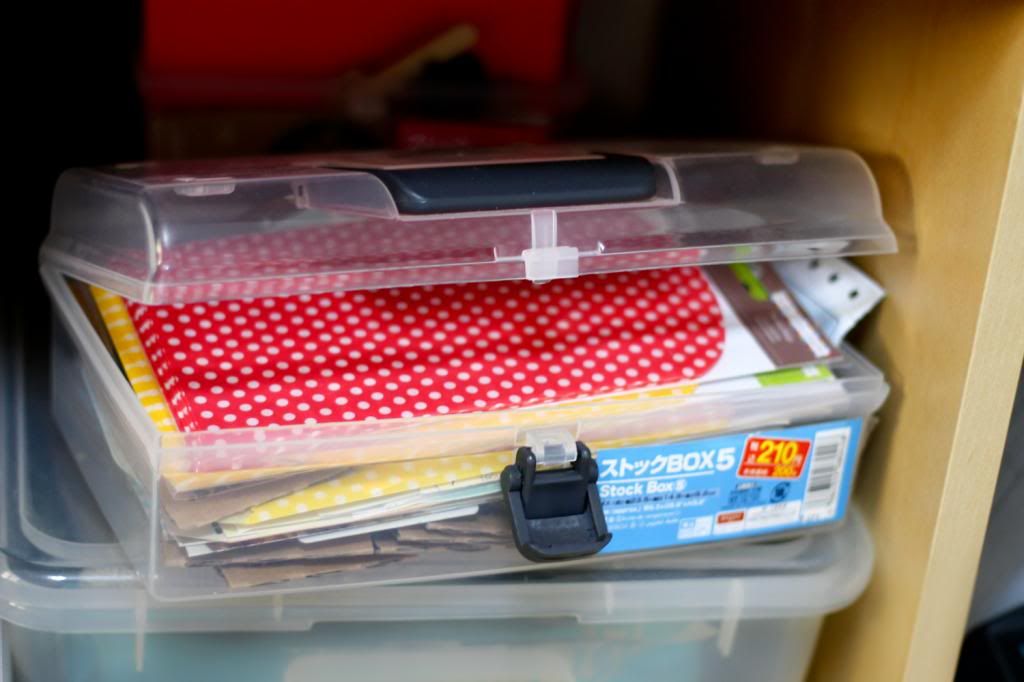
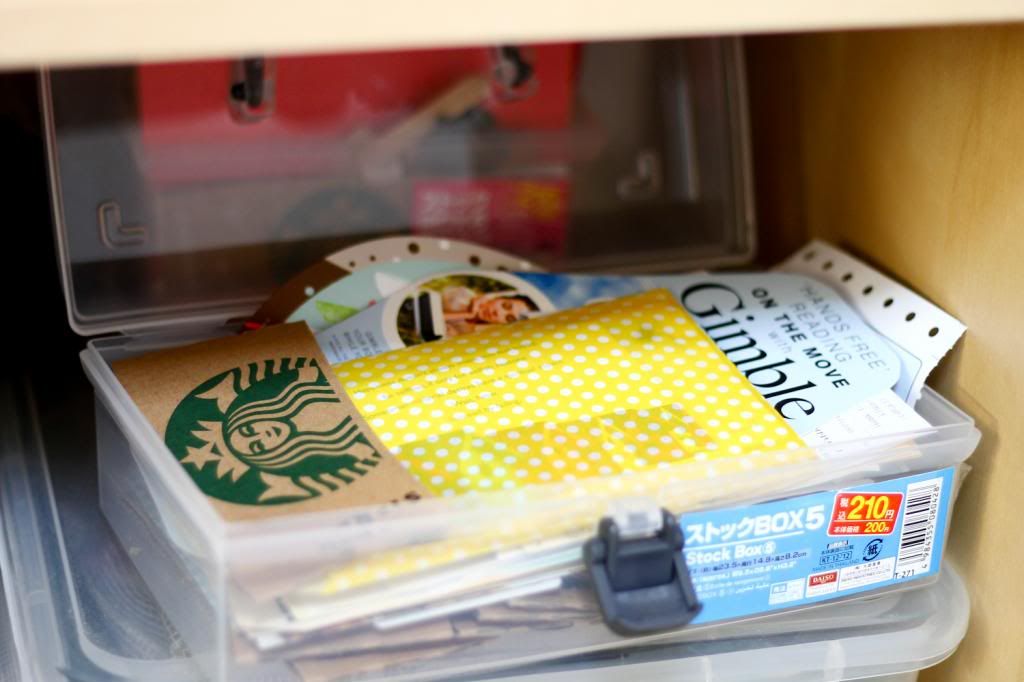
So we left off at my graduation. Today i'm sharing the spread from 16th july to 31st july. Lots of things happen in these 2 weeks, my boyfriend is back in SG so we have lots of small outings. Going out means I have alot of ephemera collected. I keep all of them in this small box i get ffrom Daiso. Not arranged, nothing. Just dump and go. this certainly motivate me to keep more of the bits and pieces of life. 
I keep some of the pebbles glassine bag together with the memorabilia
Sometimes i just grab all the receipts and put them into one  


Here are my spreads for the week 

Adding conversation screen shots
adding hidden journaling behind the photo


There are lots of inserts this week

I'm addicted to using the strings and enamel dots 
as lines to emphasize on my title


See the metal clip at the top of the bottom left pockets
those are to hold my receipts in place


\
Here is a closer look 
the metal paper clips act as a 'cue' to pull out some goodies from behind :)


I did lots of journaling this week
i copy and paste from my online journal into word document
and size it to the size i want 
and print them using my inkjet printer using normal printing paper
Then i position the pattern paper over the printed text
stick them using removable adhesive
and run it through the printer again
This way you will get perfectly aligned text :)
Thanks to a crafty friend Cassandra who taught me that 


Giveaway: 
Leave a comment below sharing with me how you keep track of your memorabilia and how do you add journaling into your pages . the giveaway closes at the end of this month. 

Thanks for joining me today. 

P.s. Here are some good reads 
Catherine Davis has a new workshop on PROCESS which i'm all signed up :) 
How can i miss it? I love systems :D