
This is a long dated post that should have been here since last week ! I have 2 more parts to add, and probably will add on to this on and off when I realise I have an updated system for myself , or when I have something new to share :) So here goes, the 4th instalment of my planner blog series.
*This is a super long post, I'm going to split it into 3-4 posts. Click on this link for all the post *

My Intentions - How do I use my planner
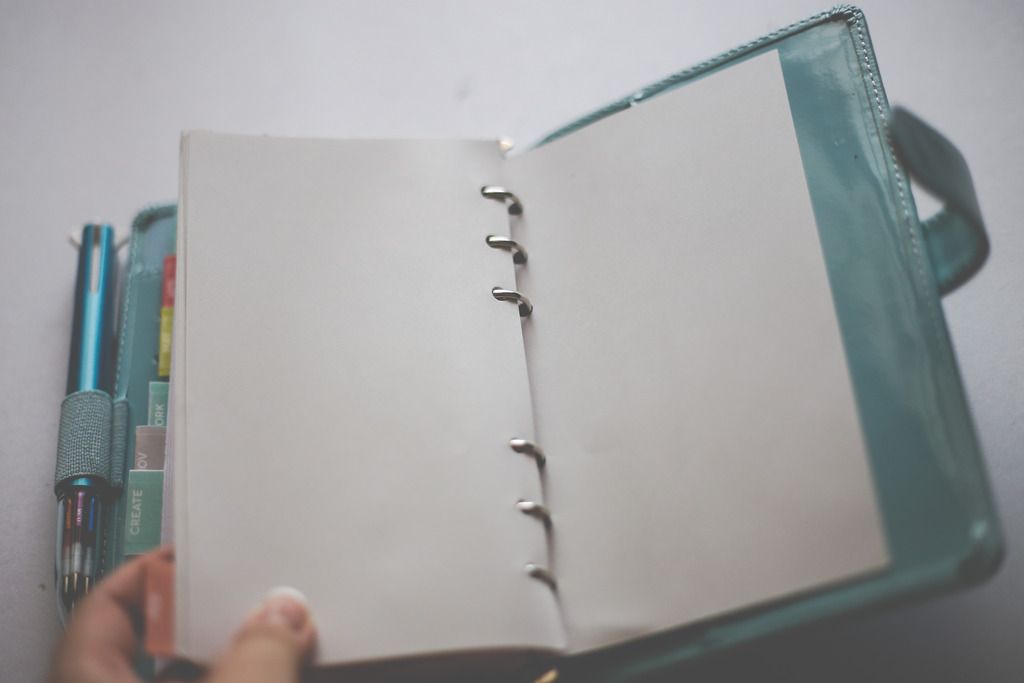
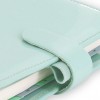
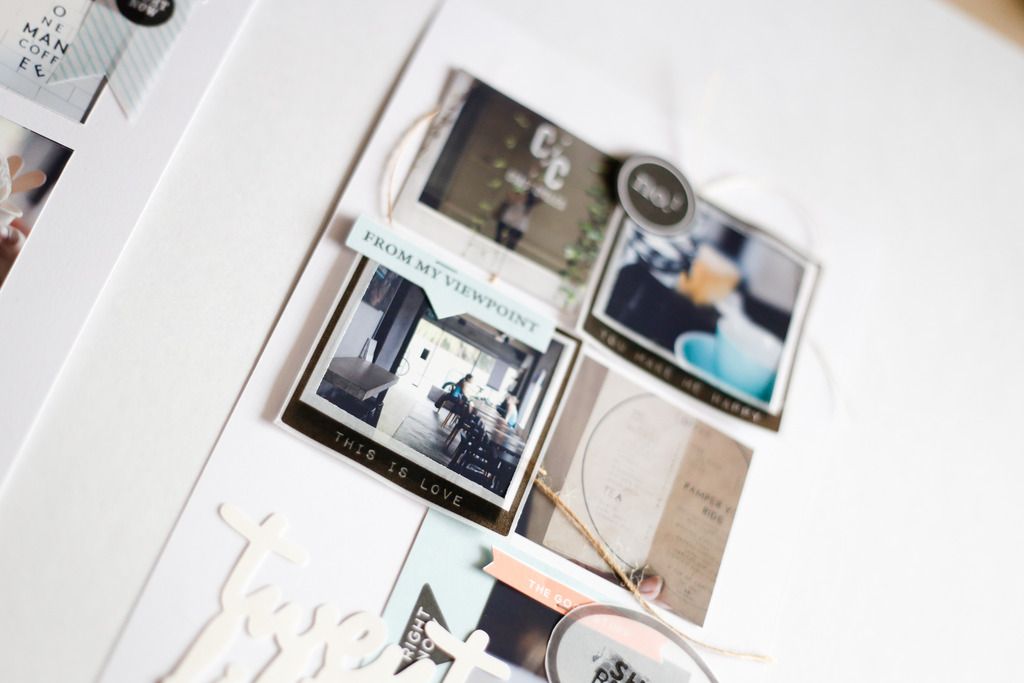
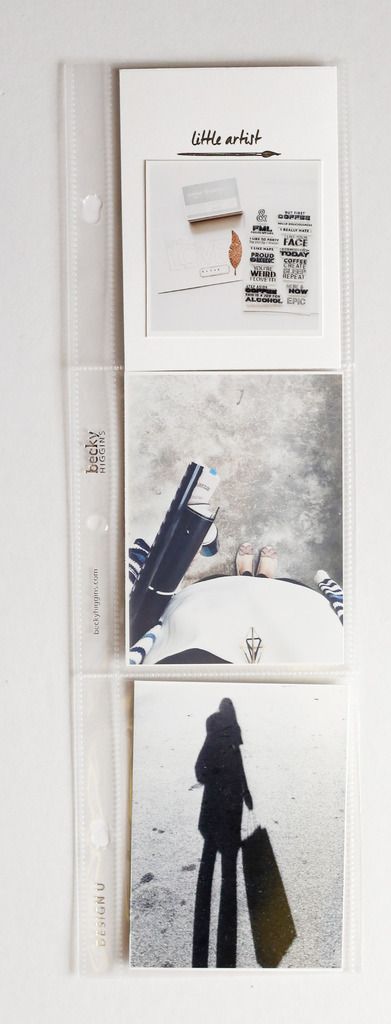
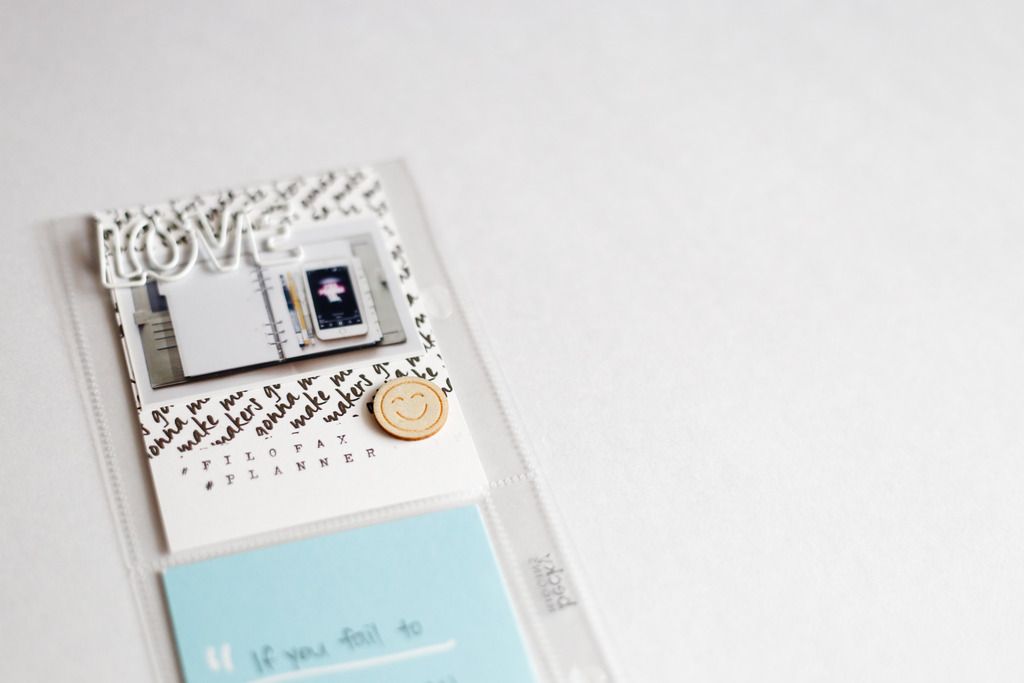
Today I share my personal planner - Patent Personal Compact Duck Egg (a minty blue color)
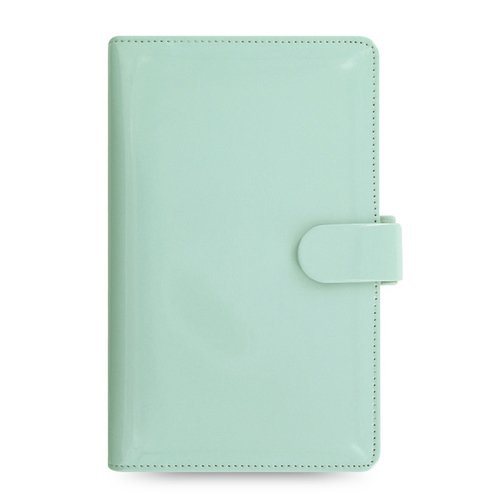
This personal planner is lightweight and i keep it in my bag most of the time when I go out. This personal planner is also a notebook for anything I want to jot down, sometimes work related stuff get dump inside , and get transferred to my work planner when I reach the office.
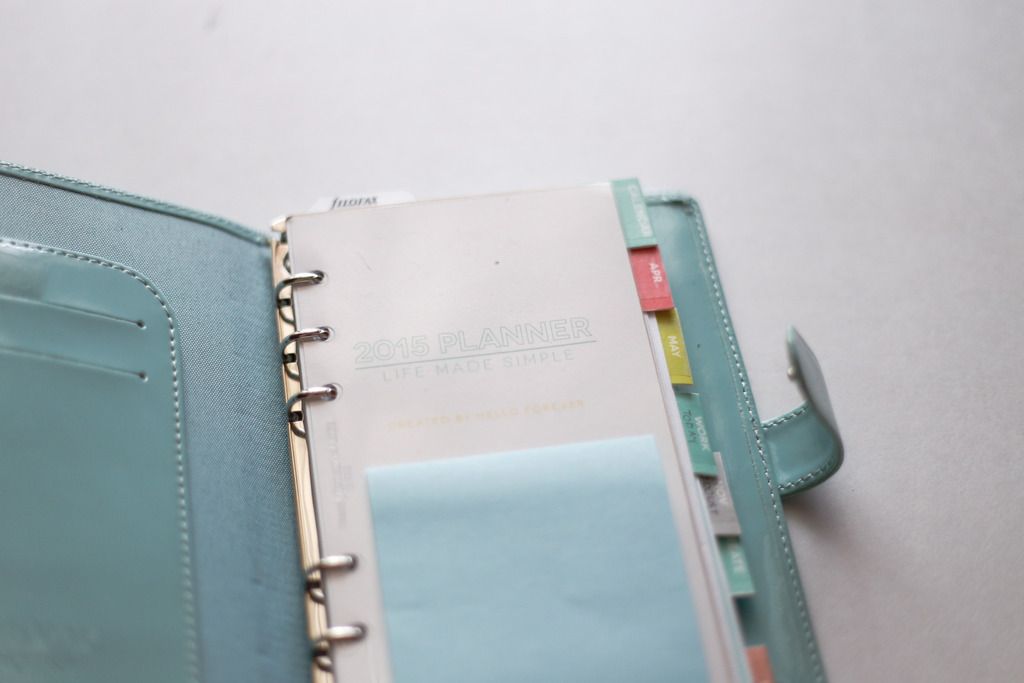
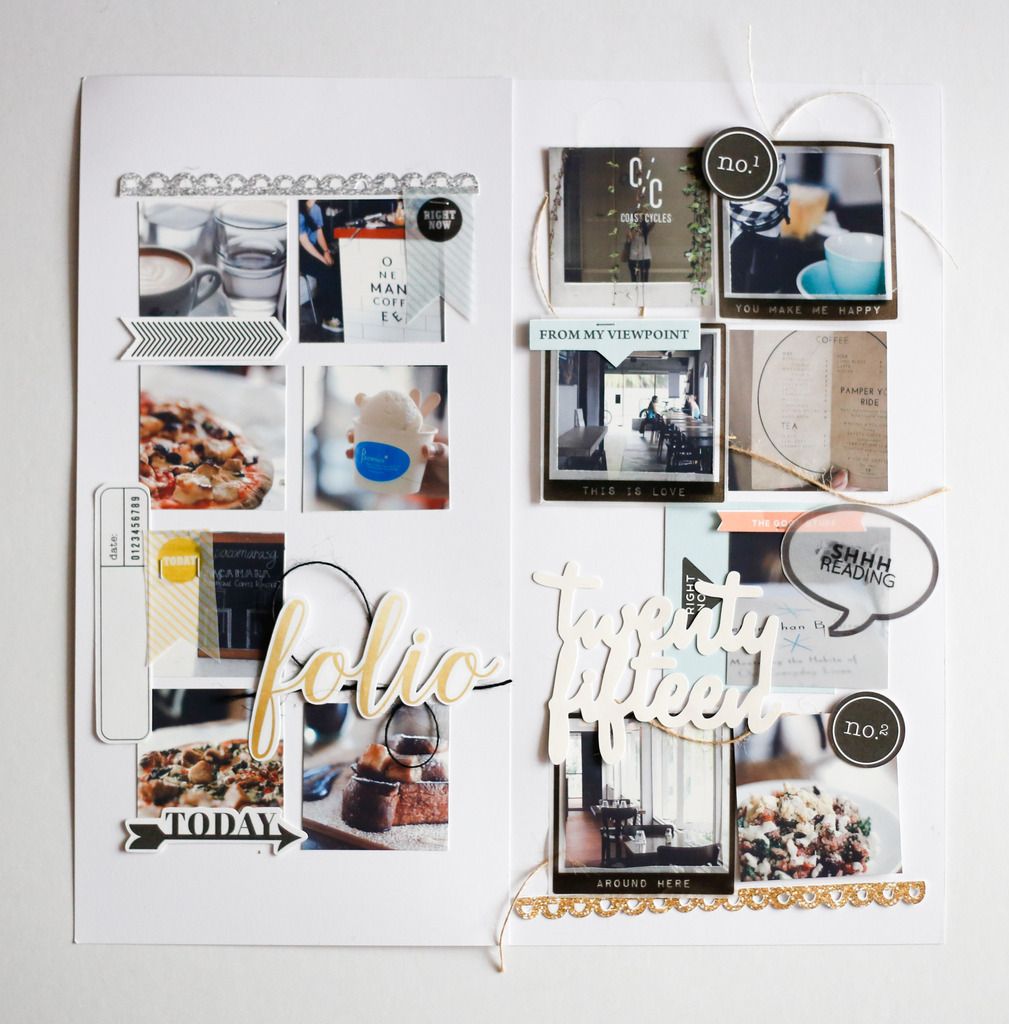
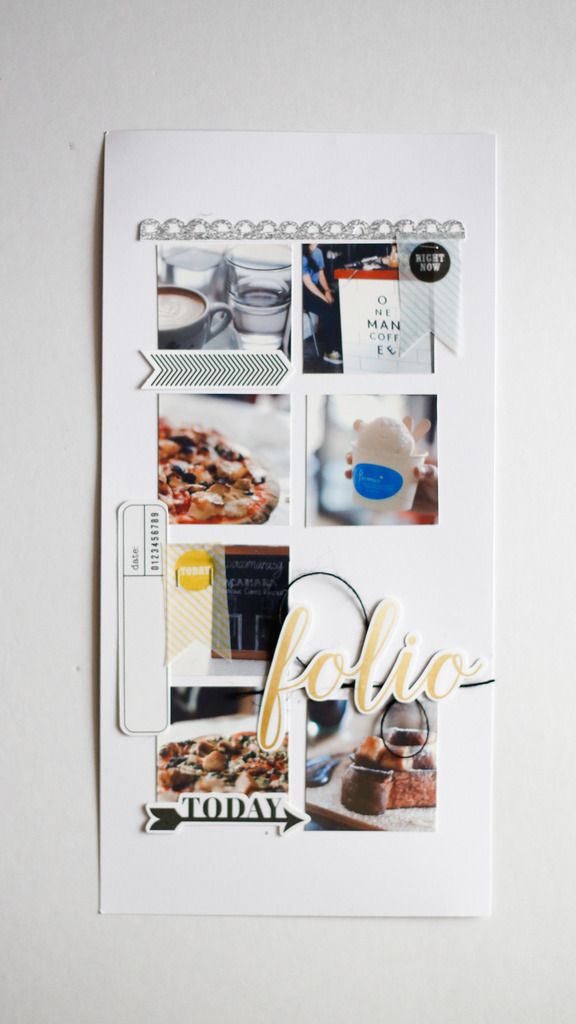
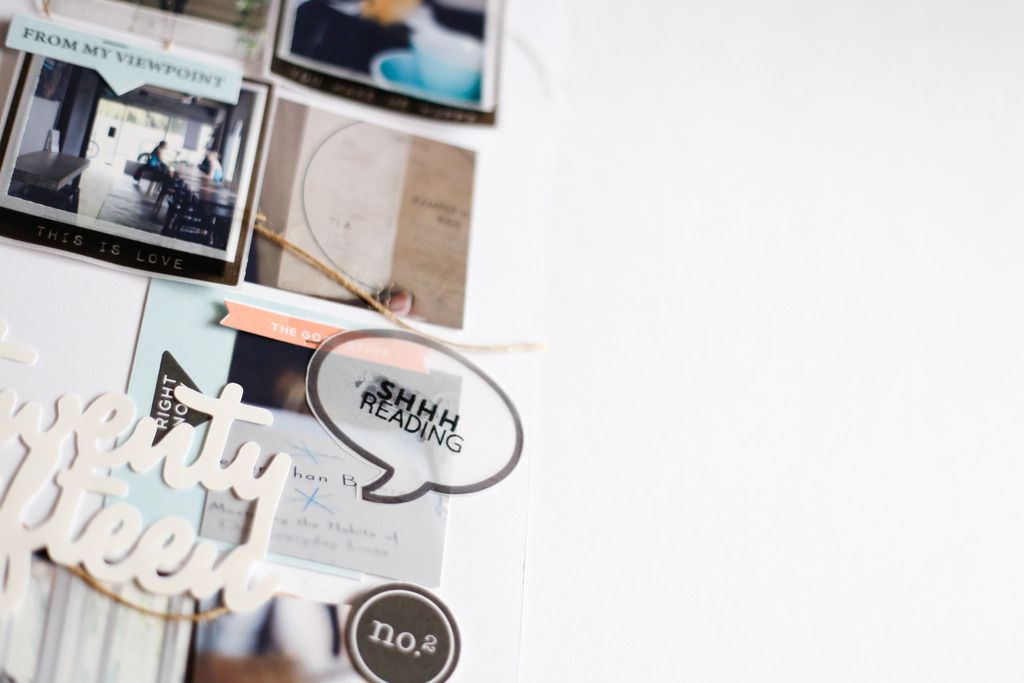
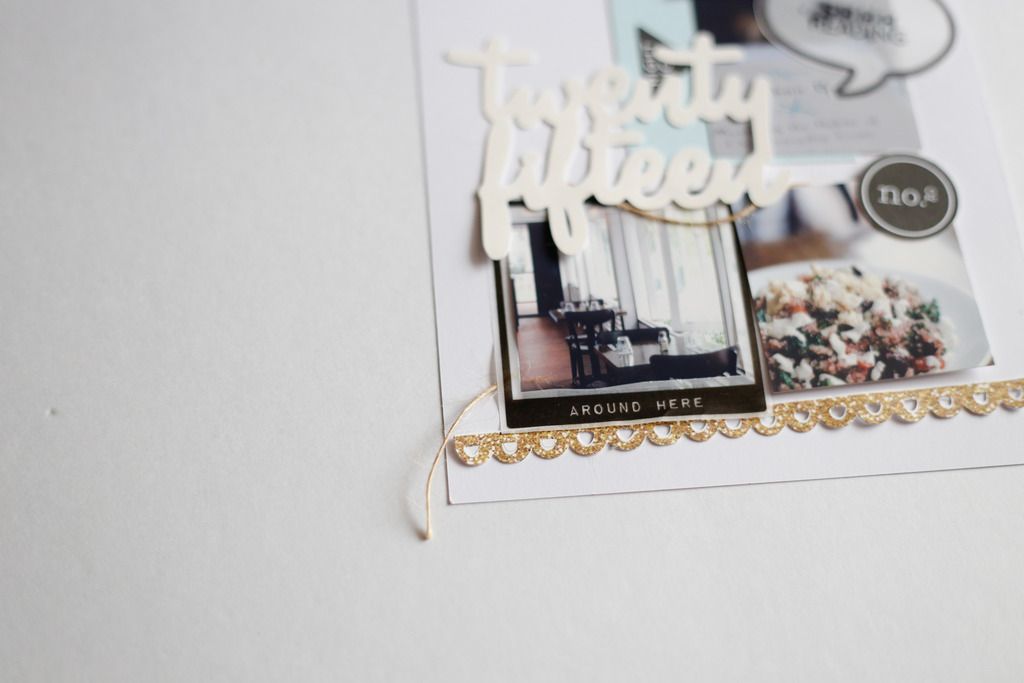
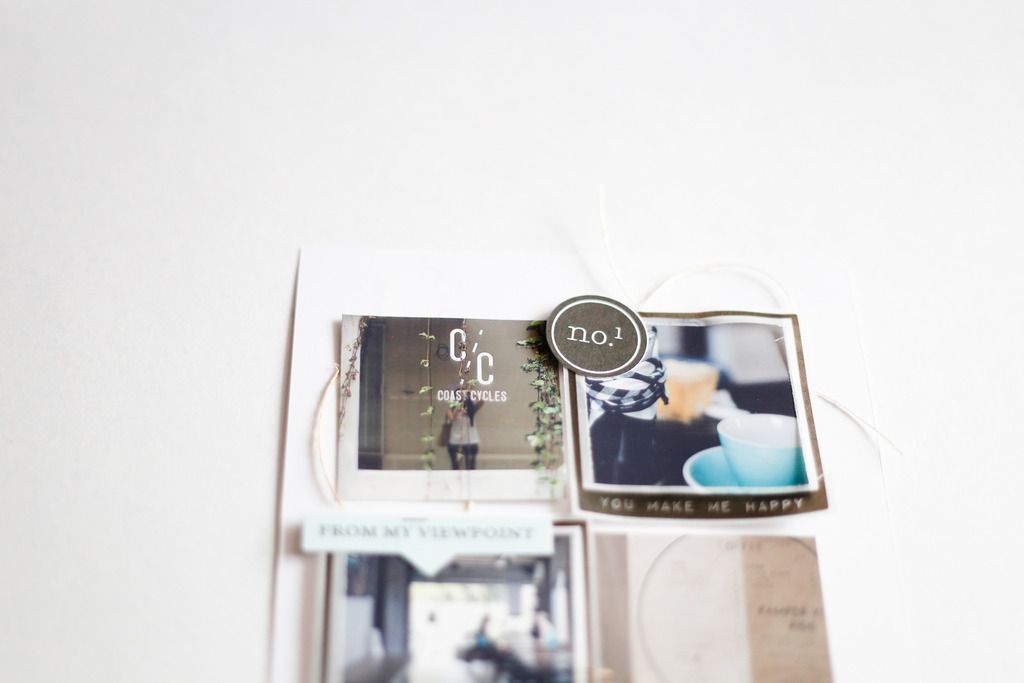
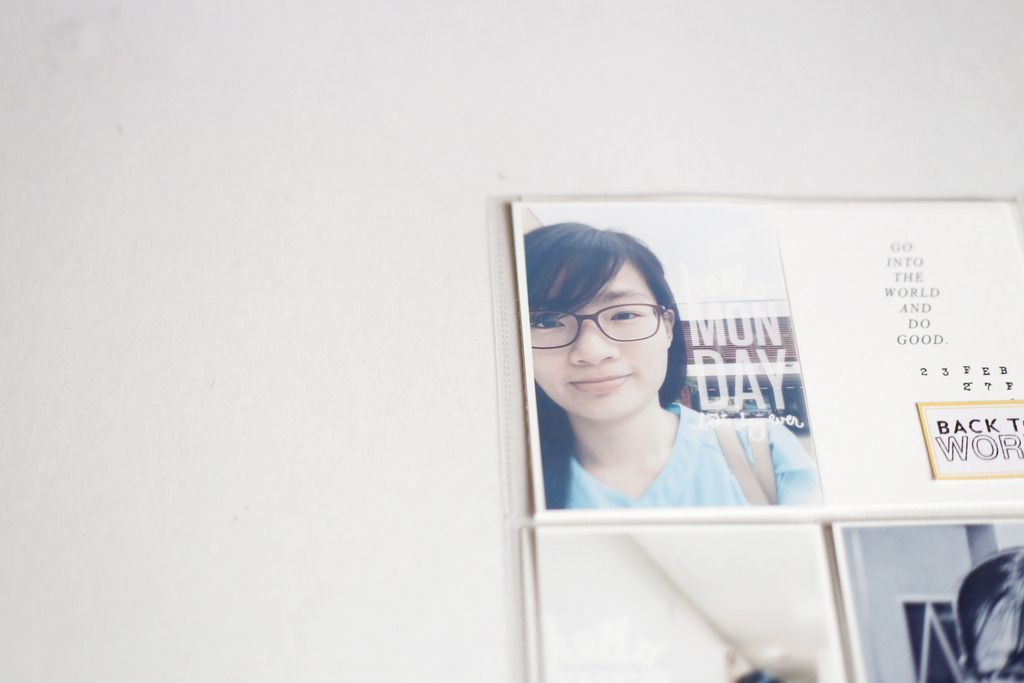
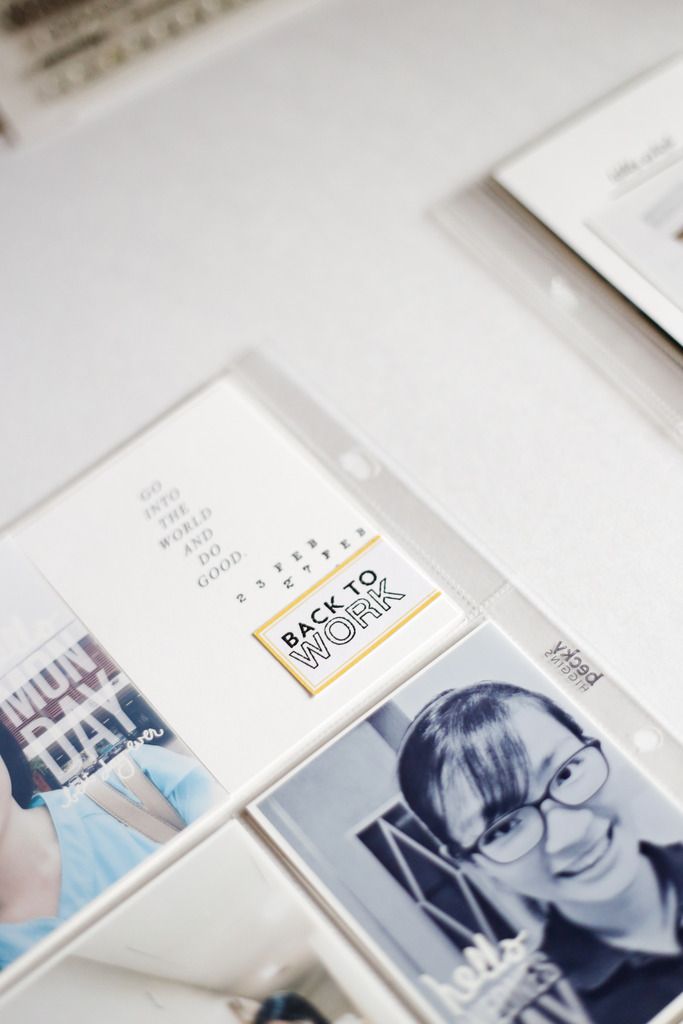
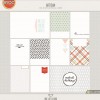
Inserts of this planner again comes from Marcy Penner's Hello Forever Planner Printables. I have a dashboard page with a thin post - it stick attached for any quick notes or to do list.
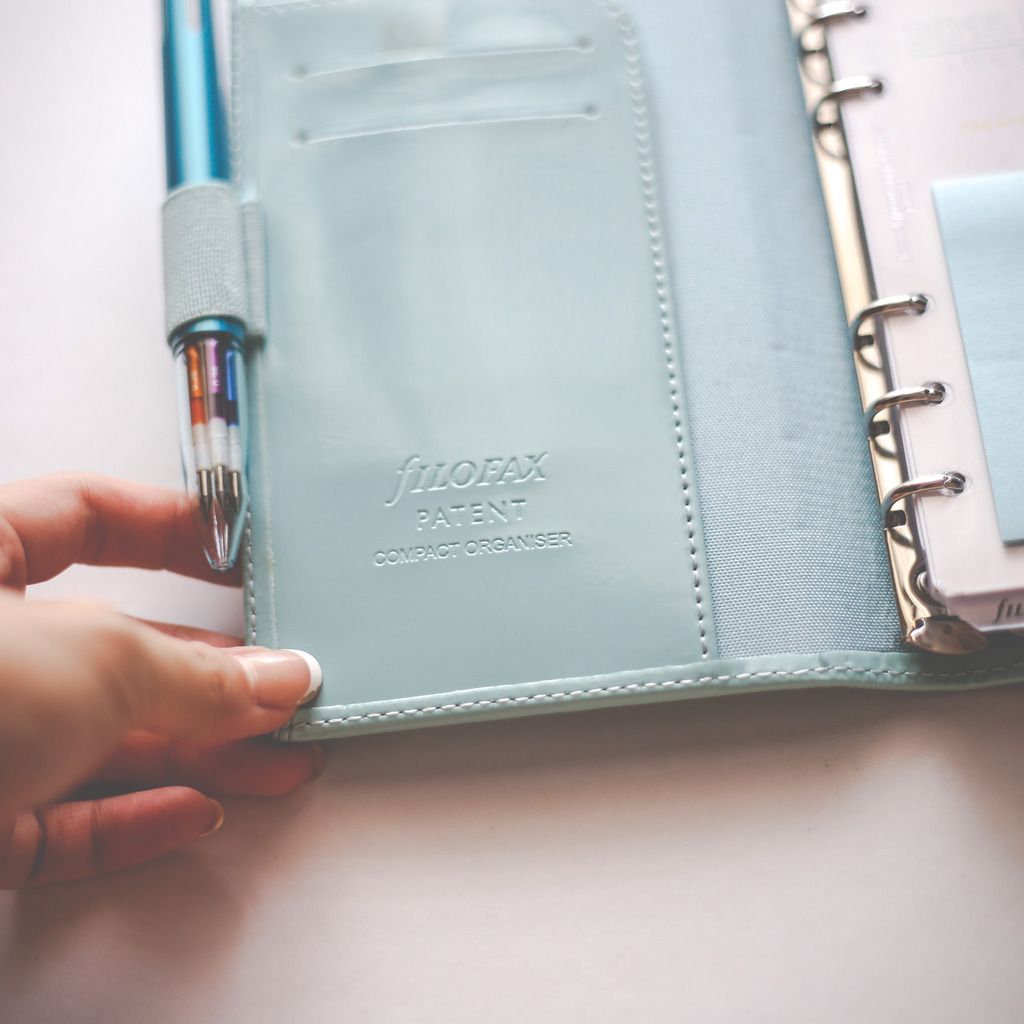
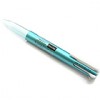
I used the uniball multi color pen called Style Fit 5 . It cant fit 5 color pen and the variety of colors are awesome. I have a brown/ dark blue, light blue, green, orange and pink/purple. Each color represent something different, and I'm ok with changing it from time to time.
Brown and dark blue = everything , notes , events, to do list etc
Orange = important add on information, using the bright color to bring my attention to it.
Pink = personal events, holidays and etc.
Green = religious class and tuition classes.
Light blue = Scrapbook related stuff.
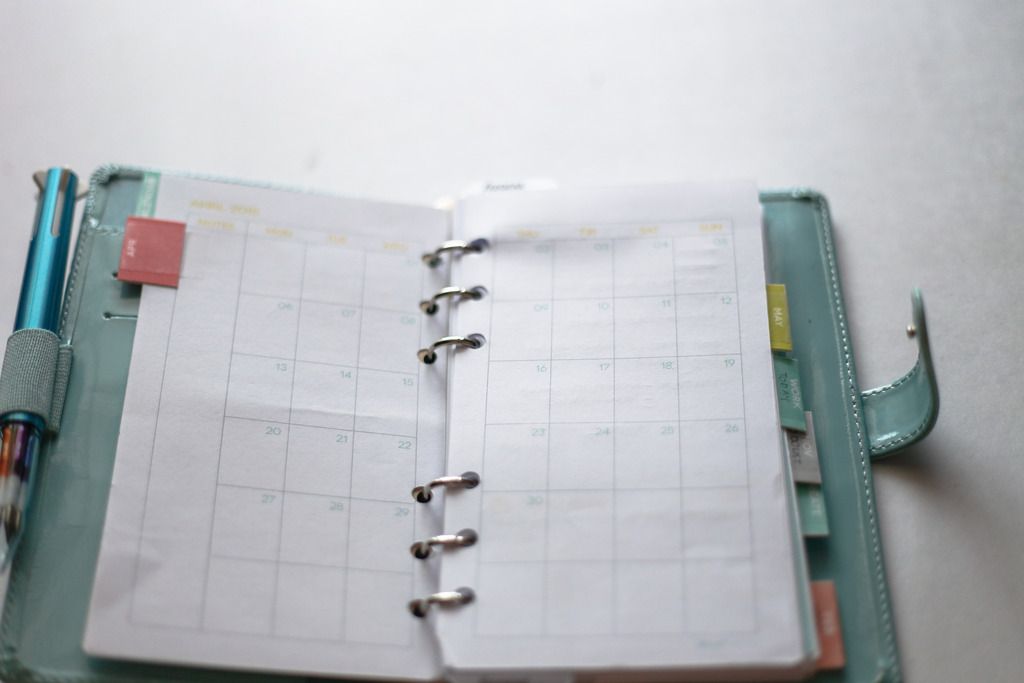
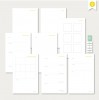
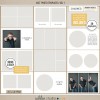
Firstly I have the monthly spreads followed by the weekly spreads. I realise I'm not using them as much because any personal event will just be included in my iphone calendar app - Week Cal.
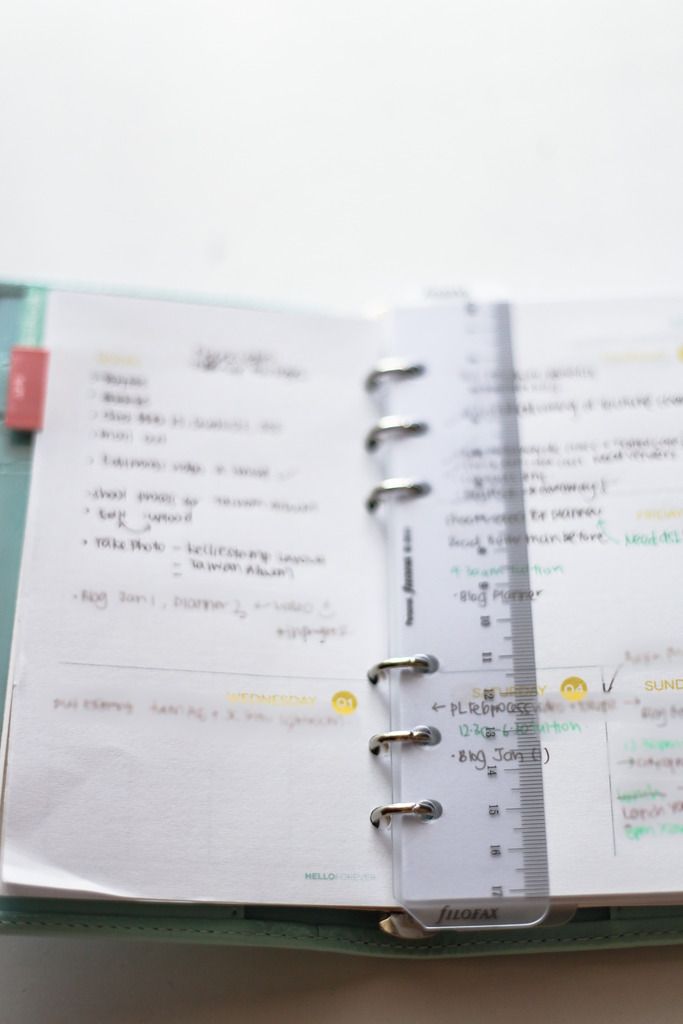
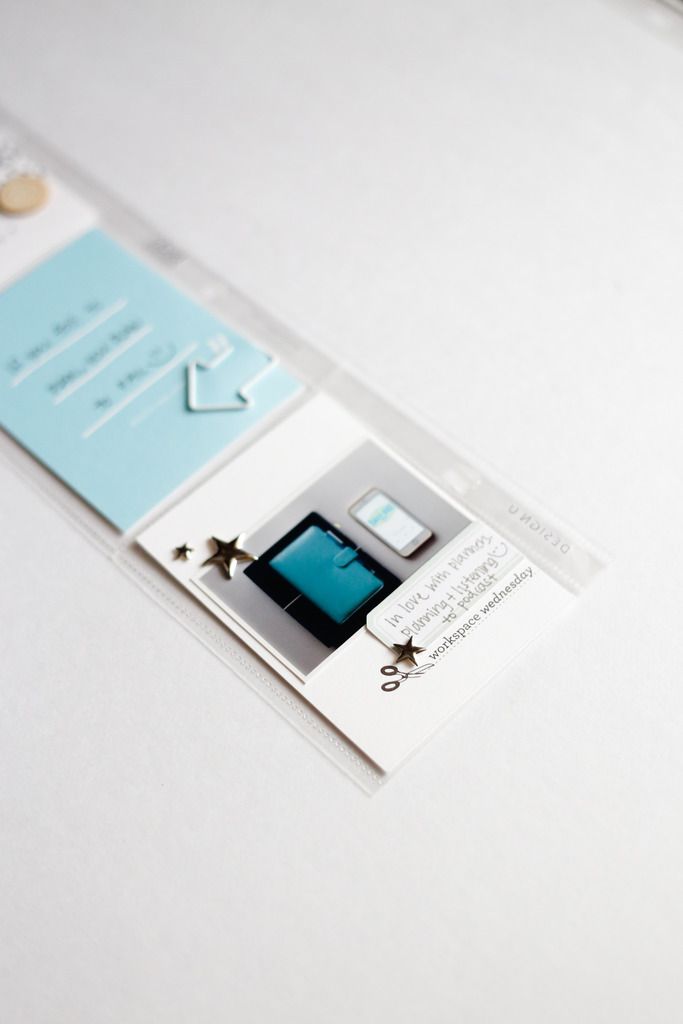
I then have weekly spreads where I write down to do list, mainly related to scrapbooking, shopping , religious class or anything personal/non work related.
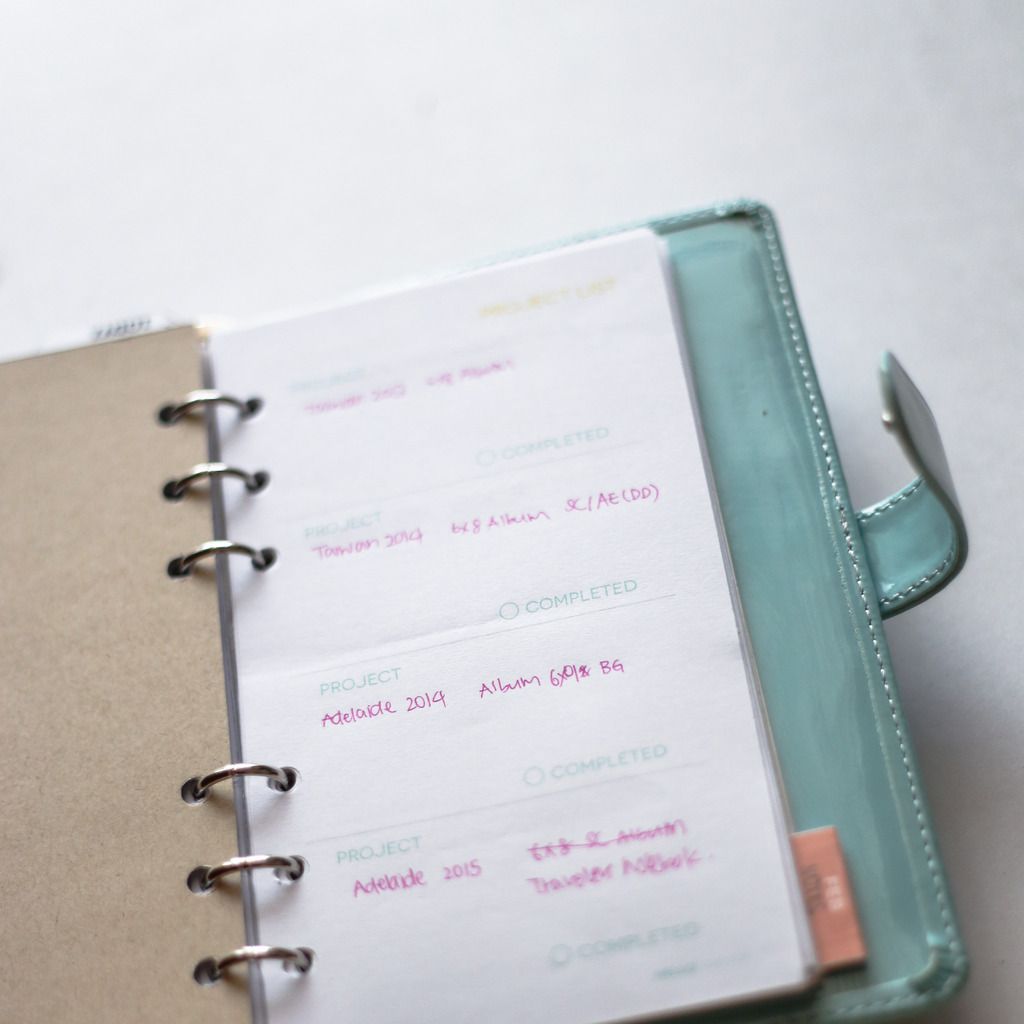
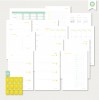
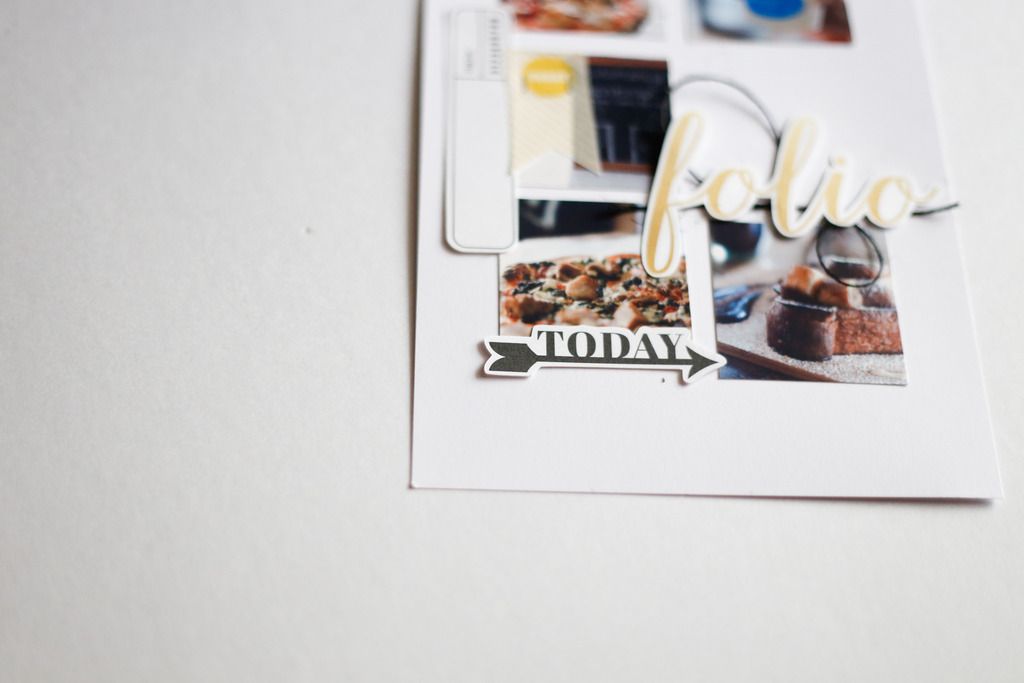
I have another section for project list, when I wrote down each album yet to be completed.
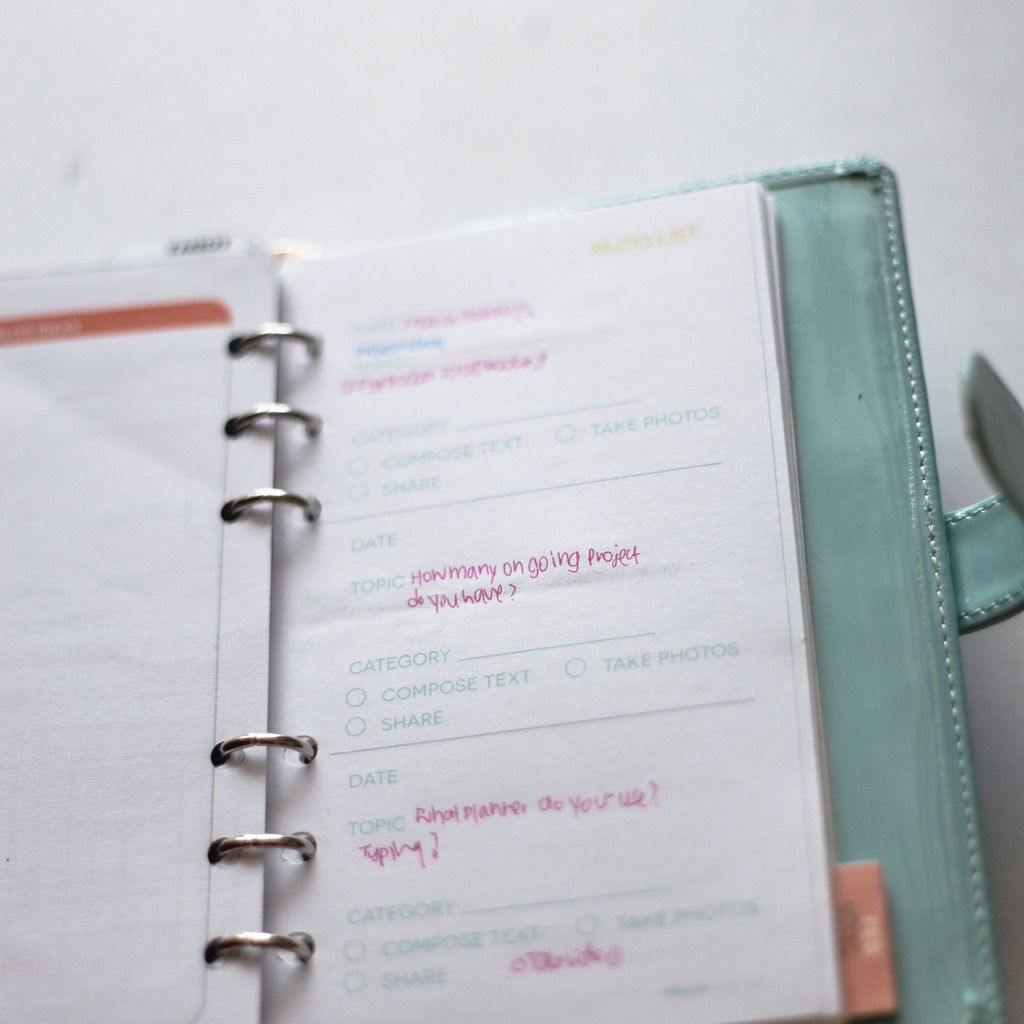
Another page layout for keeping lists of blog ideas. I also have entire page for me to brain dump specifics to the particular blog post or series. Very frankly, I'm still in the process of getting use to the system since I use it less often then the work planner and I might not have time to plan for scrapbooking everyday.

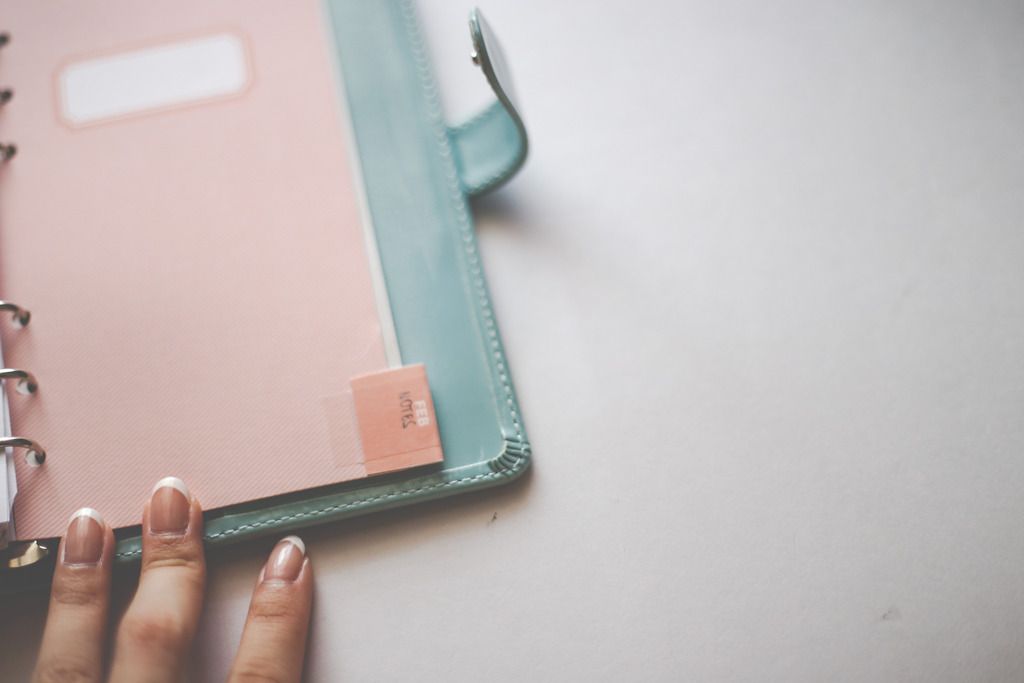
Finally , I have a section on notes which is also equavalent to brain dump section.
I have blank pages which comes in the Filofax inserts which I can draw , write etc.
Currently the system is evolving and I'm actually trying out something new, I have a few ideas in mind but until after I tried it for a few weeks, I cannot comment on the new system yet. SO keep a lookout on the updates of this series and I hope you have enjoy the series thus far. Off to more planning, until then, take care!


