Sunday, May 31, 2015

Midori Traveler's notebook part 2

*Read all posts about Midori/Fauxdori here*
*Read all post about Planner here*

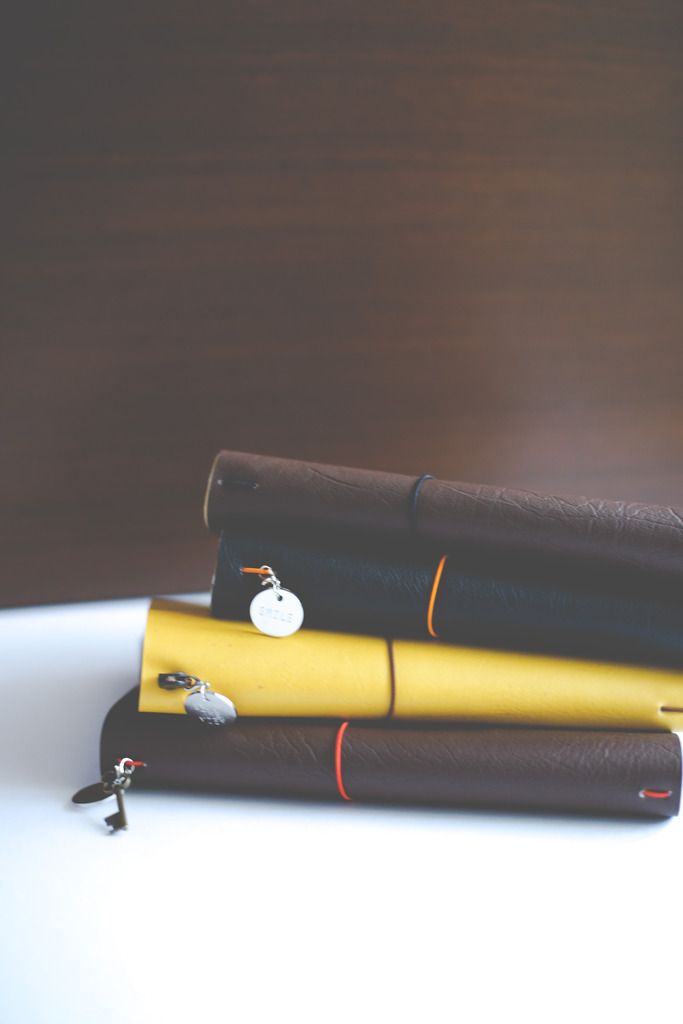
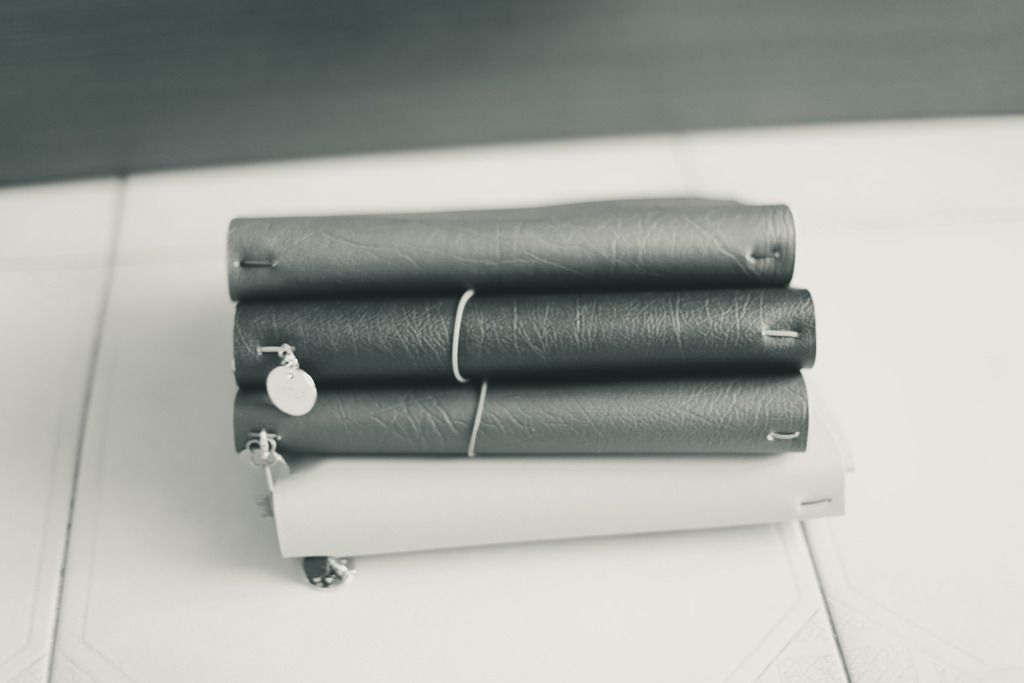
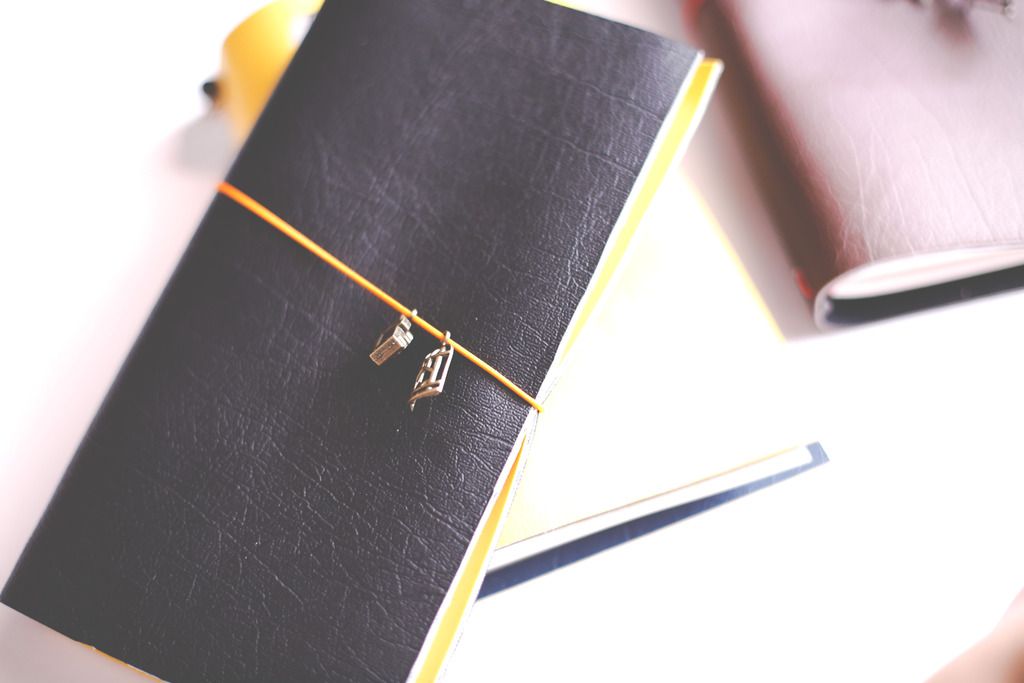
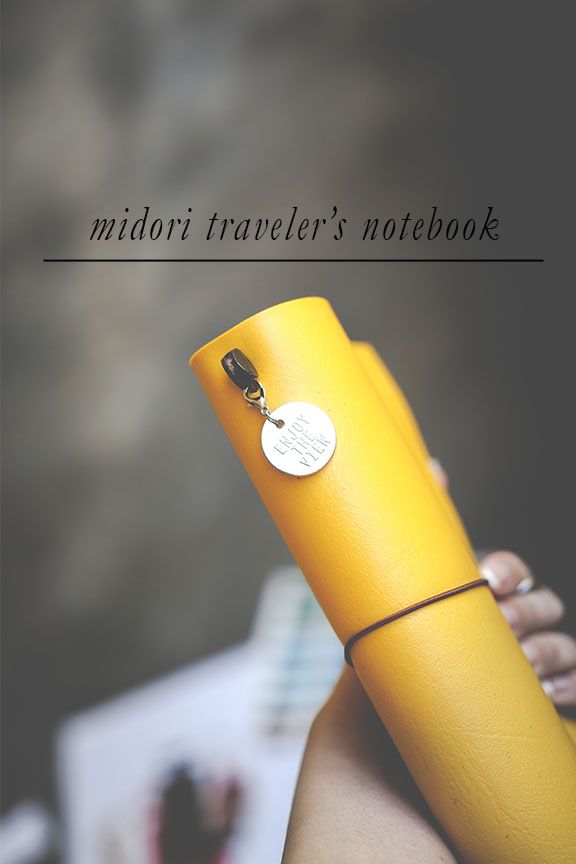
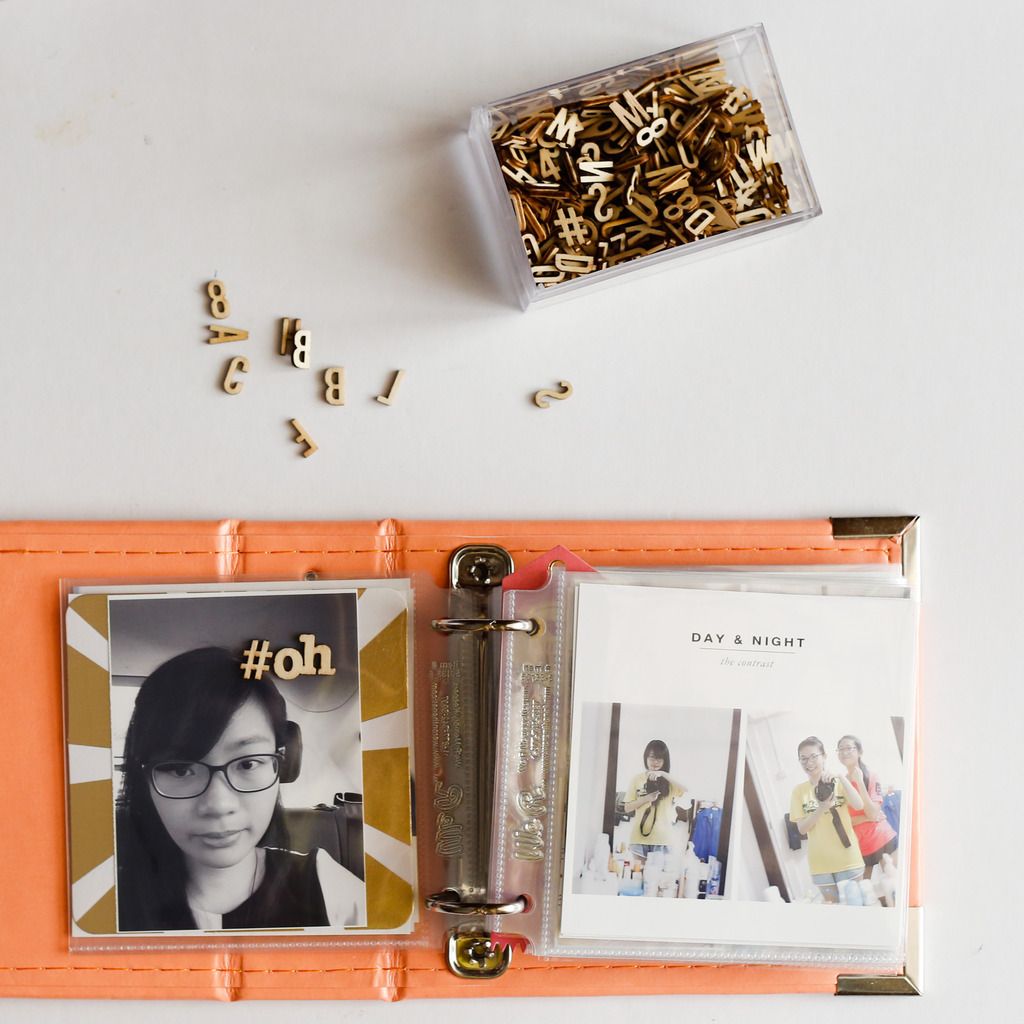
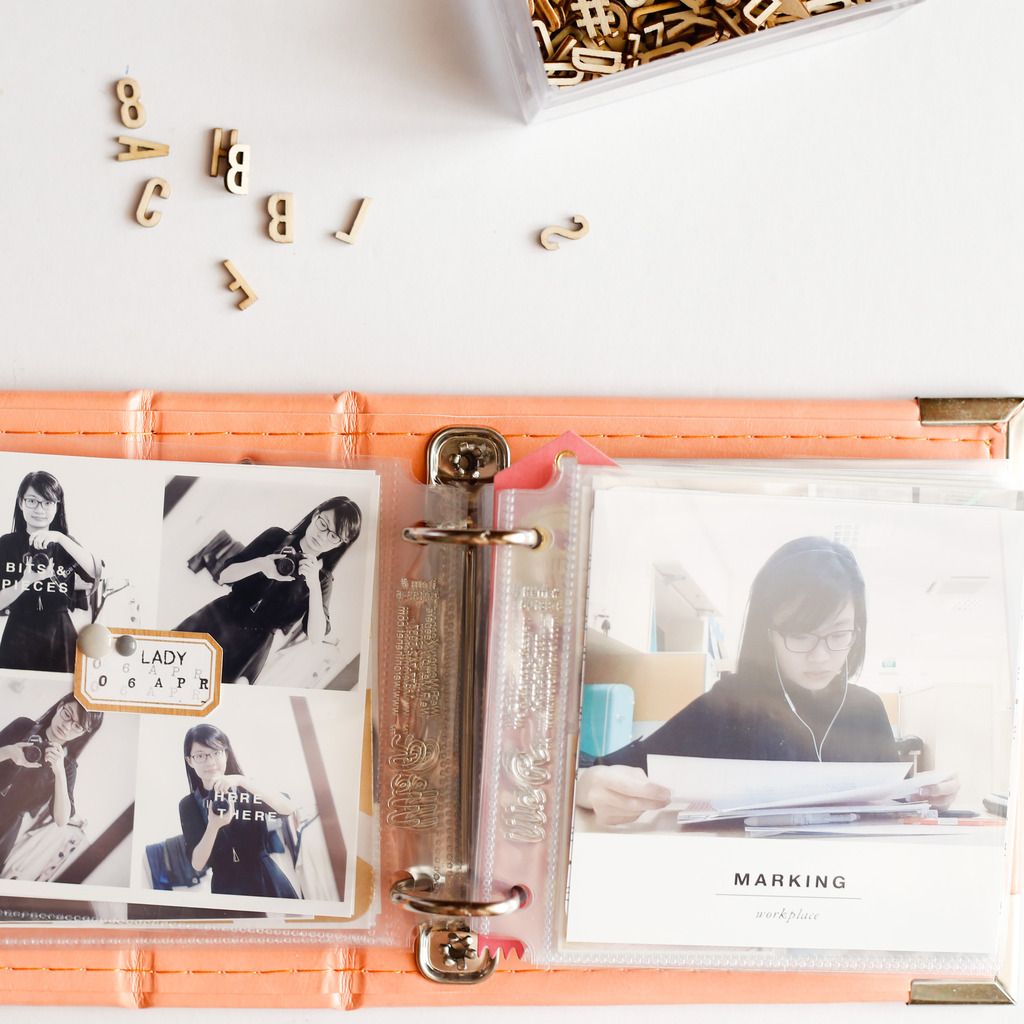
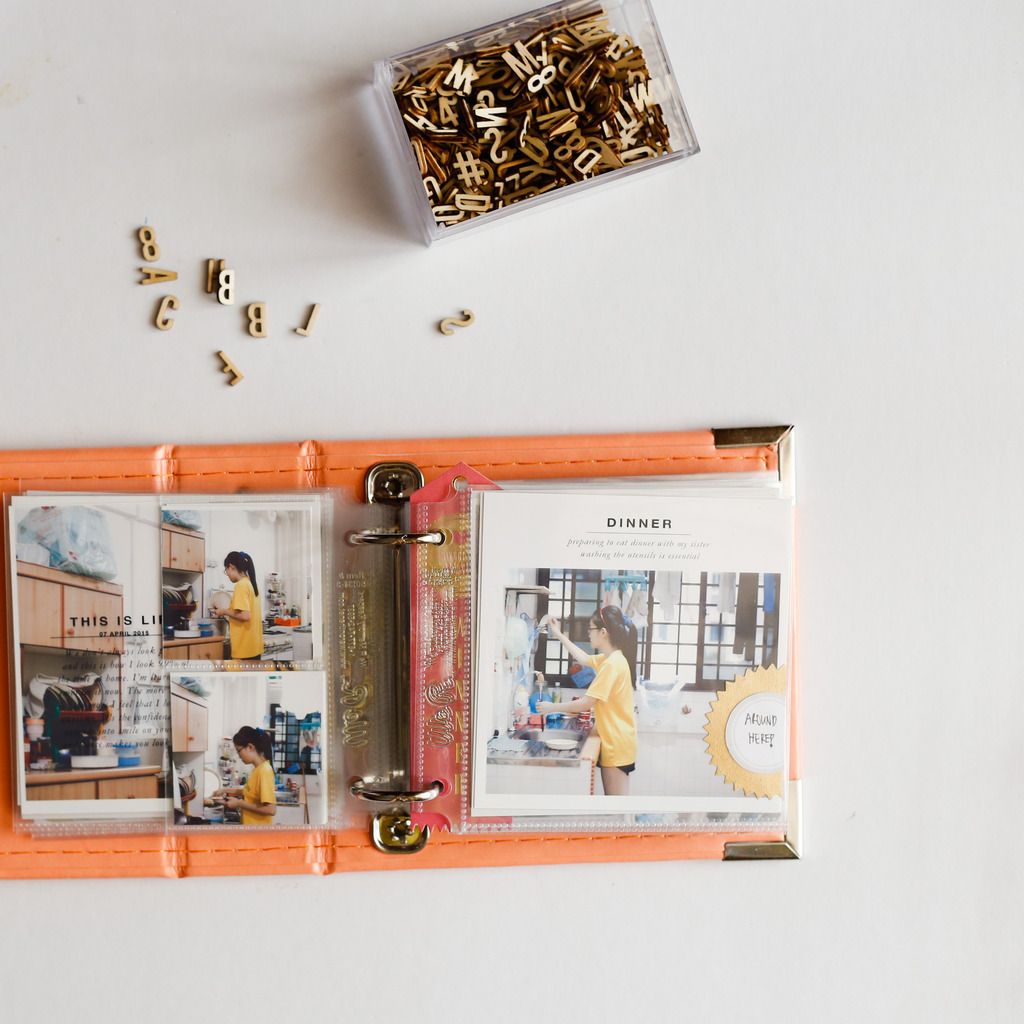
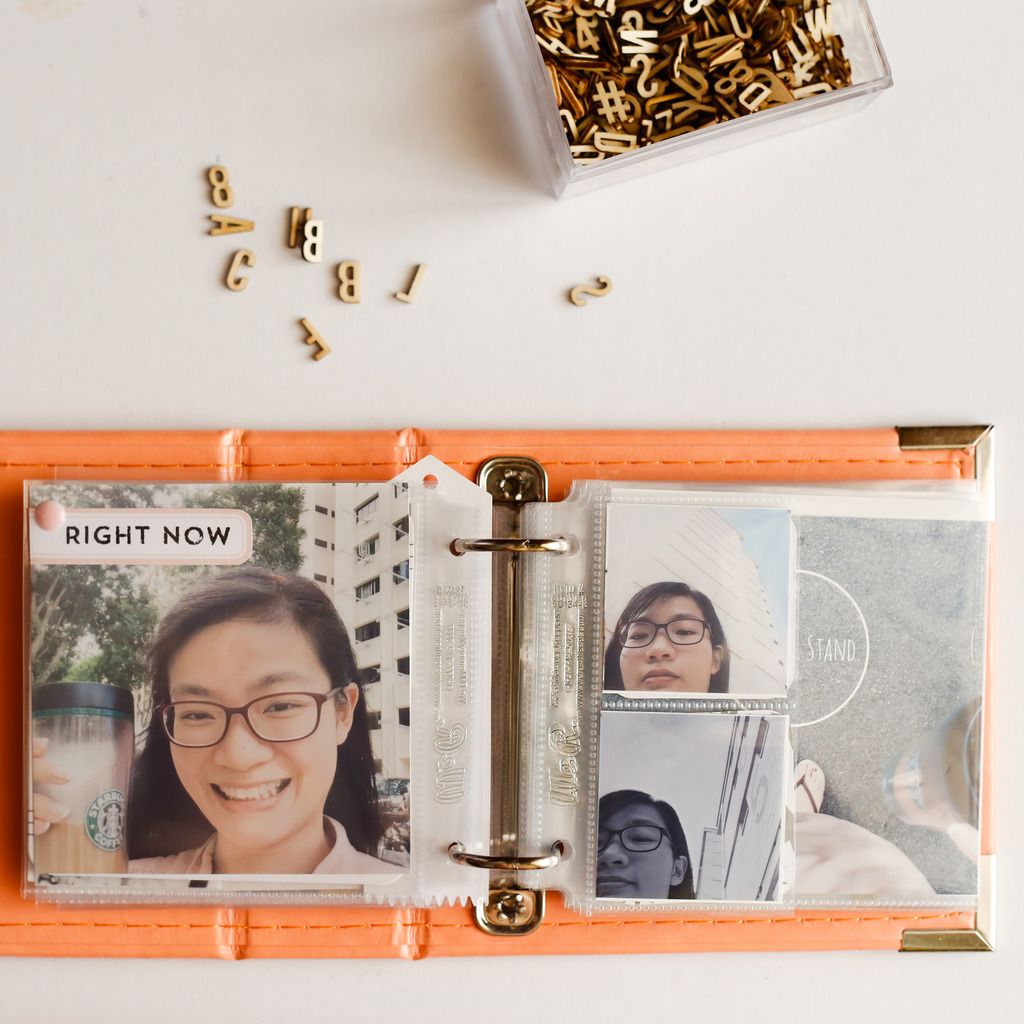
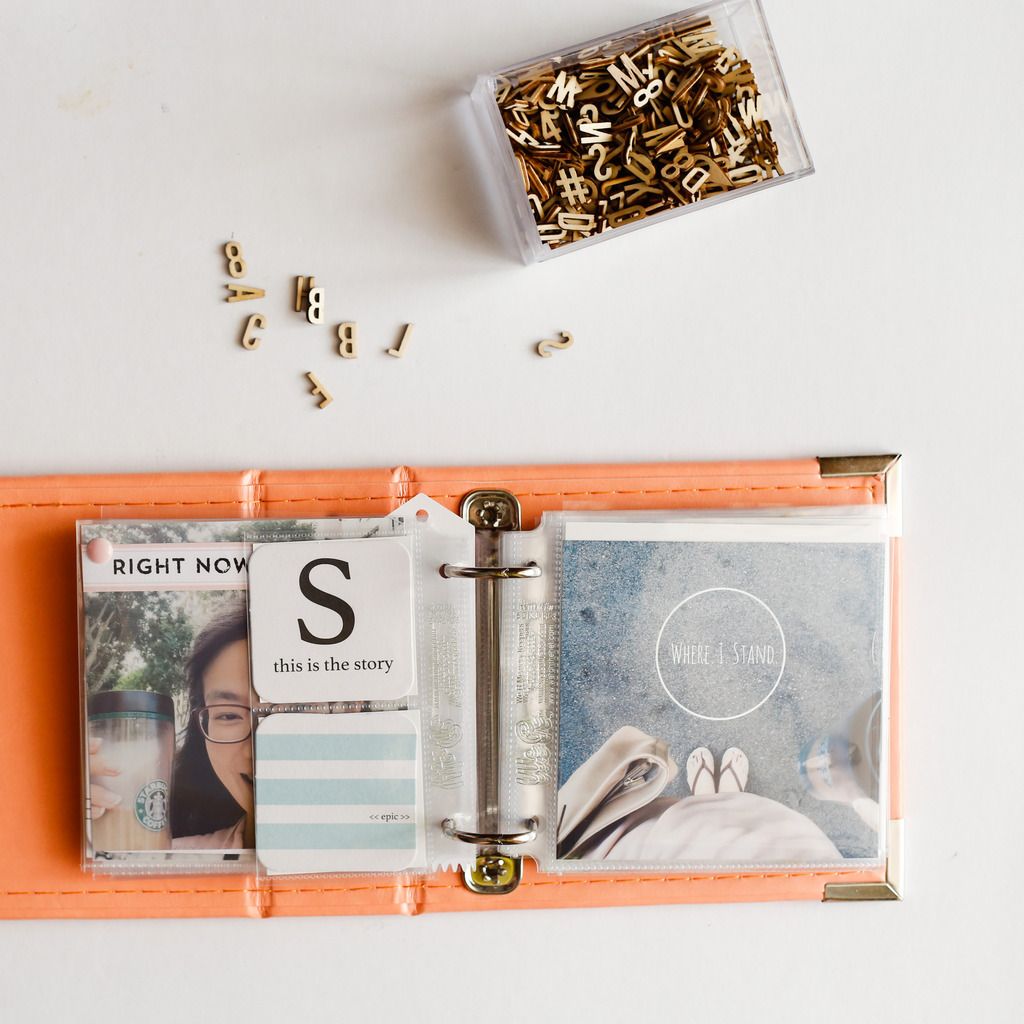
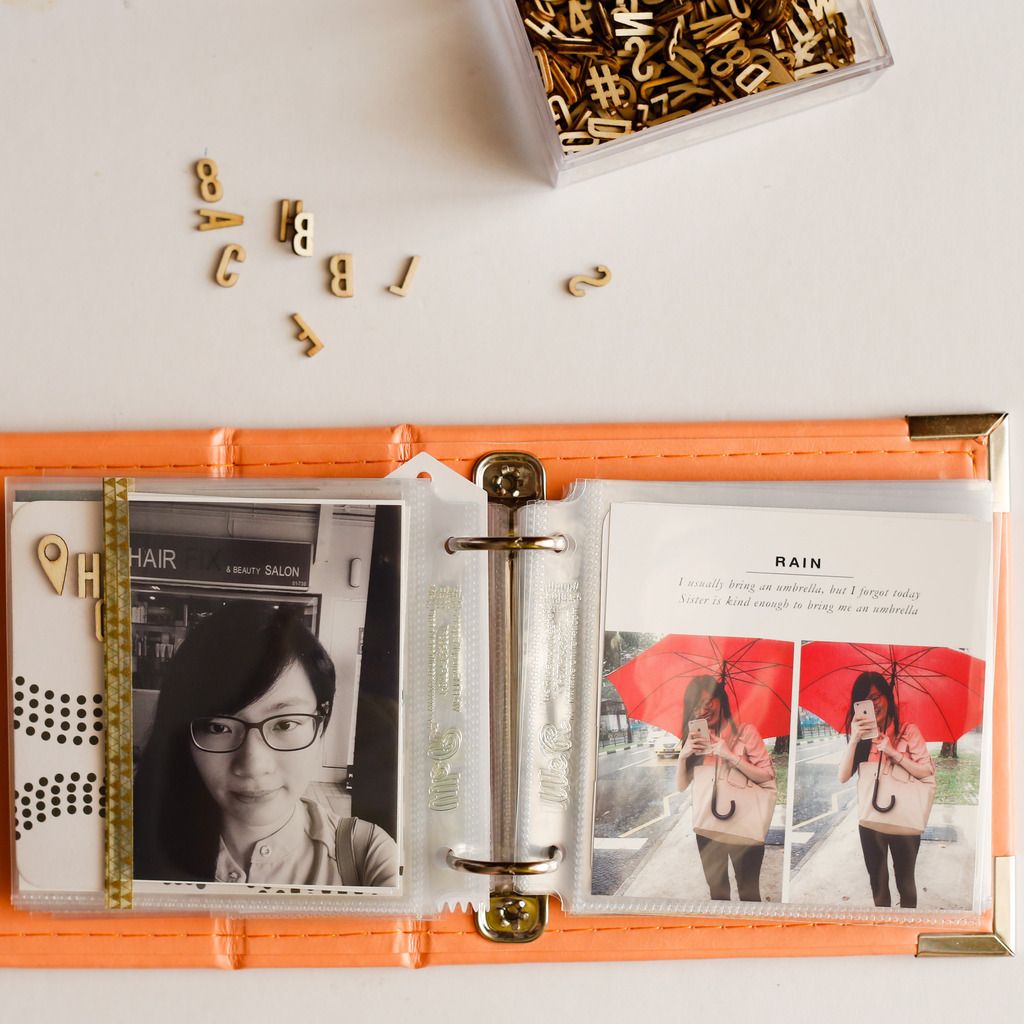
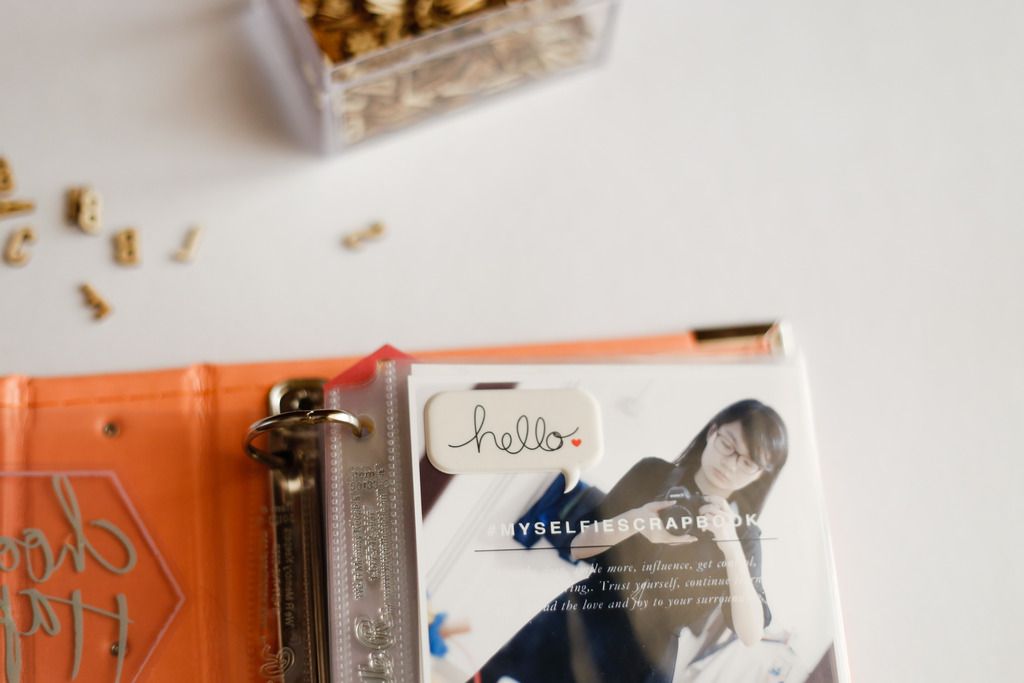
Before I left Singapore for my Adelaide trip, I made a bunch of Fauxdori using Faux leather bought from Spotlight. And I'm loving it! Although it wasn't easy to make them, I'm glad I manage to complete 4 of them. I'm happy to be able to use this system without buying the real Midori. I'm a vegetarian, hence i wont buy any animal products or use any item with animal skin . It makes me cringe a little. Making fauxdori allows me to customise the skin colour as well. Although it will not have the scratches over time, nor will it have the same effect as a Midori Real leather, i'm contented with what I have.


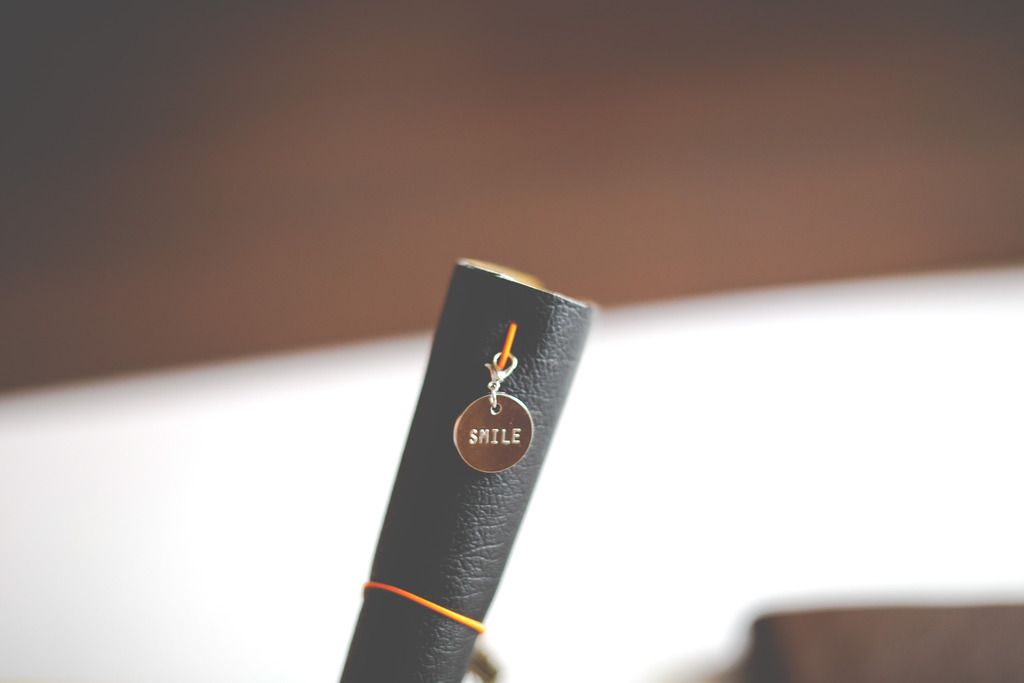
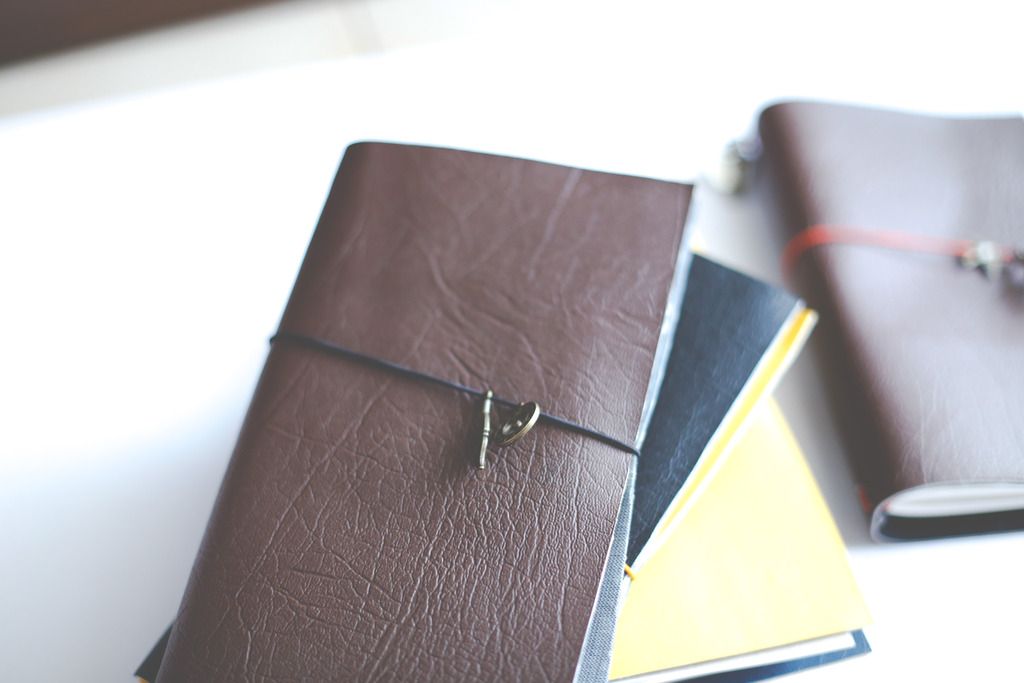
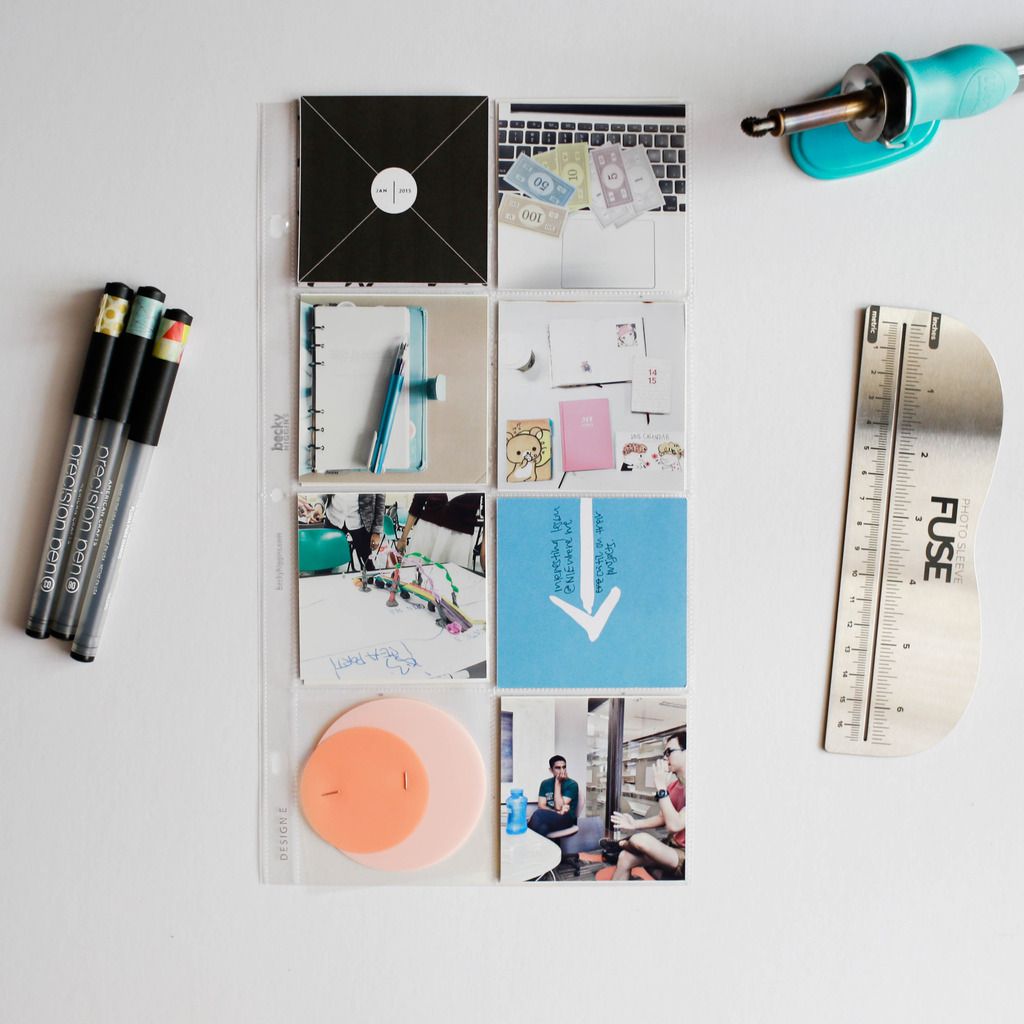
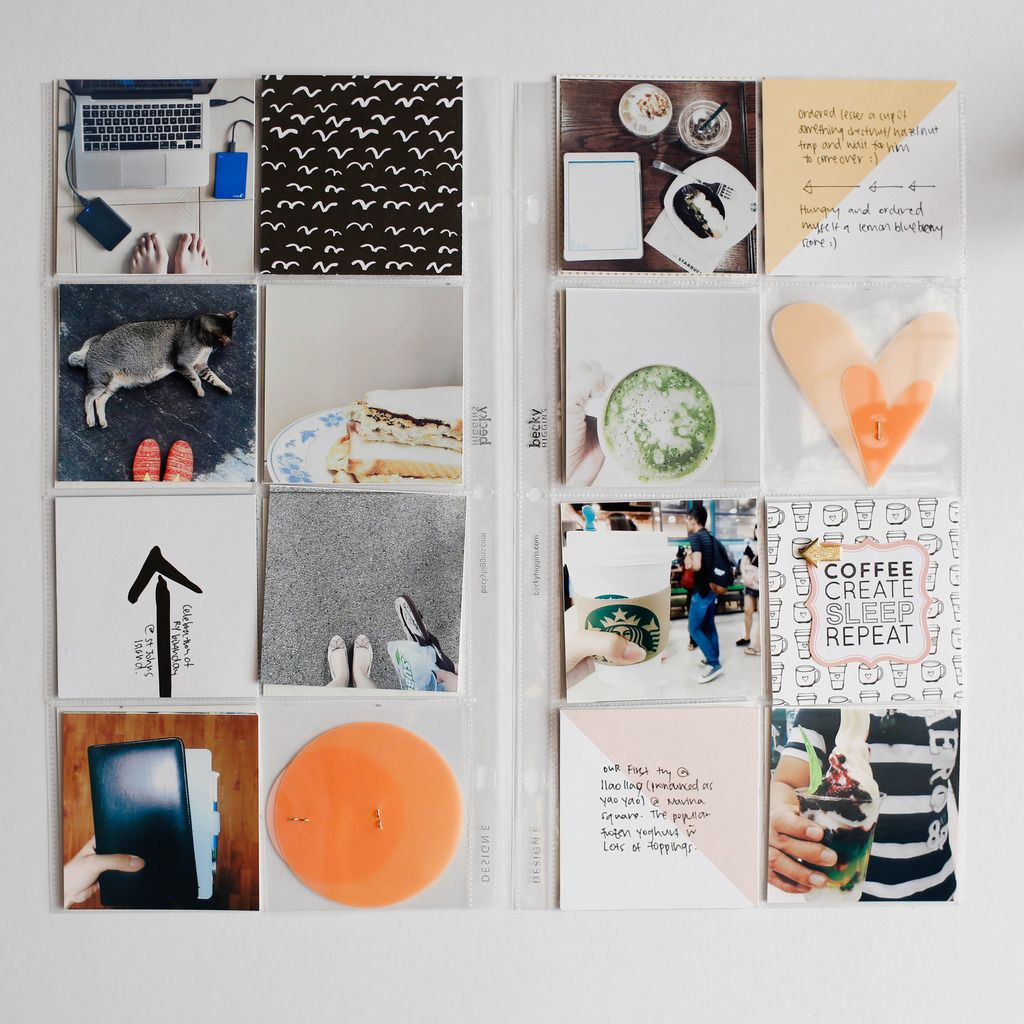
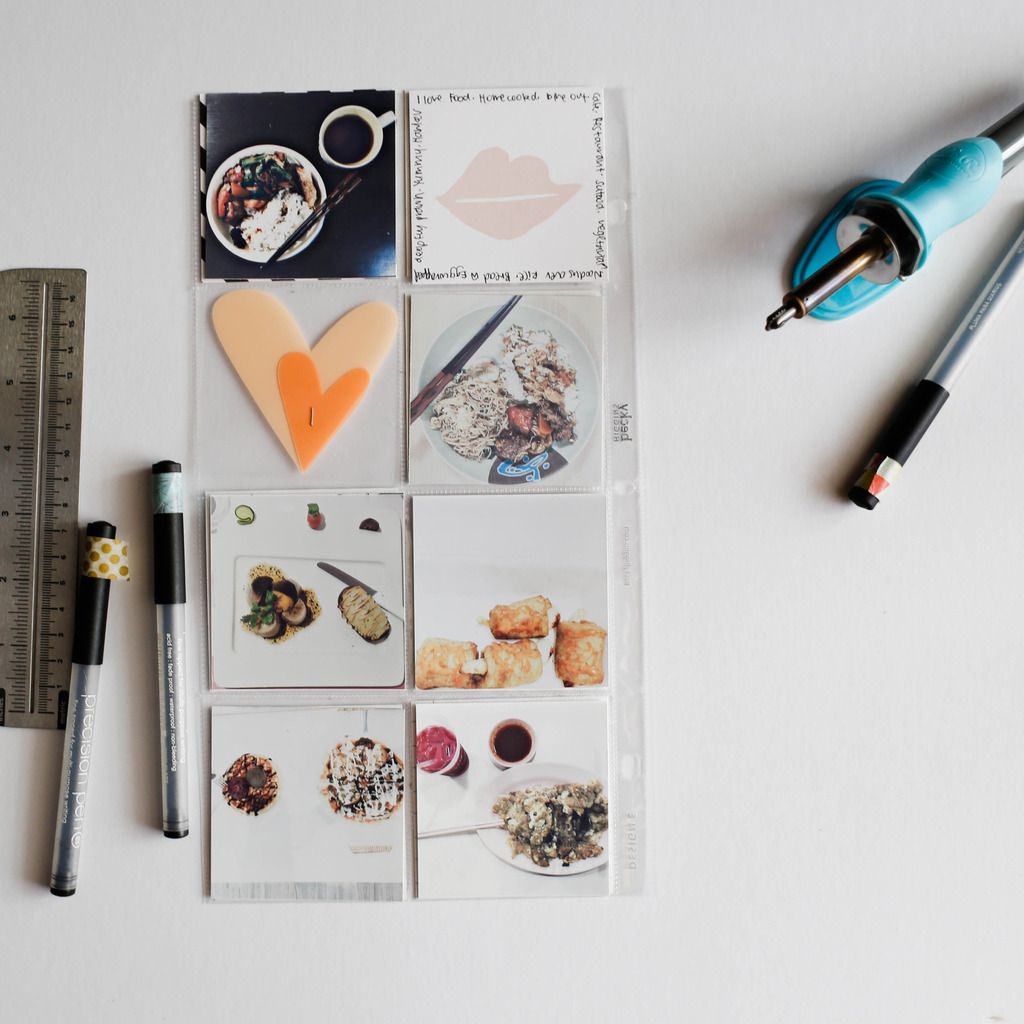
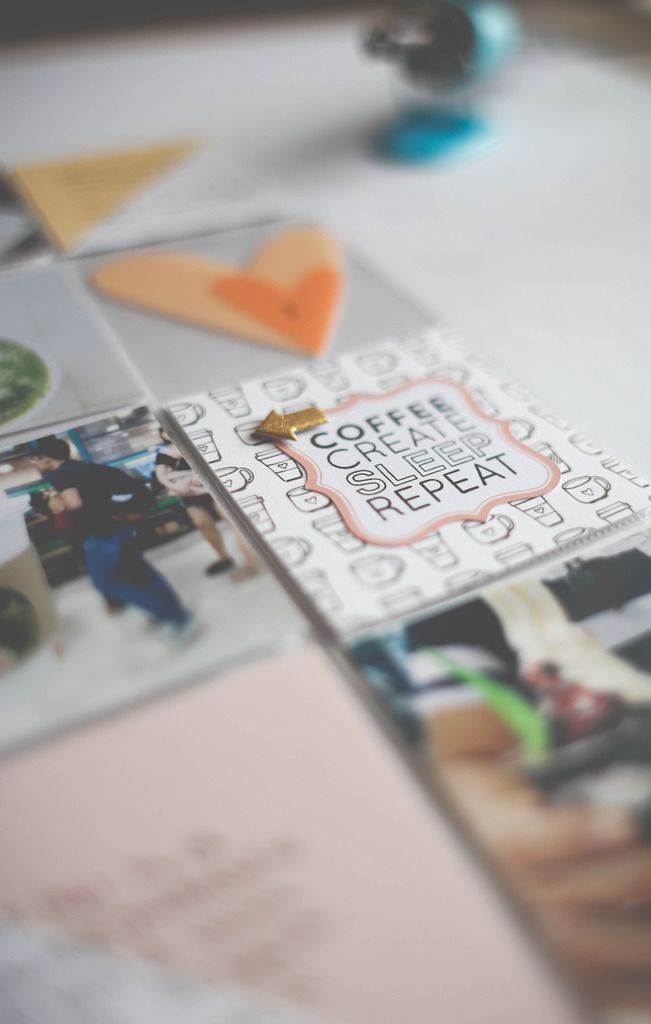
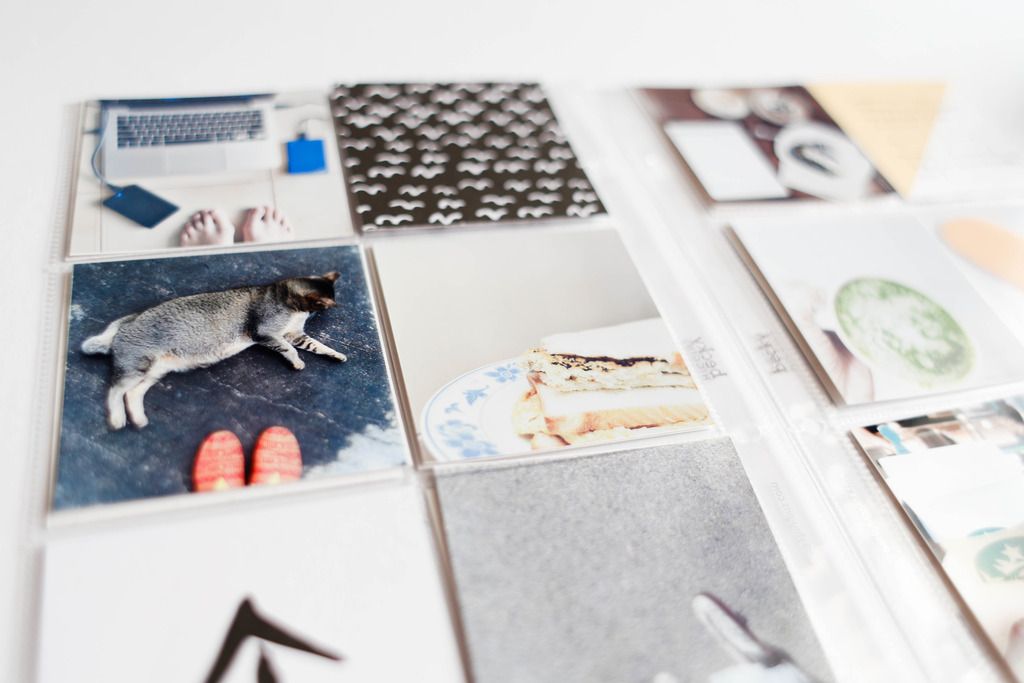
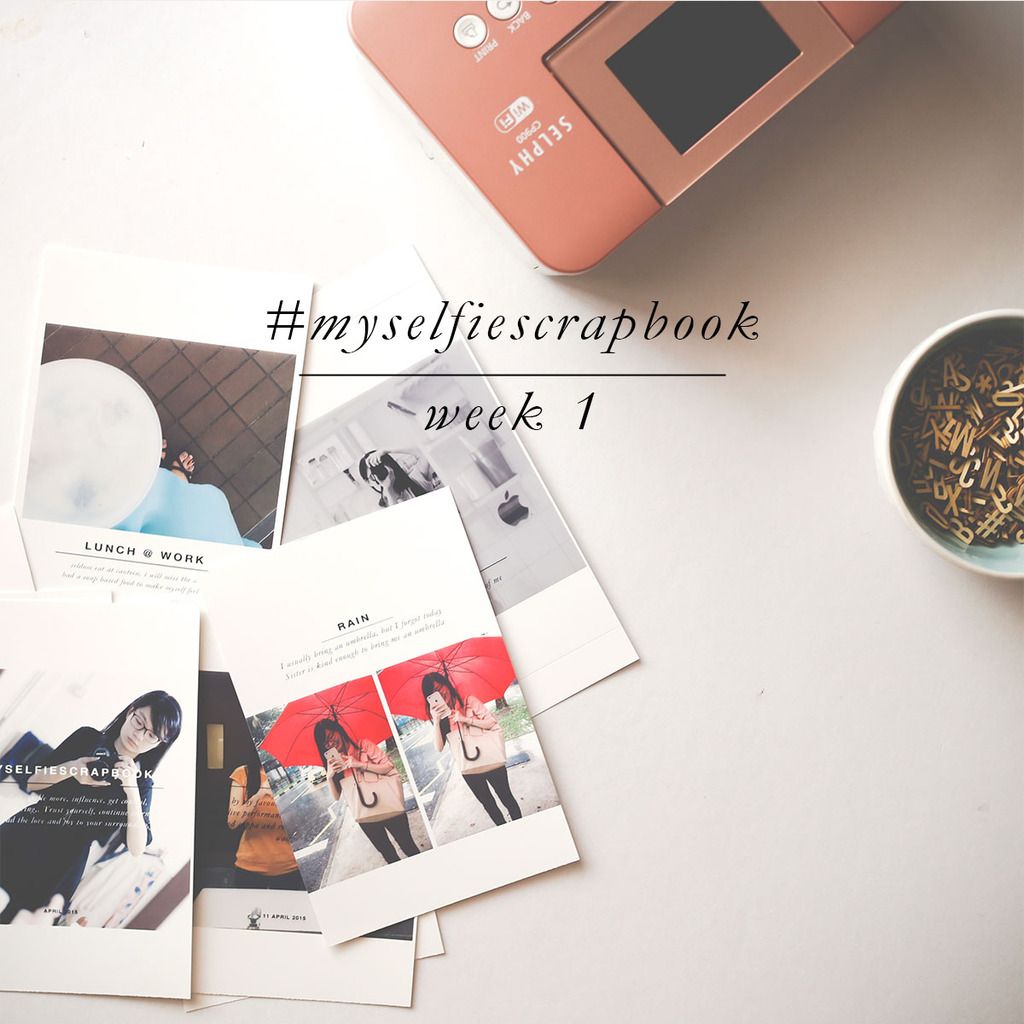
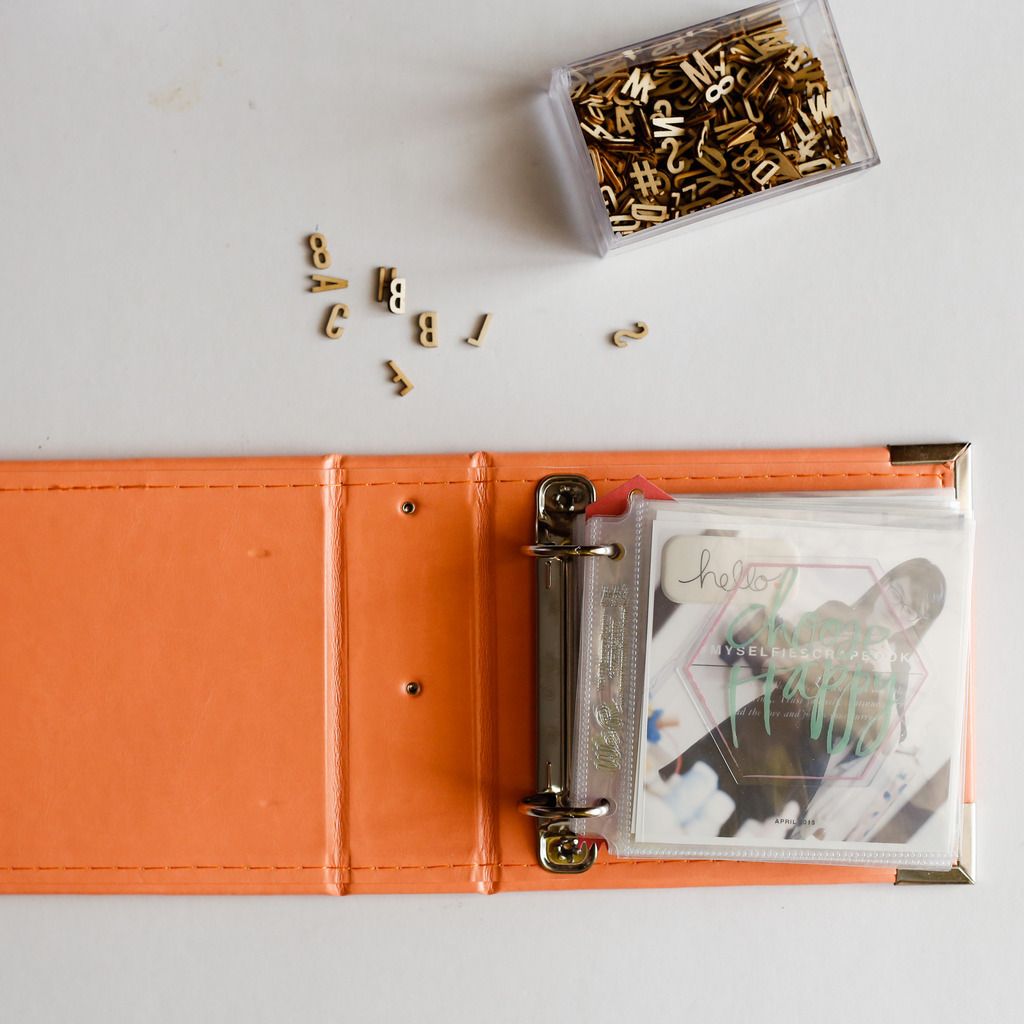
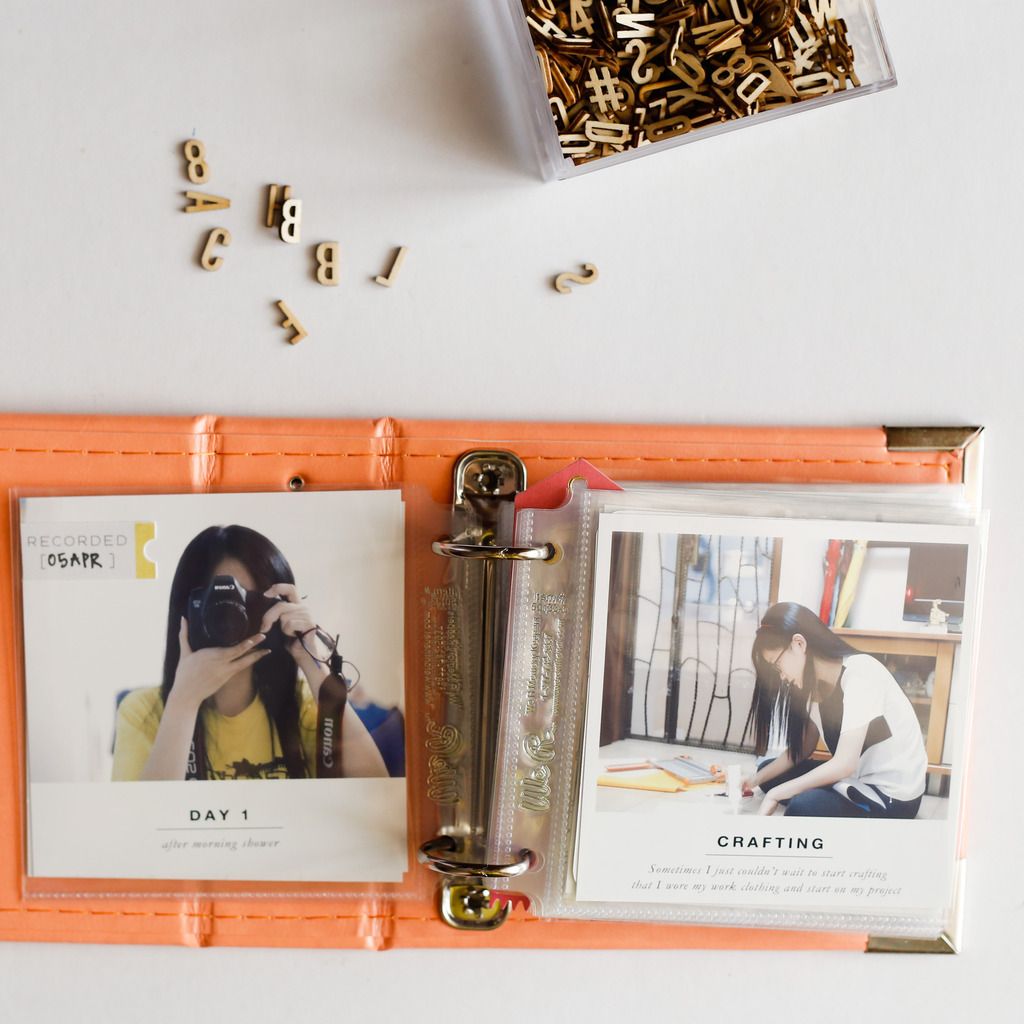
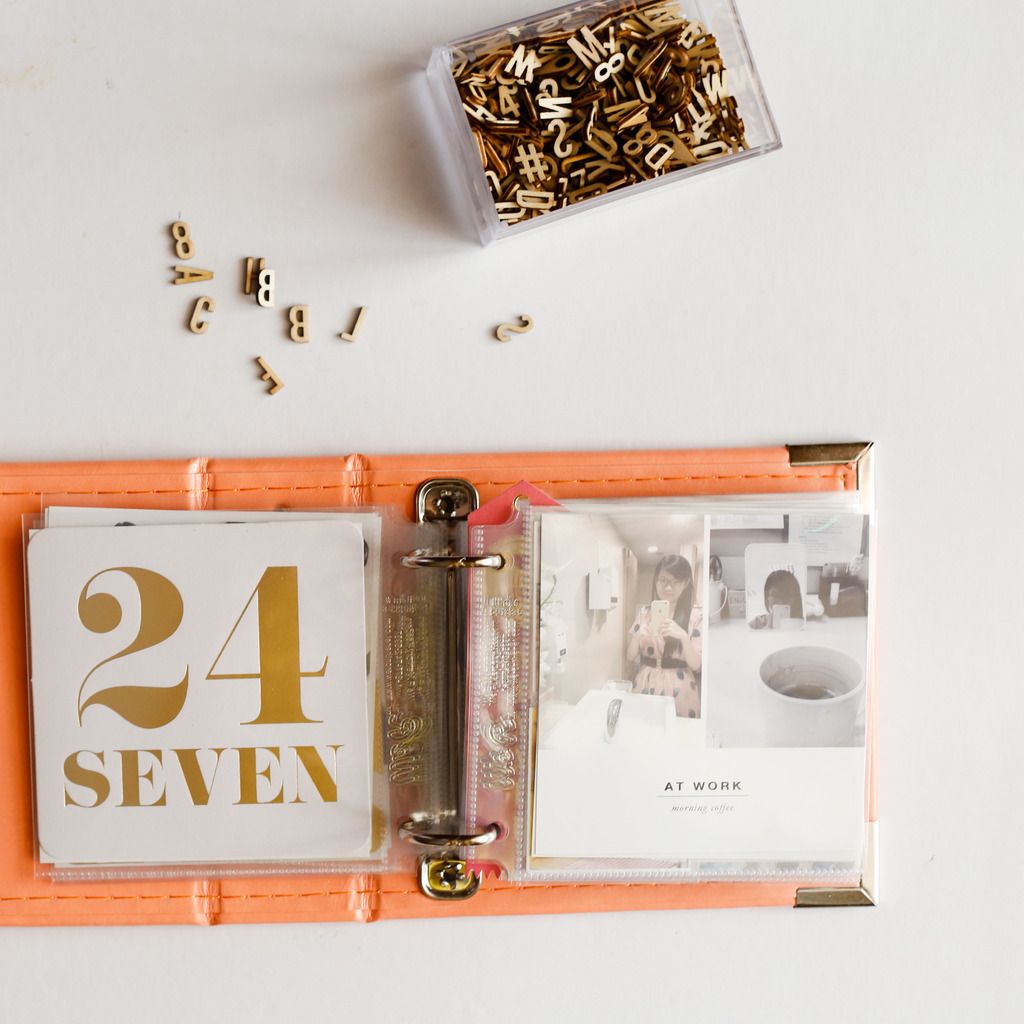
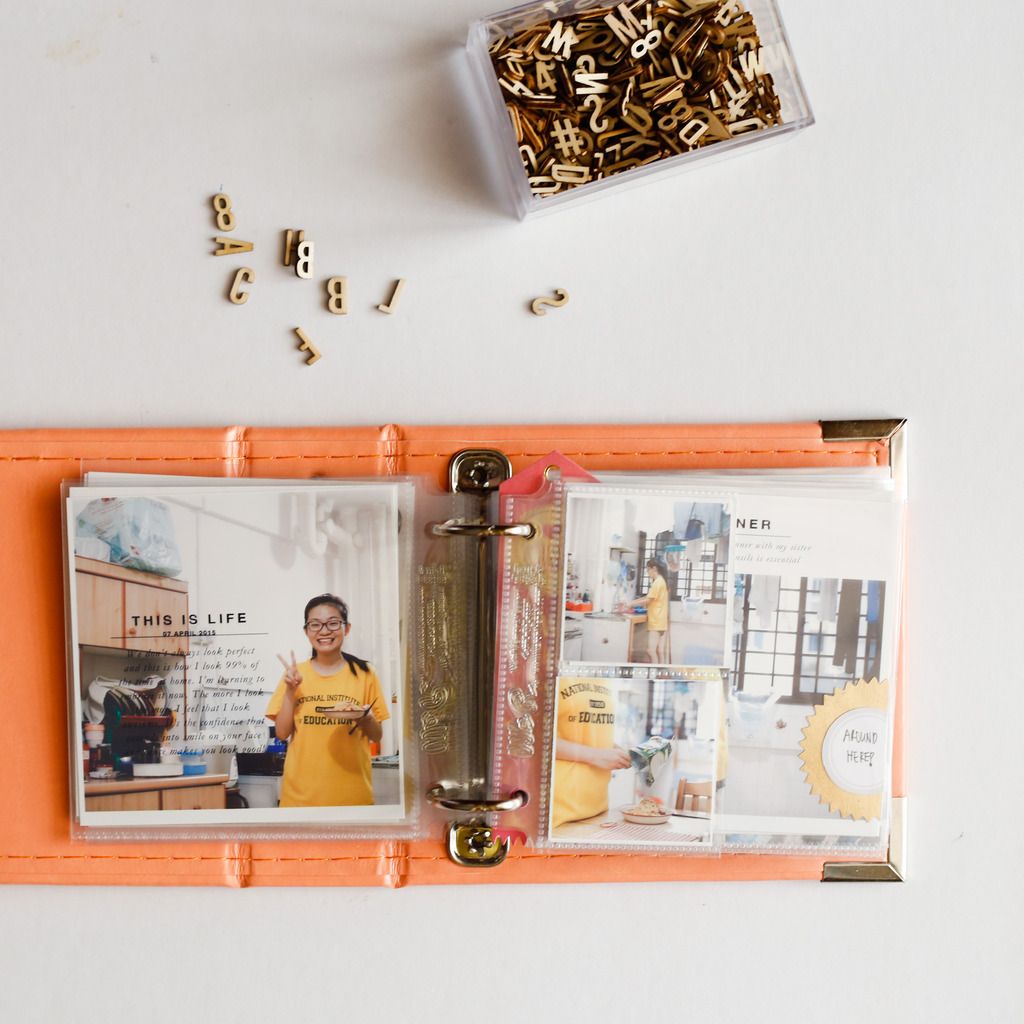
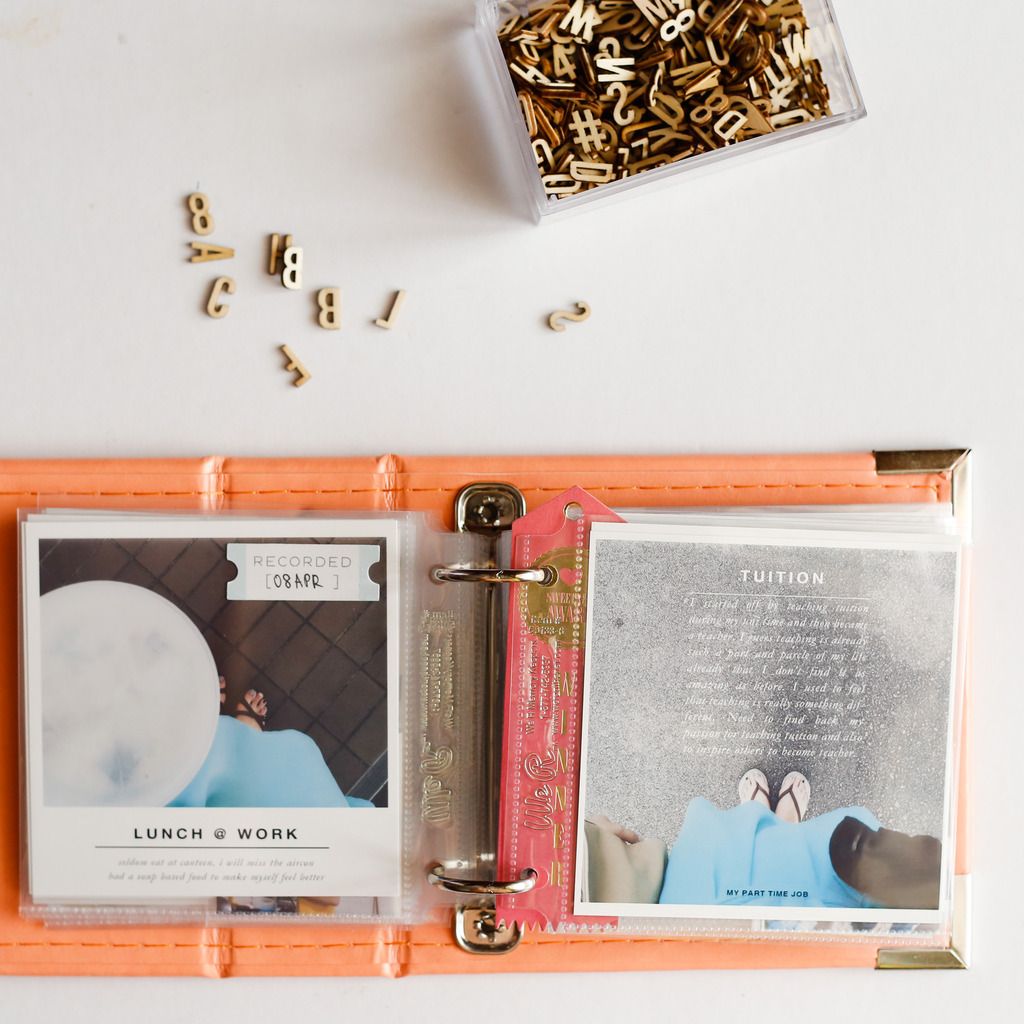
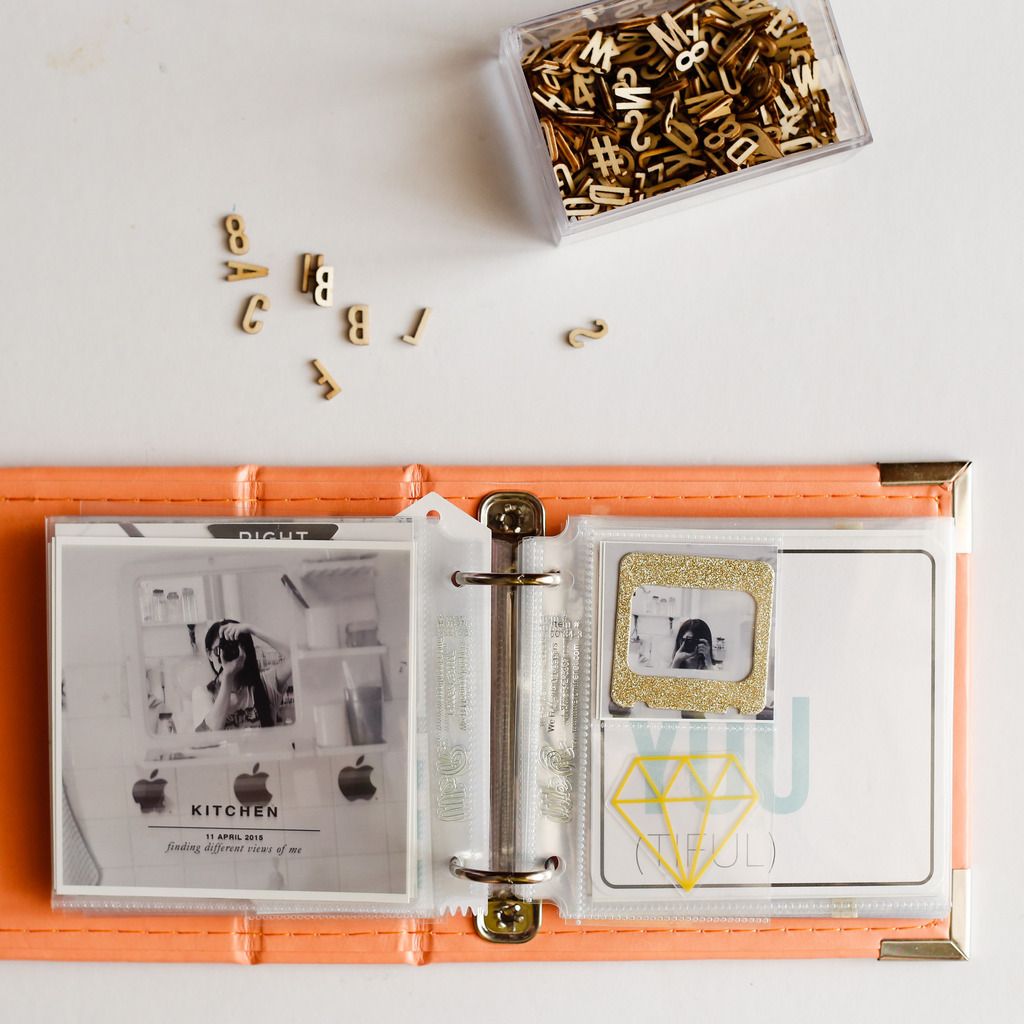
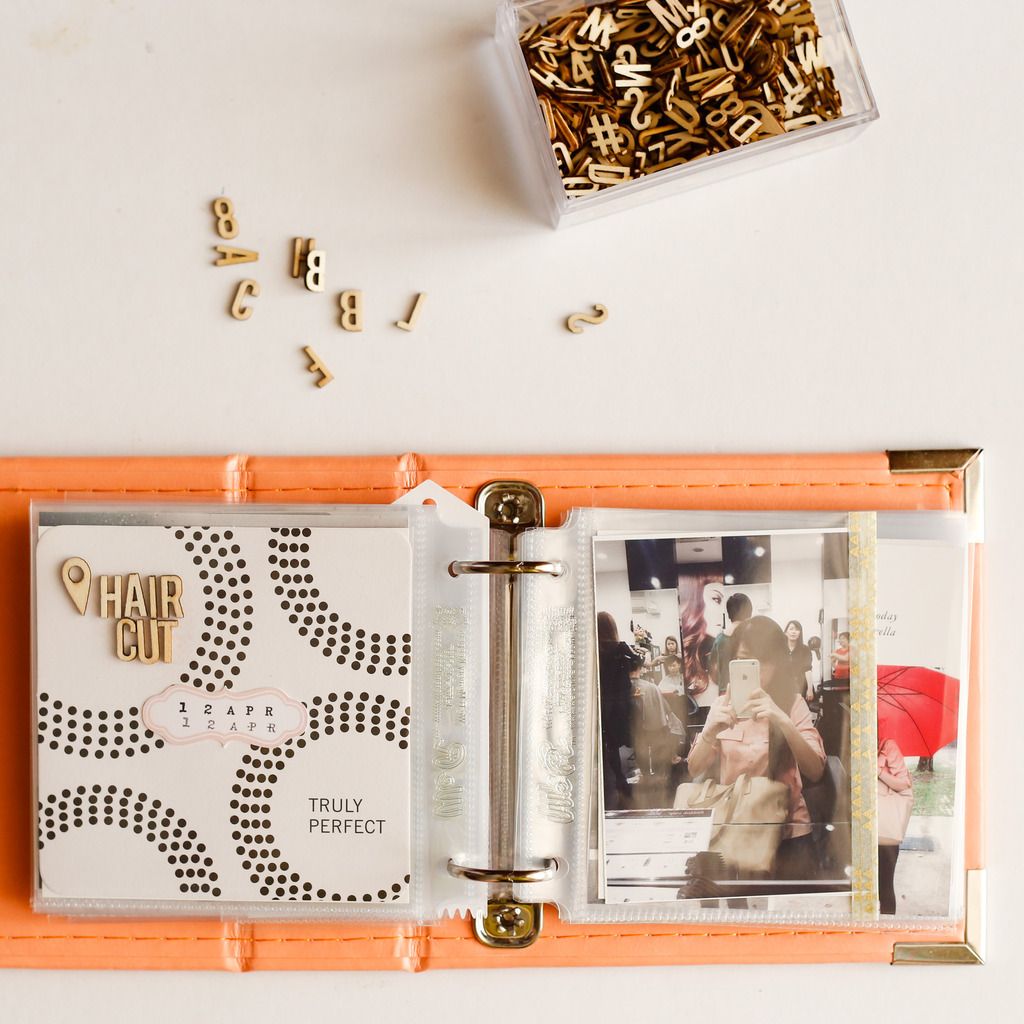
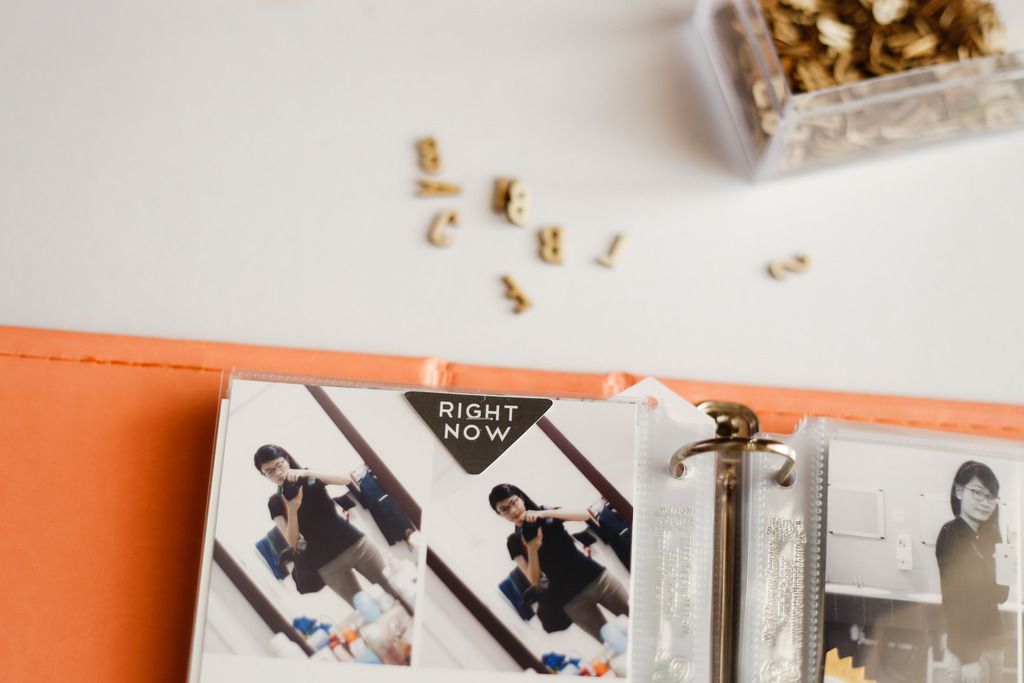
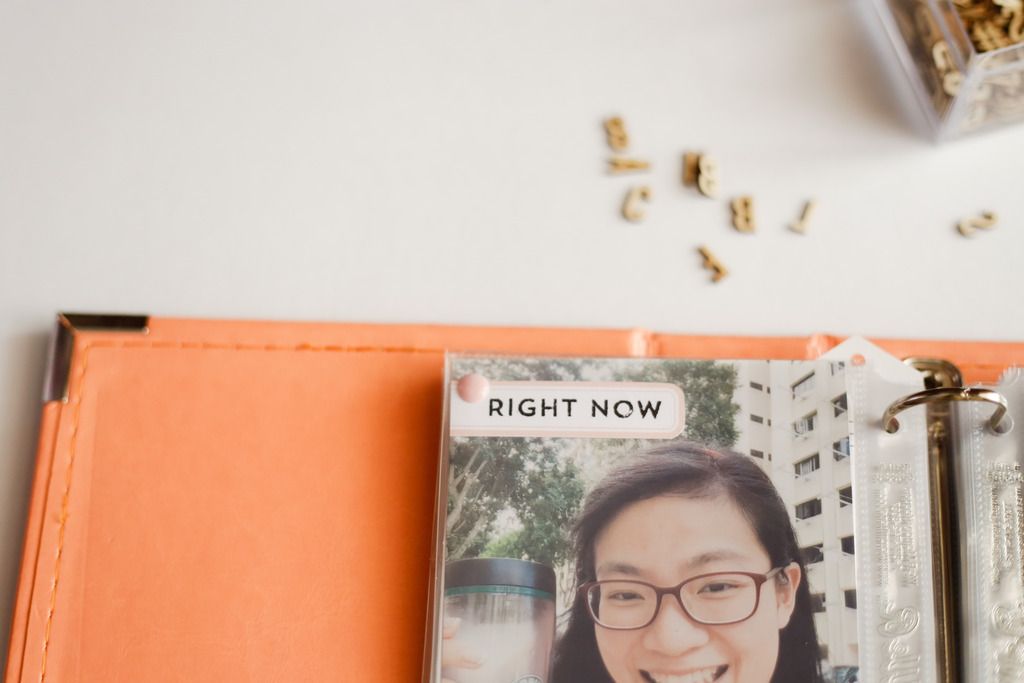
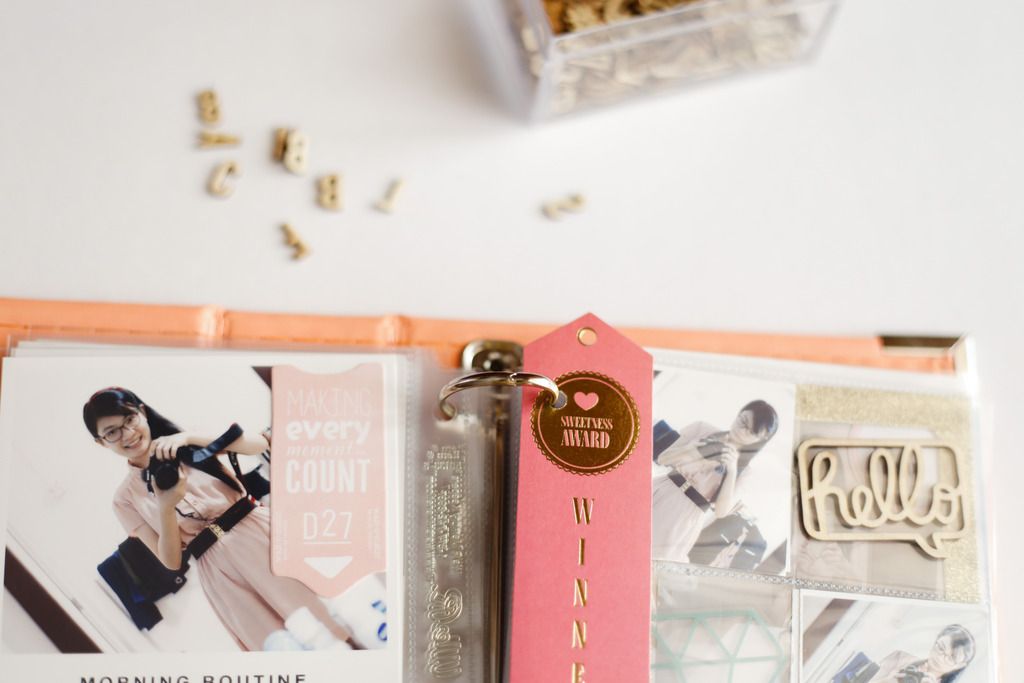
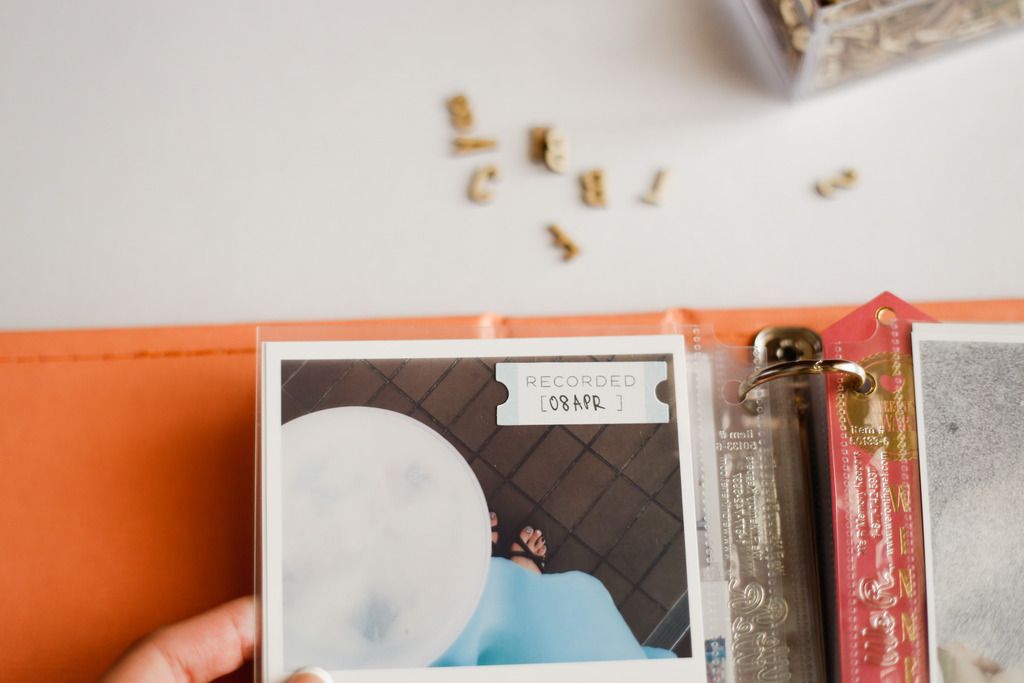
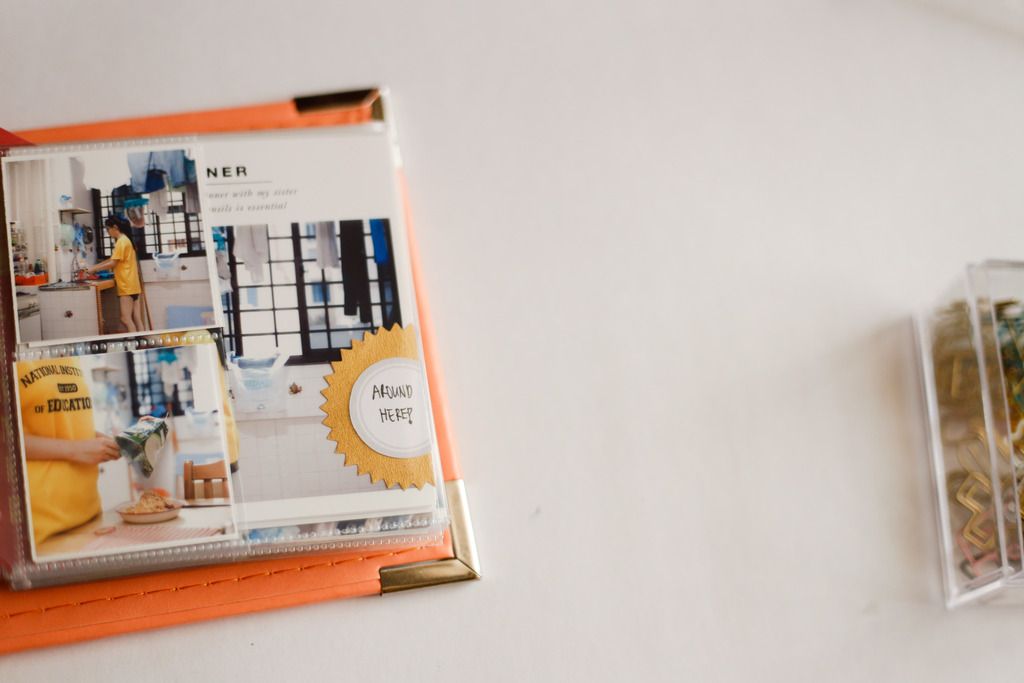
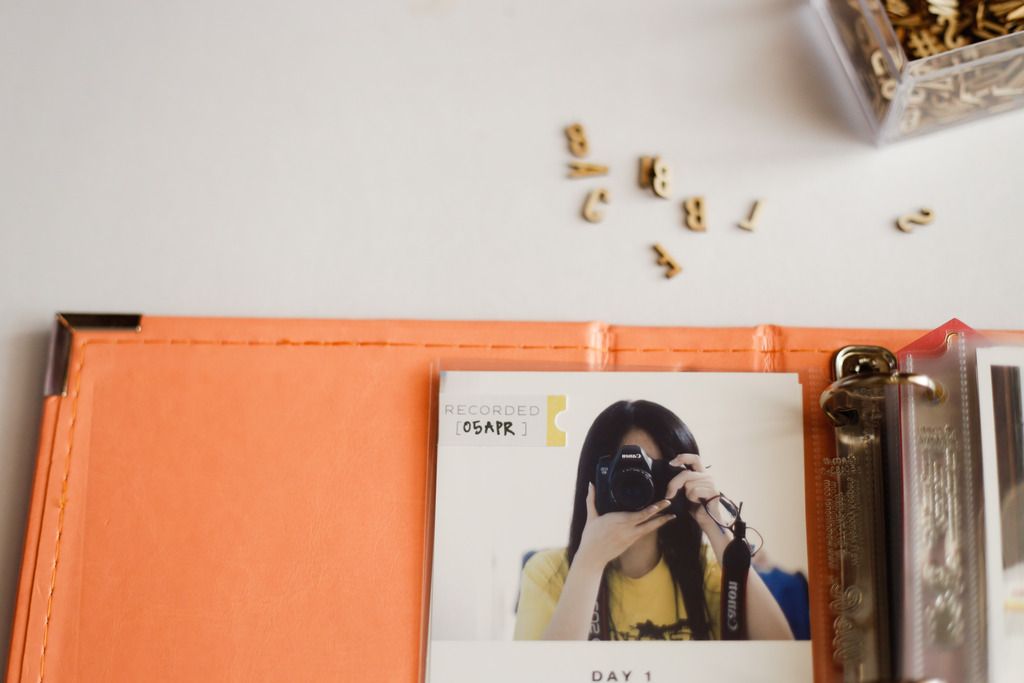
My plan is to use the black with orange band one for my Adelaide 2015 trip, documenting the trip with ONLY Polaroids prints from my phone (using Fuji Instax share printer) and minimal scrapbook supplies (like stamps, basic ink colours, some stickers and markers for journaling) 

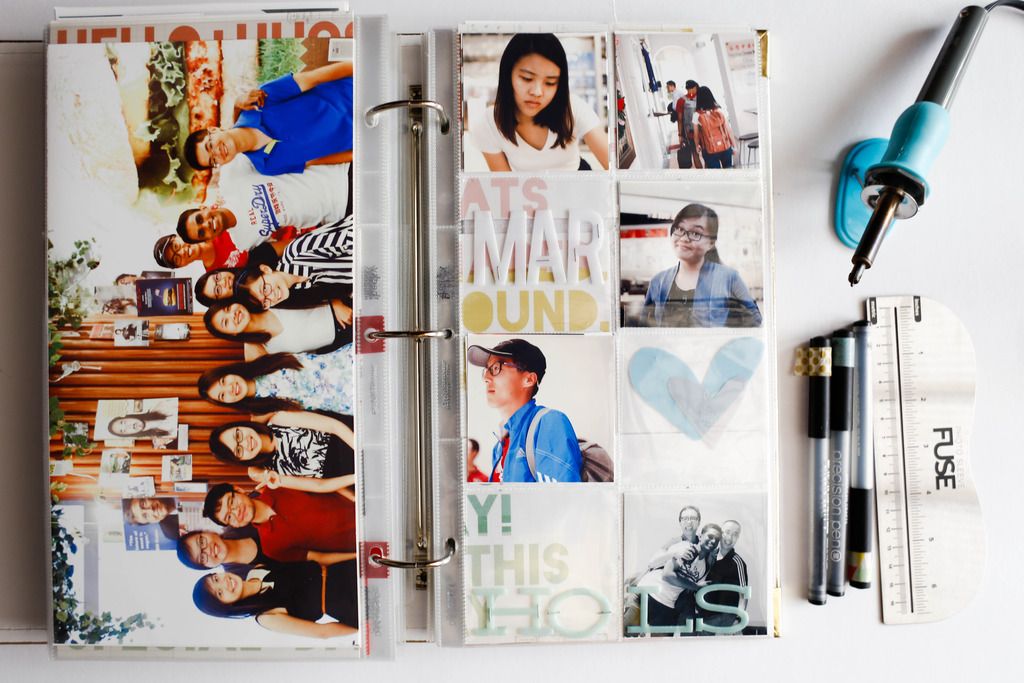
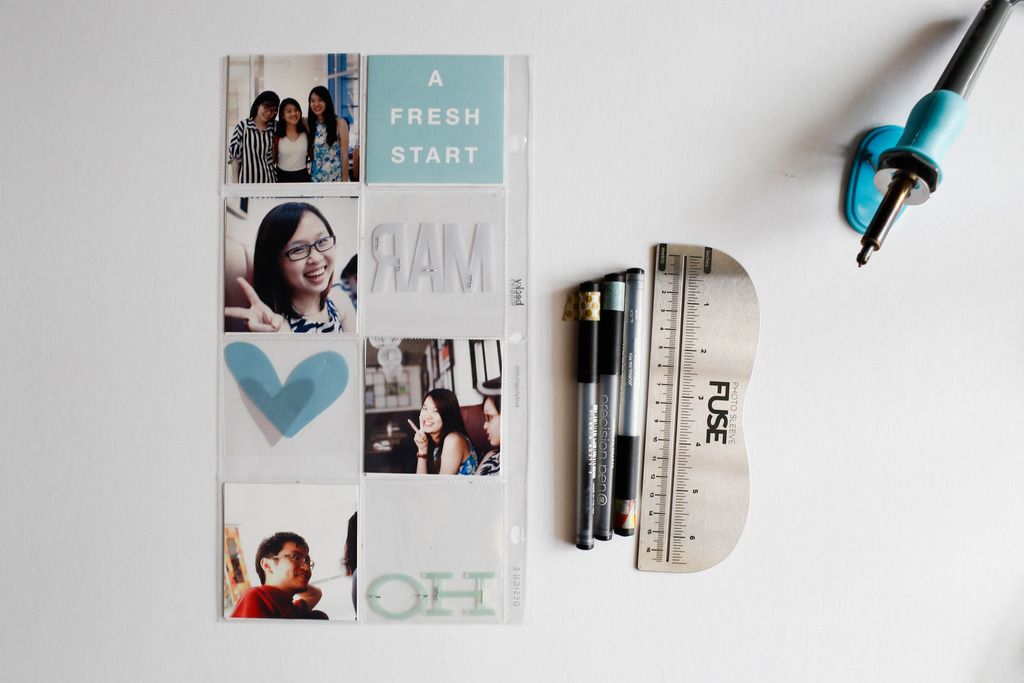
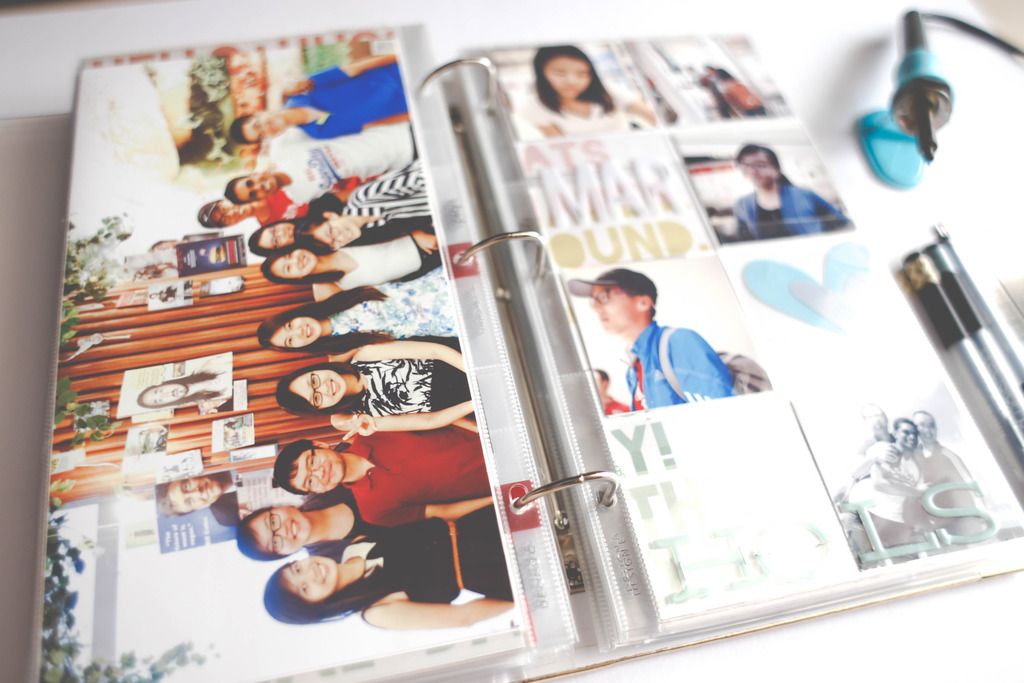
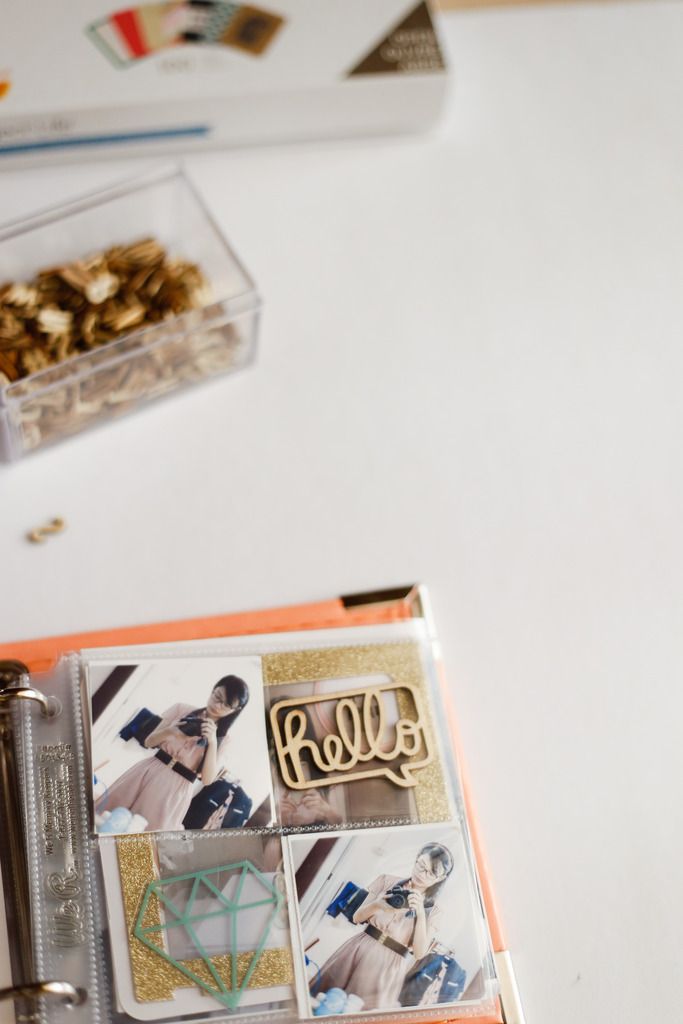
One of them will be my Taiwan 2015 trip album, and it serve the same purpose. One more will be for my day to day planner/notebook. I have not settle down with a concrete idea of what notebooks to include, but I have been using the Bullet Journal idea for my daily planner on just a simple Moleskine notebook. I'm getting the hang of it and so far (2 months) it has been serving me well. I might change my Filofax system to a bullet journal system inside one of this Fauxdori :)

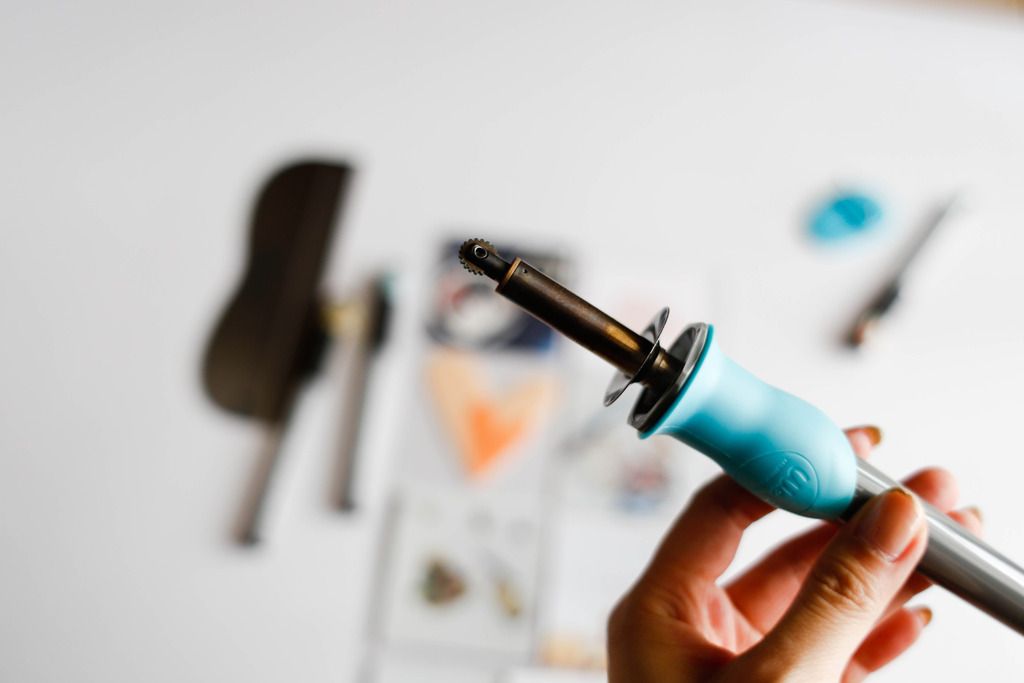
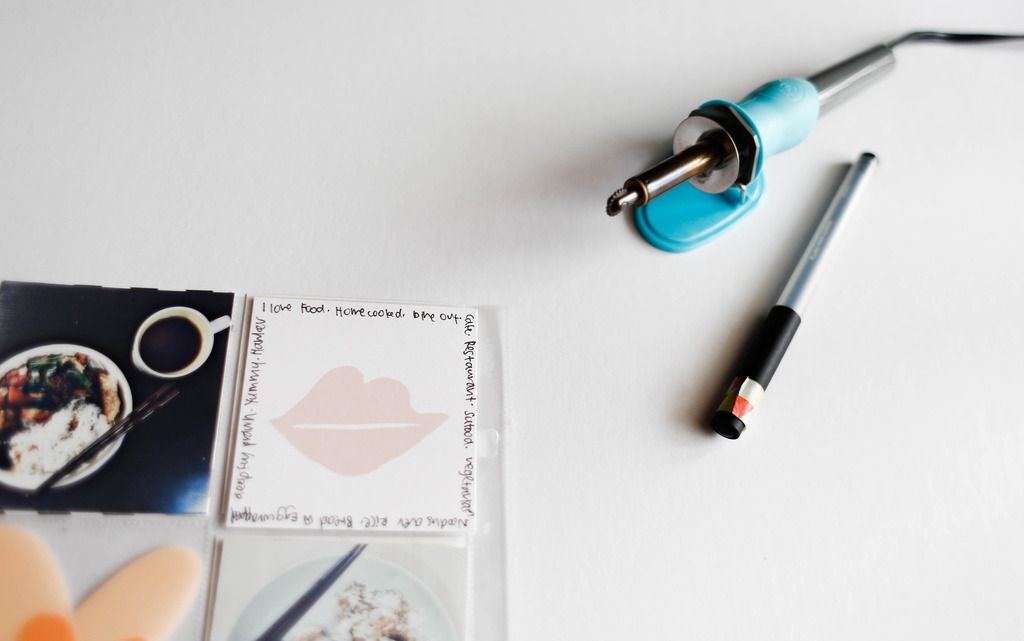
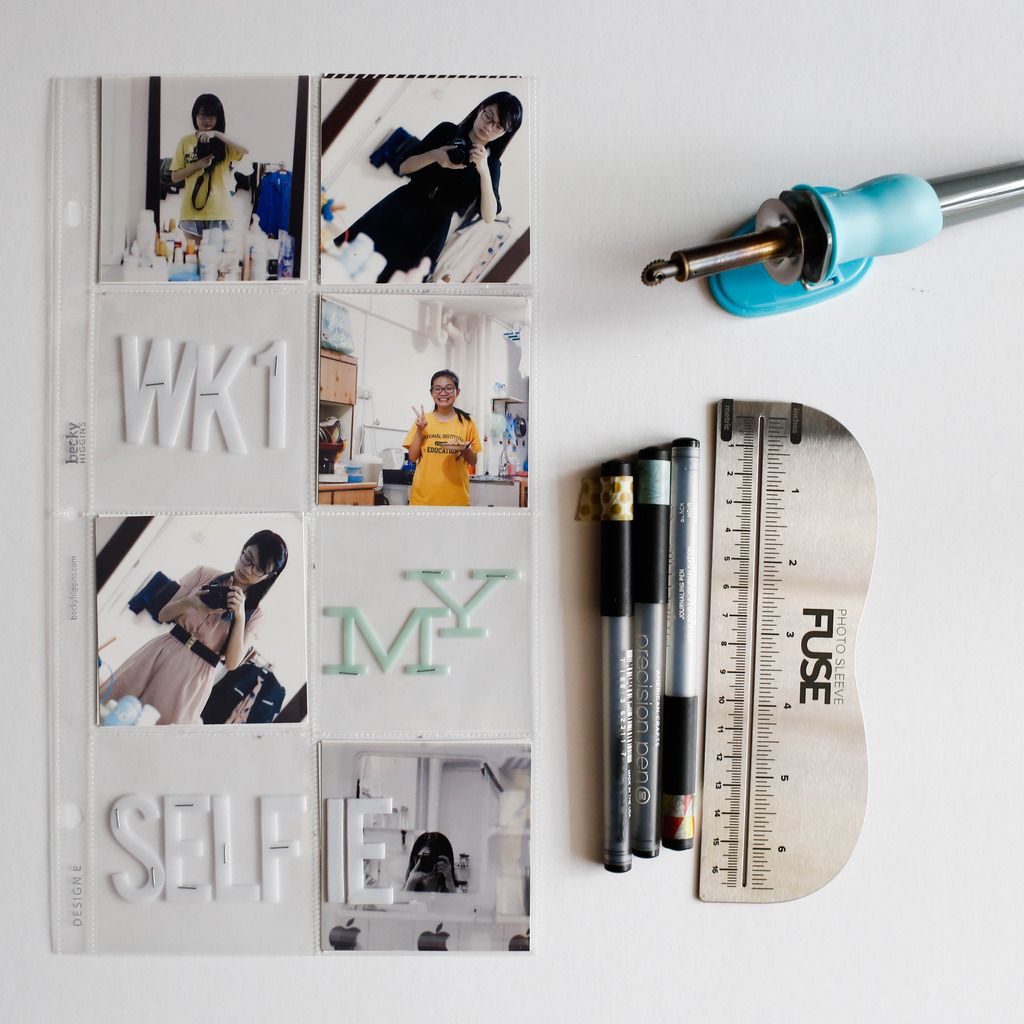
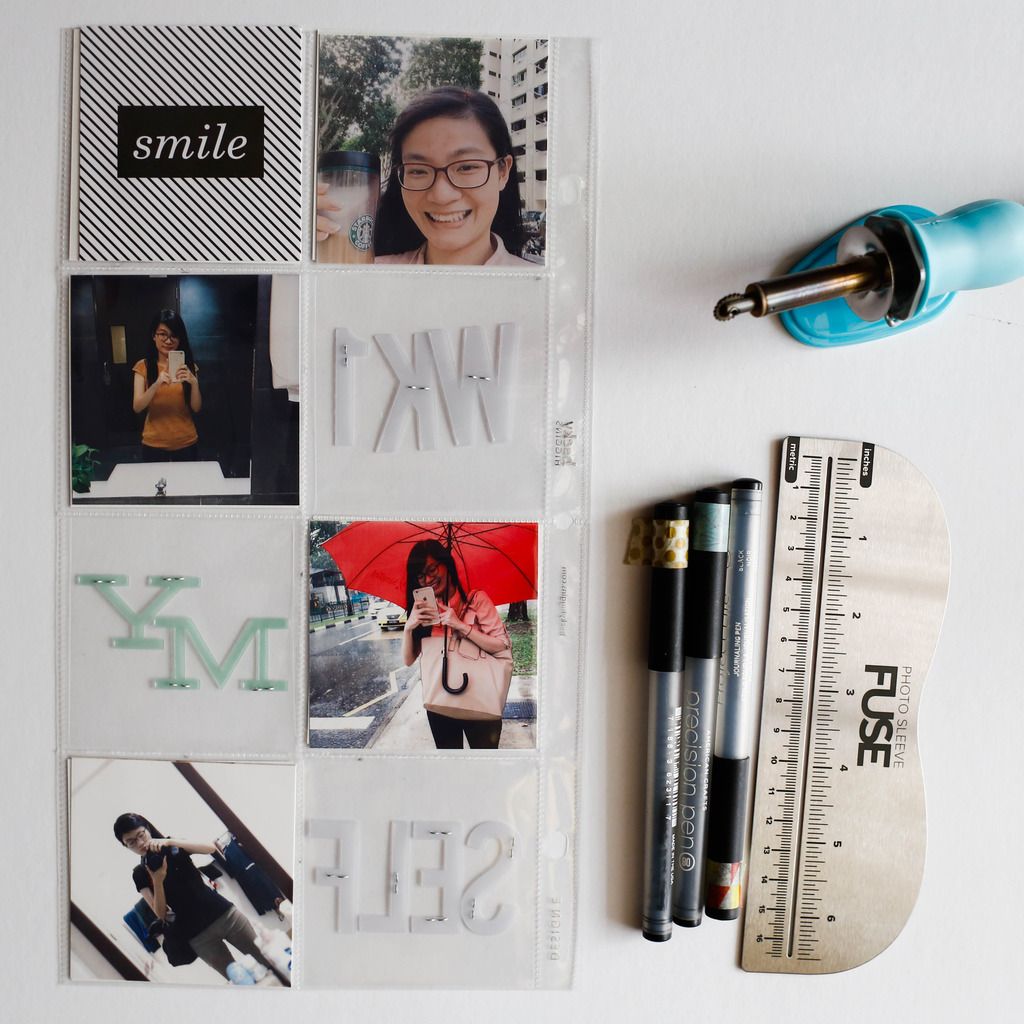
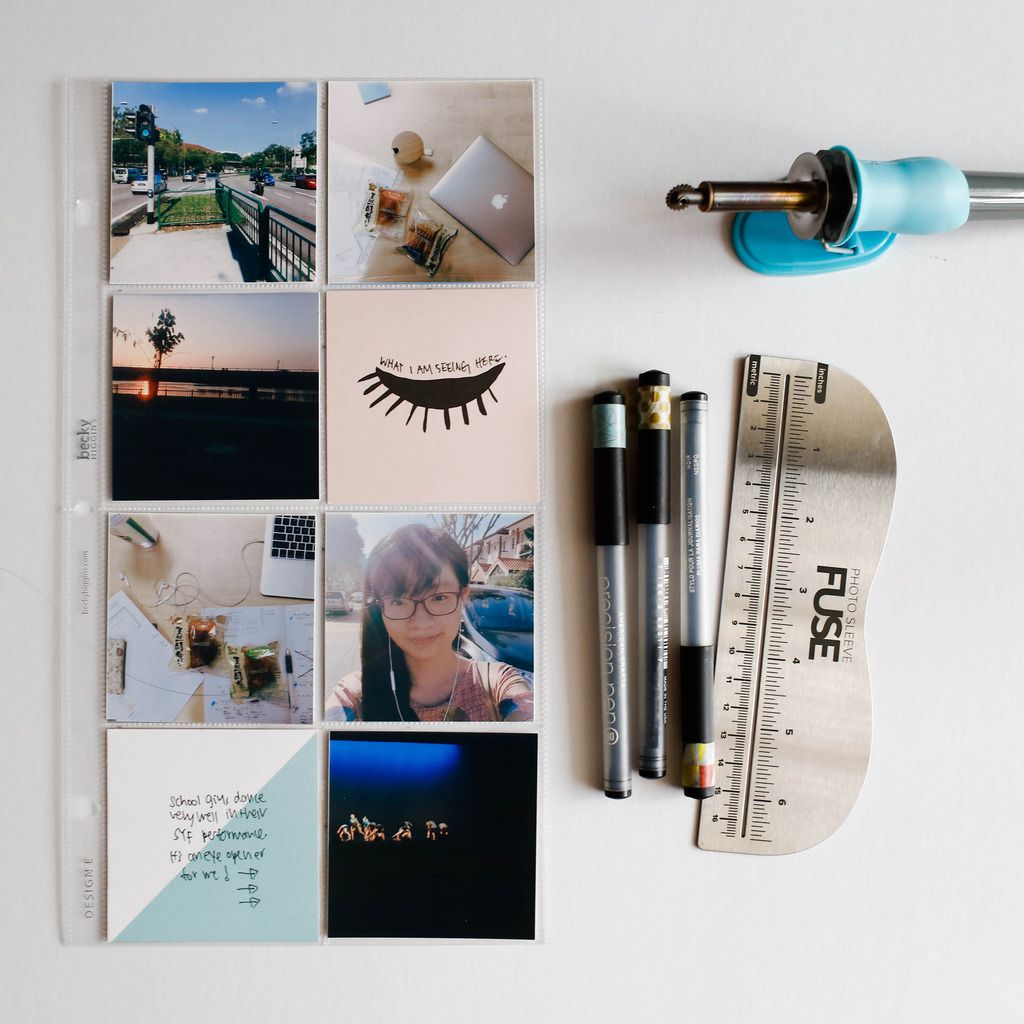
Thanks for stopping by . If you have a few minutes to spare, head over to my new (not too new) Youtube Channel ( Pepper Creations) as I had a new video up few days ago using the Fuse Tool by WMRK  and an accompanying blog post.

And till next time, Ciao!

The Fuse tool + a NEW Video :D

There are a recent uproar of the use of the Fuse tool. I myself bought one from Simon Says Stamp once I saw it on the sneak peek in this year CHA. Only after 3 months did I receive it from SSS, probably due to the high demand and low supplies. 

I have tons of ideas i wish to try out with this tool, say triangle pages, and creating my own page protector design from a plain 12x12. What bugs me is that, I will not be able to manipulate my pages after I weld/seal the pages. What happen to the back side of the pages? What happen if I have extra photos to add? What if I want to shift the photos around ? So I put it off for a rainy day. 

I finally pluck up my courage and took some really old page protectors and sit down for a good hour , planning how to cut and weld the pages so that they remain manipulatable. It took about 4 tries to get things right. And I'm happy to say that I finally SUCCEEDED in changing a 6x12 full sized page protector into one that have Eight 3x3 square pockets :) 

Click on the pictures below to go to the shop which sell each of the following fuse tool. They are essentially the same, but differ in color :)


Here is a short (speed up) process video that demonstrate how I put these pages together. 


Here are the picture of the projects

Spread 1 - Cafe and food and the Little Things


Page 2 - Outing with friends 


Page 4 - my Selfie scrapbook 


Some close ups


Thanks for looking. Till next time. Ciao!

Thursday, May 7, 2015

Midori Traveler's Notebook | Adelaide 2015


Hello there, just recently as I was reaearching on each of the planners which are available in the market, I got to know about Midori Travelers notebook, and I fell in love with the entire system and the ability for you to change the notebook up.


Since I'm a Vegetarian, and don't use any sort of animal product, the whole leather thing makes it seems impossible for me to use one Midori notebook. And then I saw online that Happie Scrappie has a youtube video on How to Make a Fauxdori and got inspired to make one myself. Hence I rush down to spotlight and bought some faux leather in mustard color and navy blue. I also bought some adhesive (a spray adhesive, a fabric glue and some wonder tape from Ranger) 

While making this Fauxdori notebook, I followed this youtube tutorial  closely and It works out well!

I plan to bring my Midori Travelers notebook together with me during my Adelaide trip , I can't wait to fil it up. I will soon share what I included in my notebook for journaling during the trip. Till next time , Ciao!


Saturday, May 2, 2015

#myselfiescrapbook project Week 1 + a NEW video

You can read all about my #myselfiescrapbook project here :) 


Hello all, I'm back with a second installment of the #myselfiescrapbook project initiated by Jennifer Lake and Julie Gagen. I'm having a fun time with taking photos of myself and also putting the album together. Today I share the progress of my album so far :) 

Watch the short process video here :)


All the photos are edited using iPhone apps or Lightroom, and the template i'm using is by Liz Tamanaha of Paislee Press via The-lilypad. I love the minimalist template series she is offering over at the-lilypad. So simple and pretty :)


I used some Daiso clear plastic box and a Project Life Mini kit box to hold my supplies together :) Because I know that this is an ongoing project.

So here are the pages I have put together so far

Here are some close ups :)


Thanks for stopping by, be sure to hop over to Jennifer Lake and Julie Gagen blog to read more about the project, and share your project via their linky :)

So this is iNSD period, I'm currently working on the week 2 and 3 pages and hopefully to share soon :)