
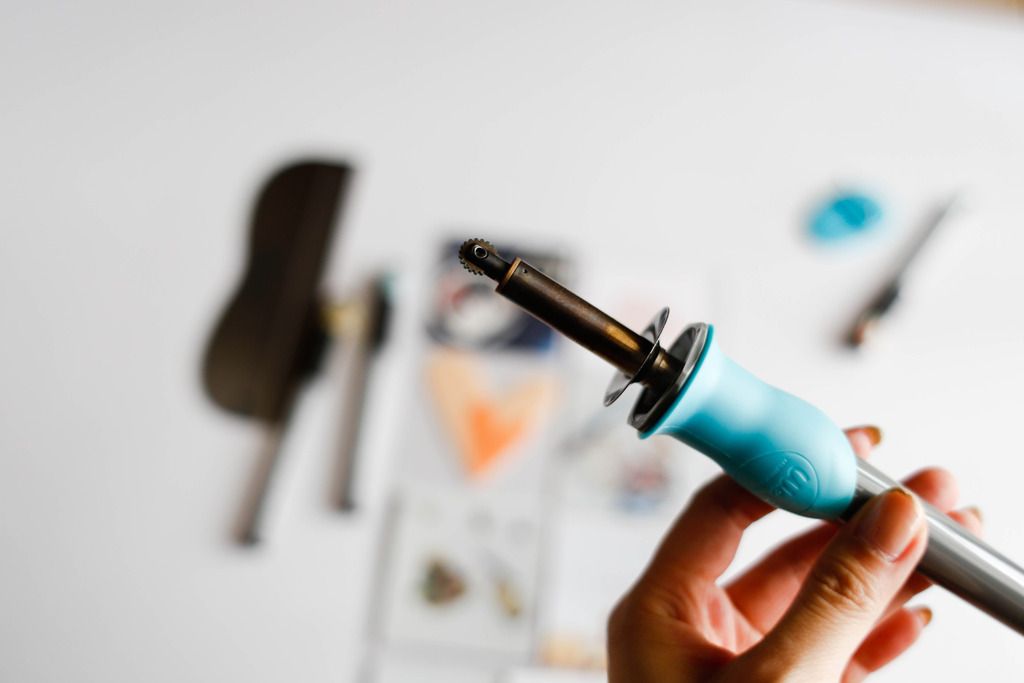
There are a recent uproar of the use of the Fuse tool. I myself bought one from Simon Says Stamp once I saw it on the sneak peek in this year CHA. Only after 3 months did I receive it from SSS, probably due to the high demand and low supplies.
I have tons of ideas i wish to try out with this tool, say triangle pages, and creating my own page protector design from a plain 12x12. What bugs me is that, I will not be able to manipulate my pages after I weld/seal the pages. What happen to the back side of the pages? What happen if I have extra photos to add? What if I want to shift the photos around ? So I put it off for a rainy day.
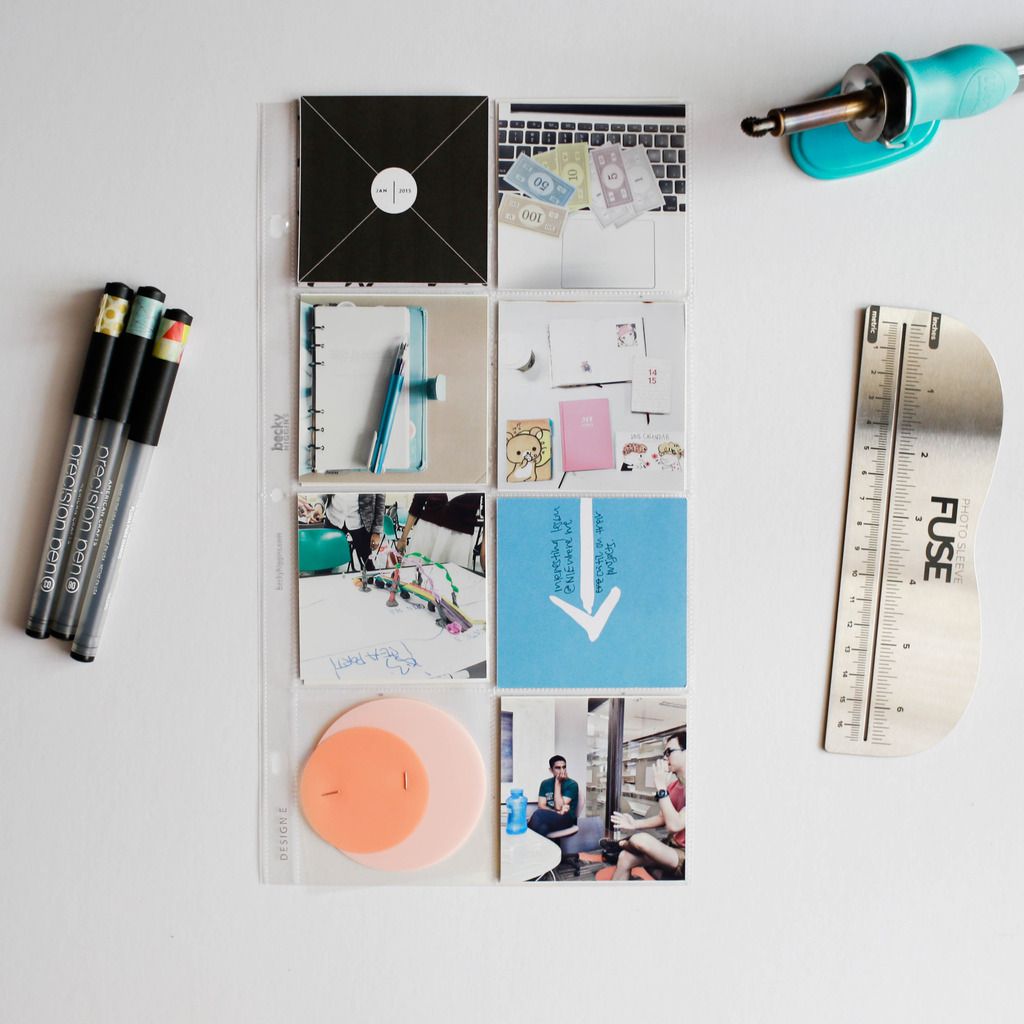
I finally pluck up my courage and took some really old page protectors and sit down for a good hour , planning how to cut and weld the pages so that they remain manipulatable. It took about 4 tries to get things right. And I'm happy to say that I finally SUCCEEDED in changing a 6x12 full sized page protector into one that have Eight 3x3 square pockets :)
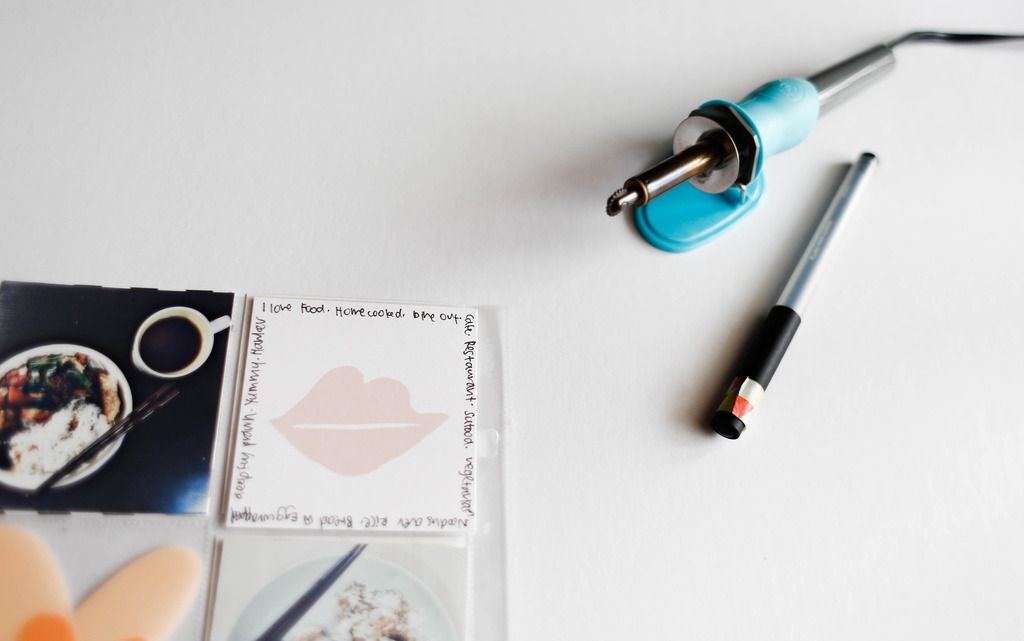
Click on the pictures below to go to the shop which sell each of the following fuse tool. They are essentially the same, but differ in color :)


Here is a short (speed up) process video that demonstrate how I put these pages together.
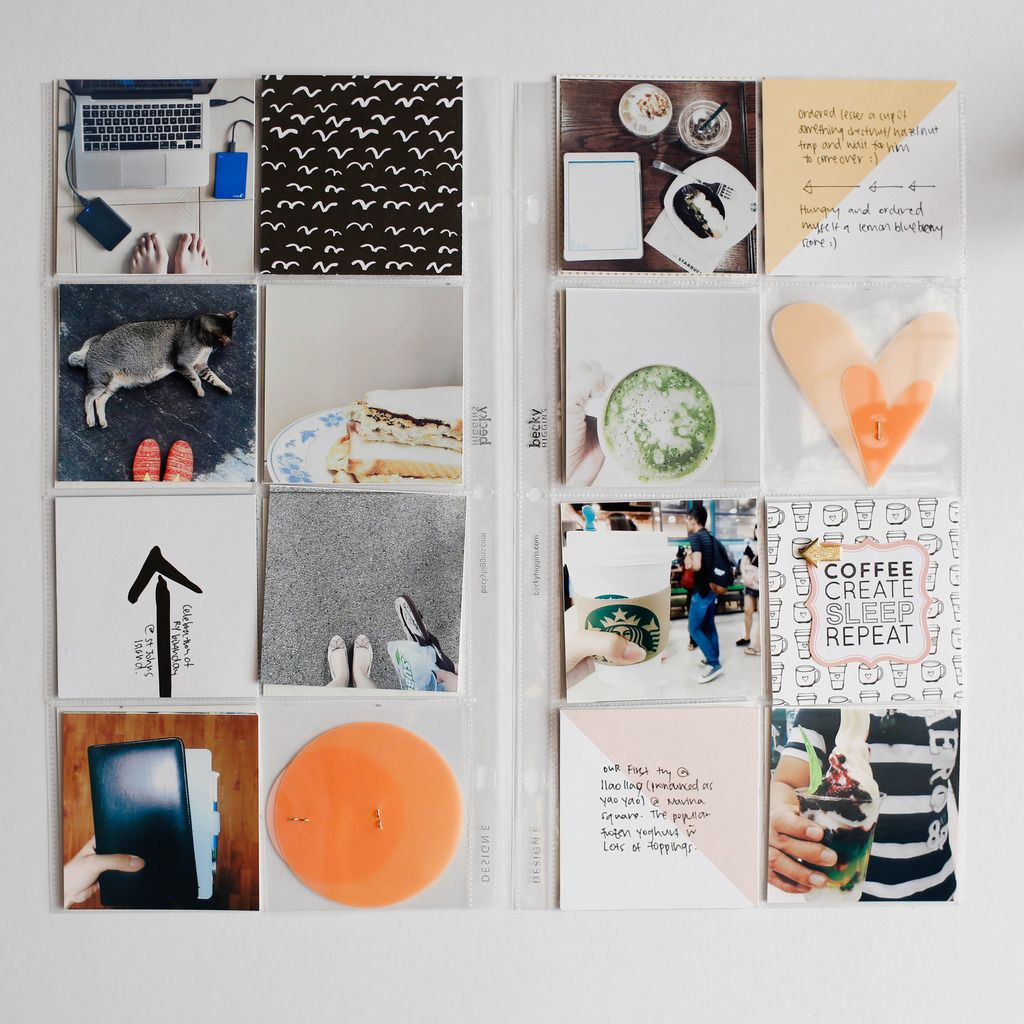
Here are the picture of the projects
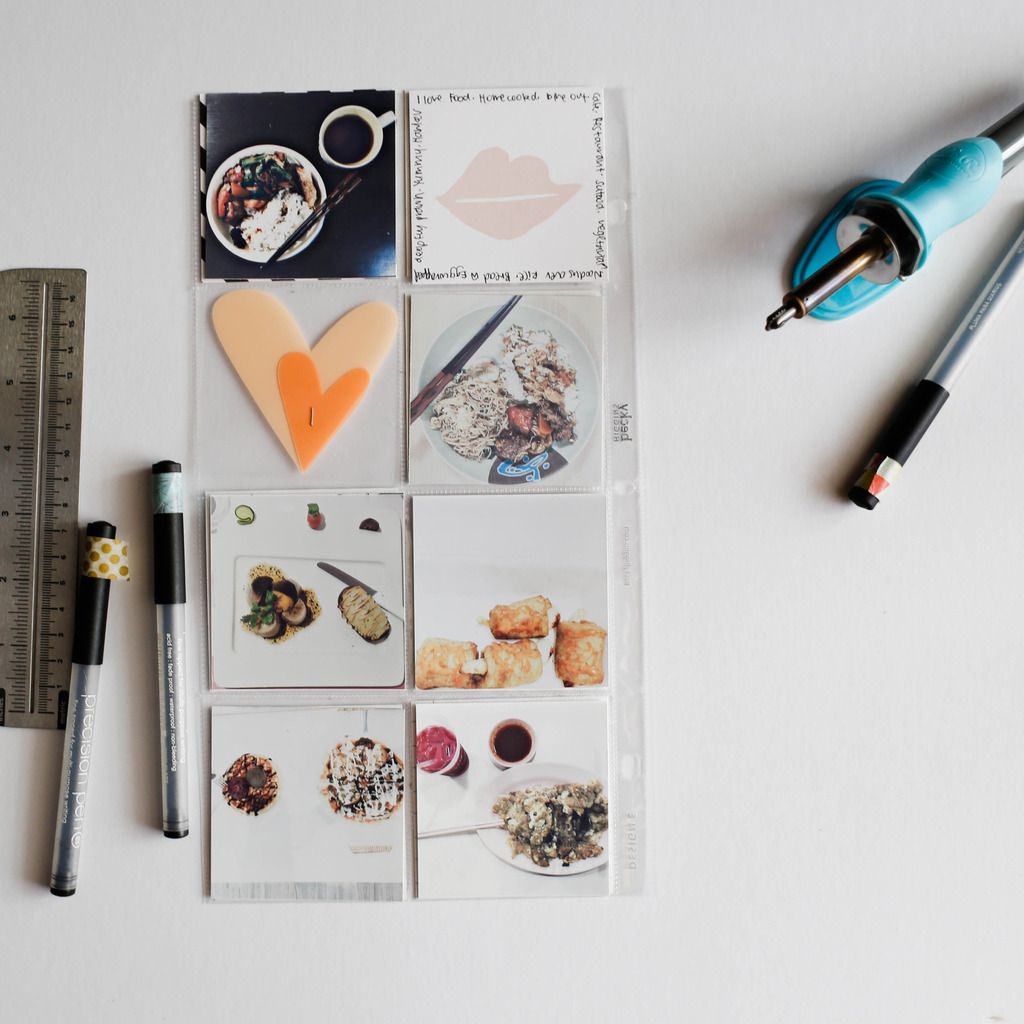
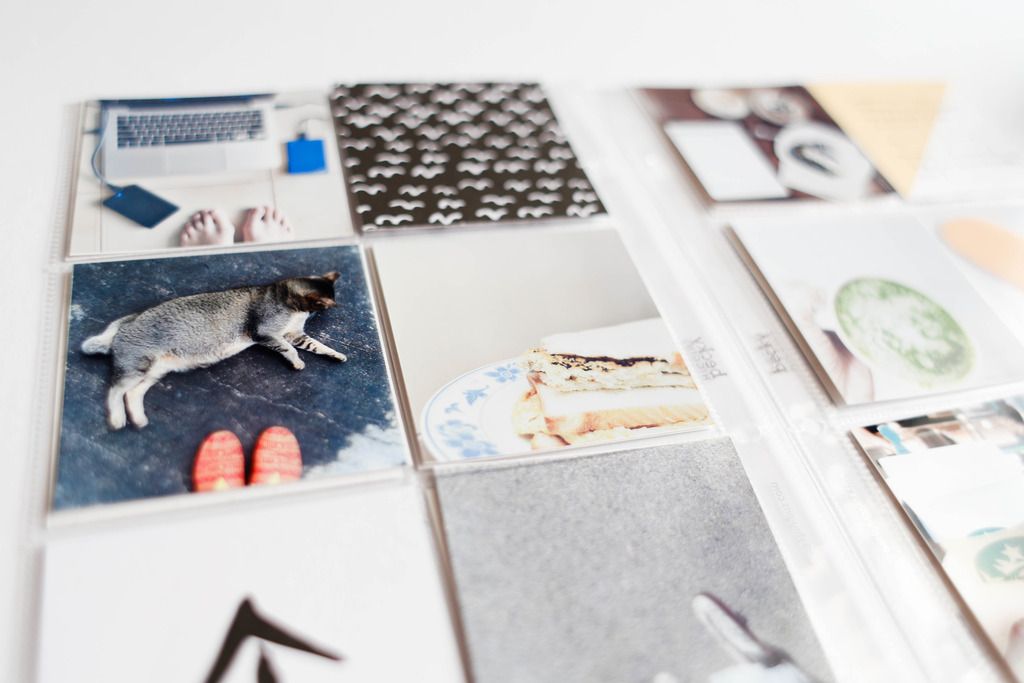
Spread 1 - Cafe and food and the Little Things
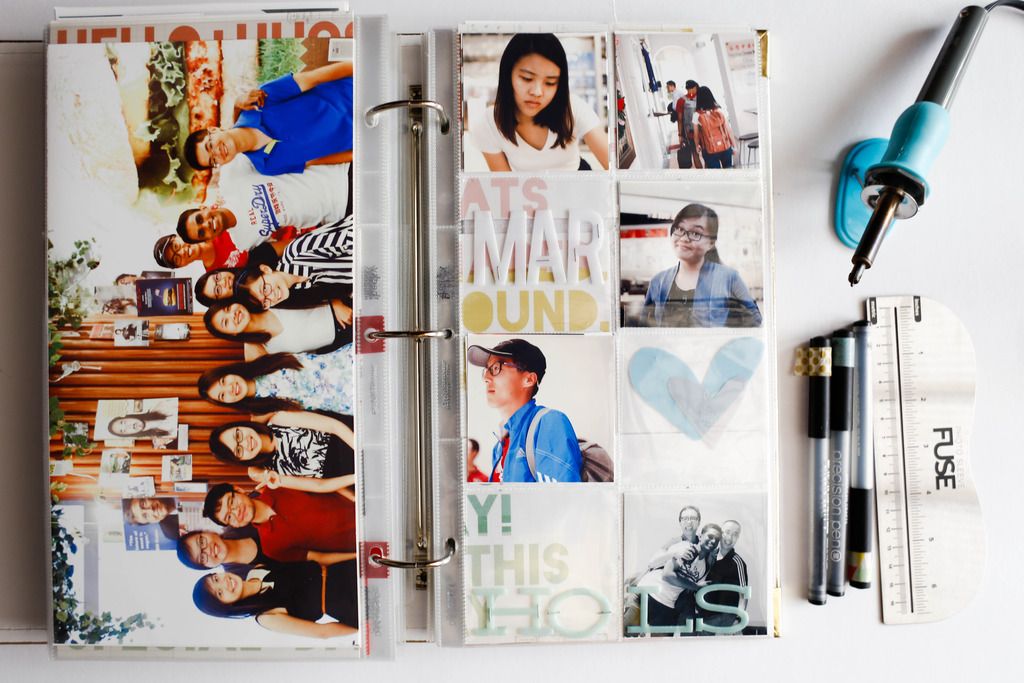
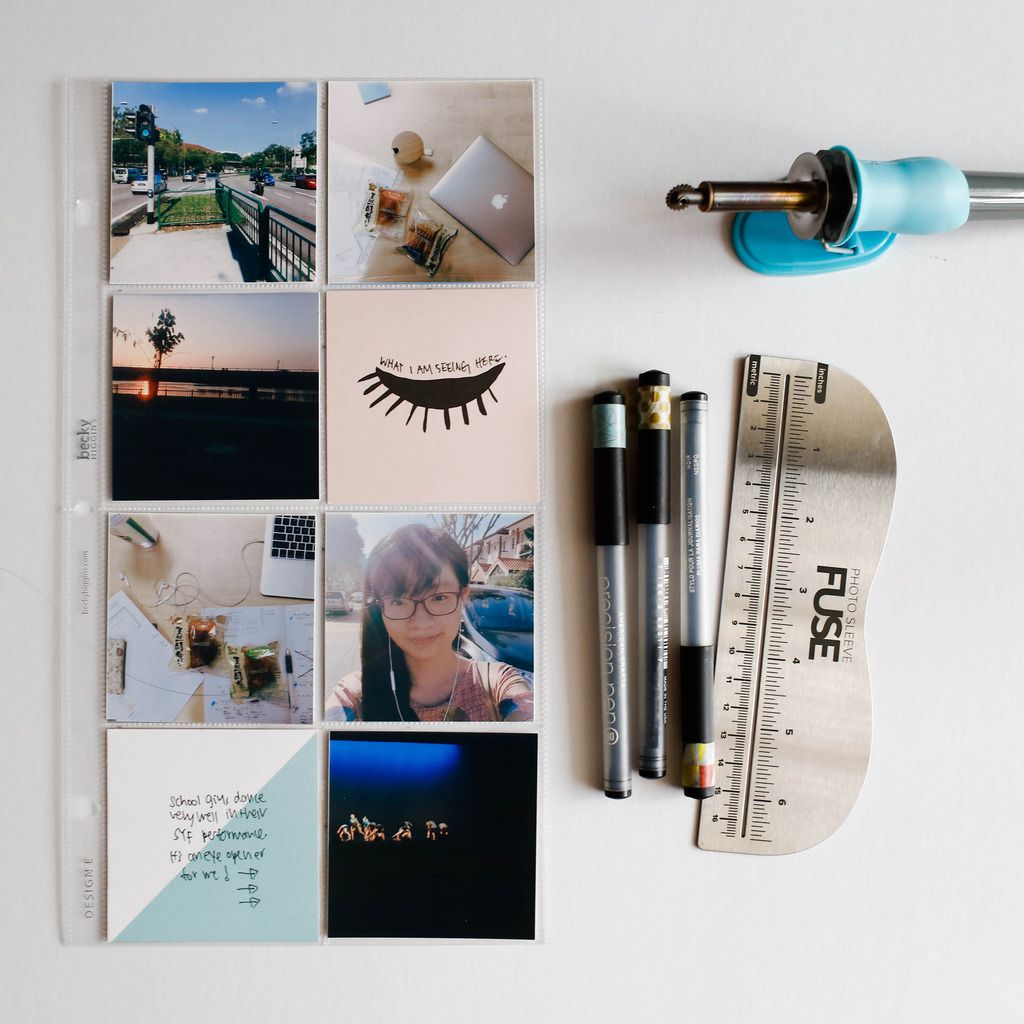
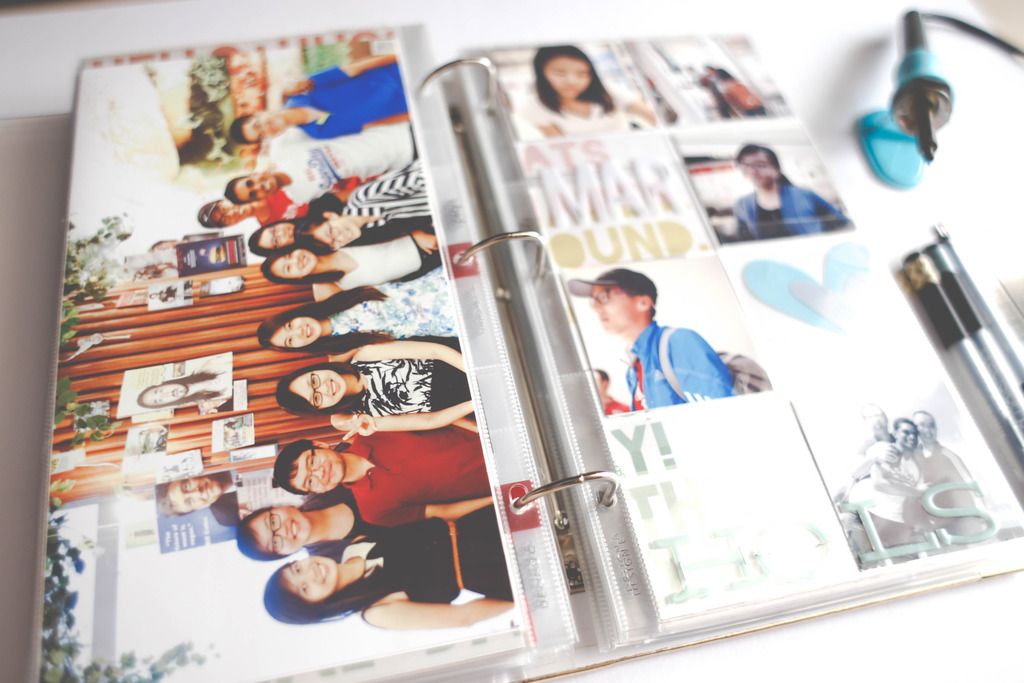
Page 2 - Outing with friends


Page 4 - my Selfie scrapbook
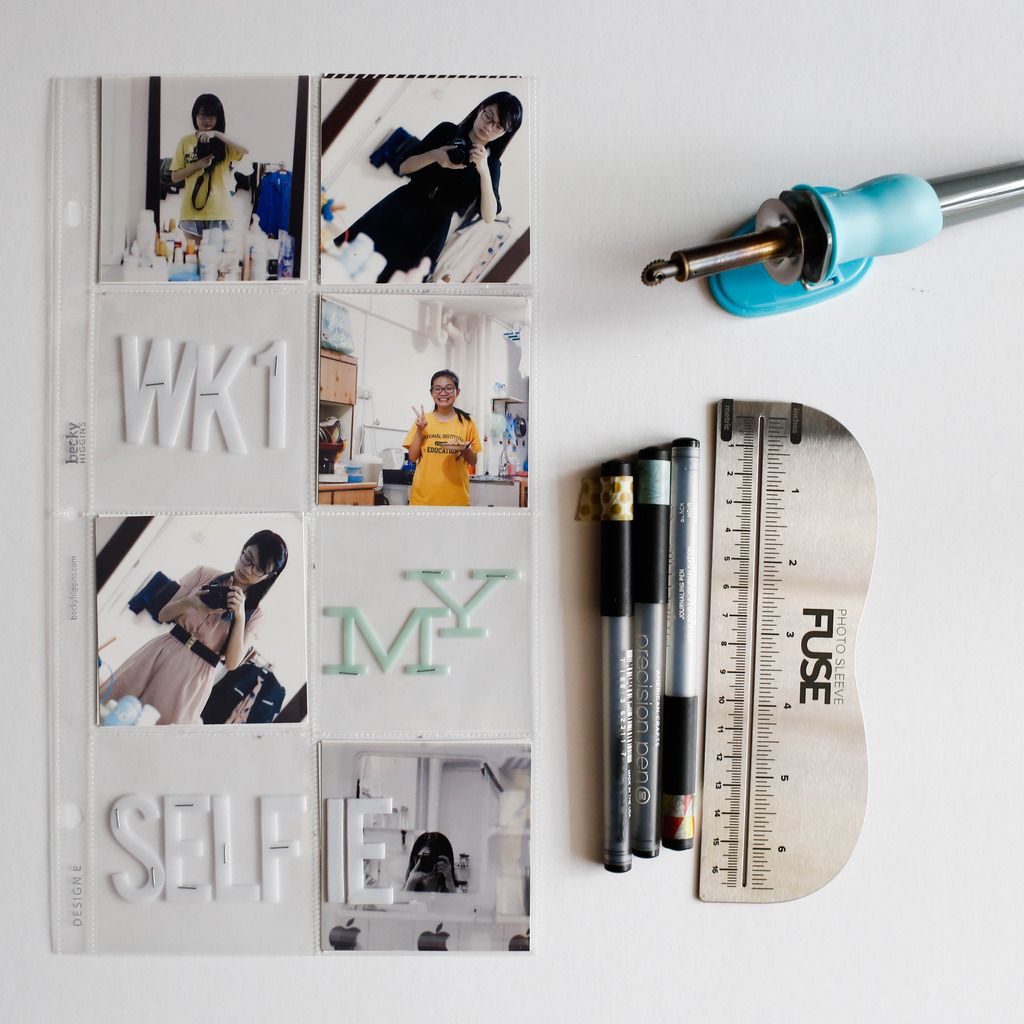
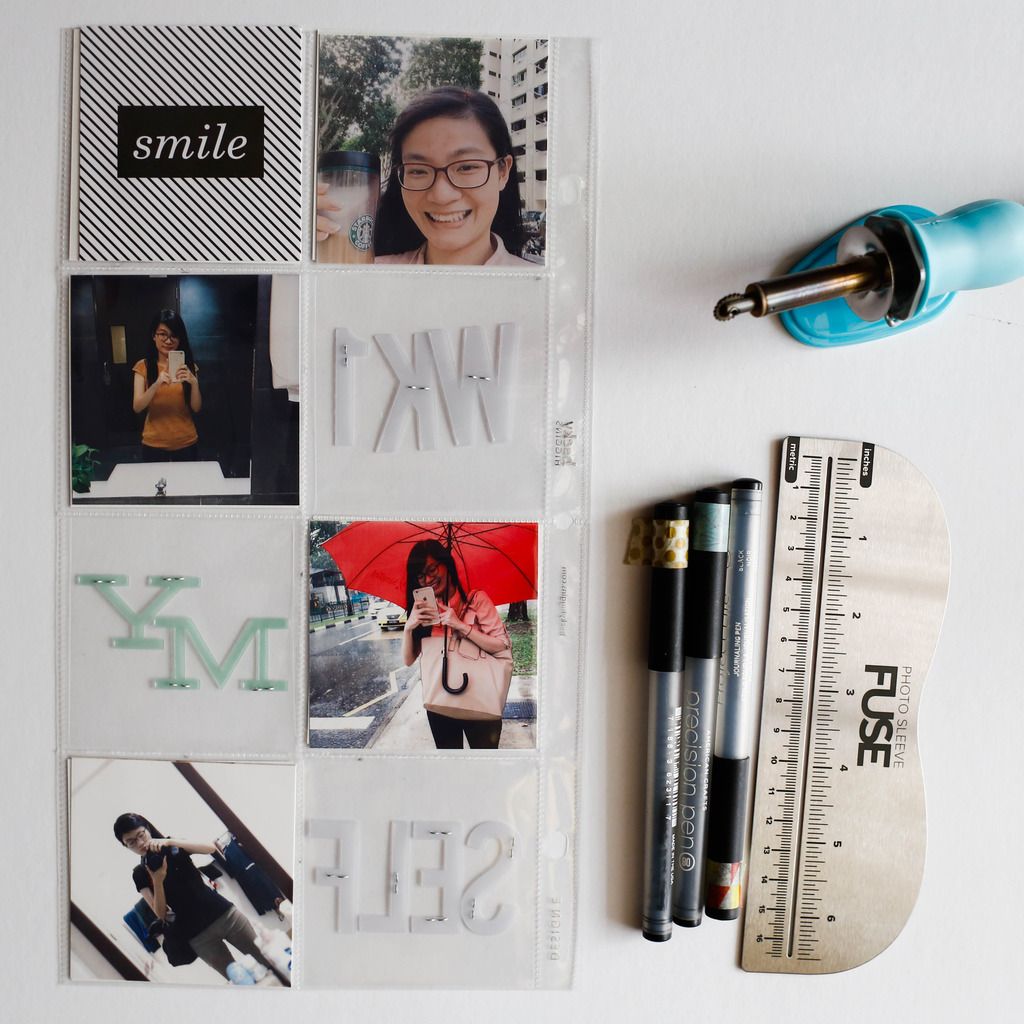
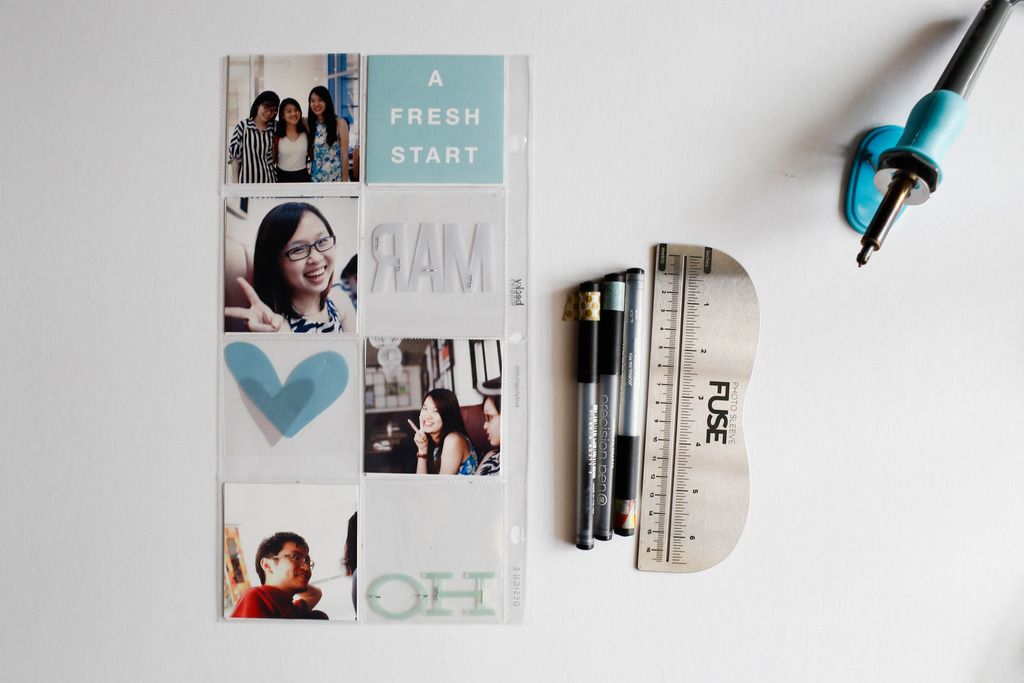
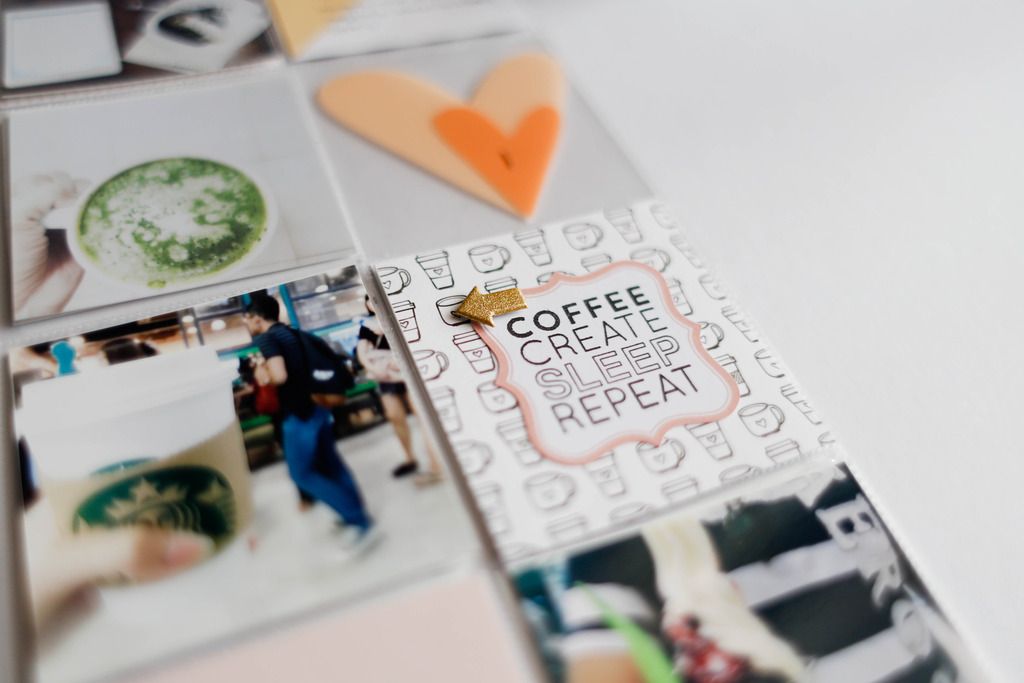
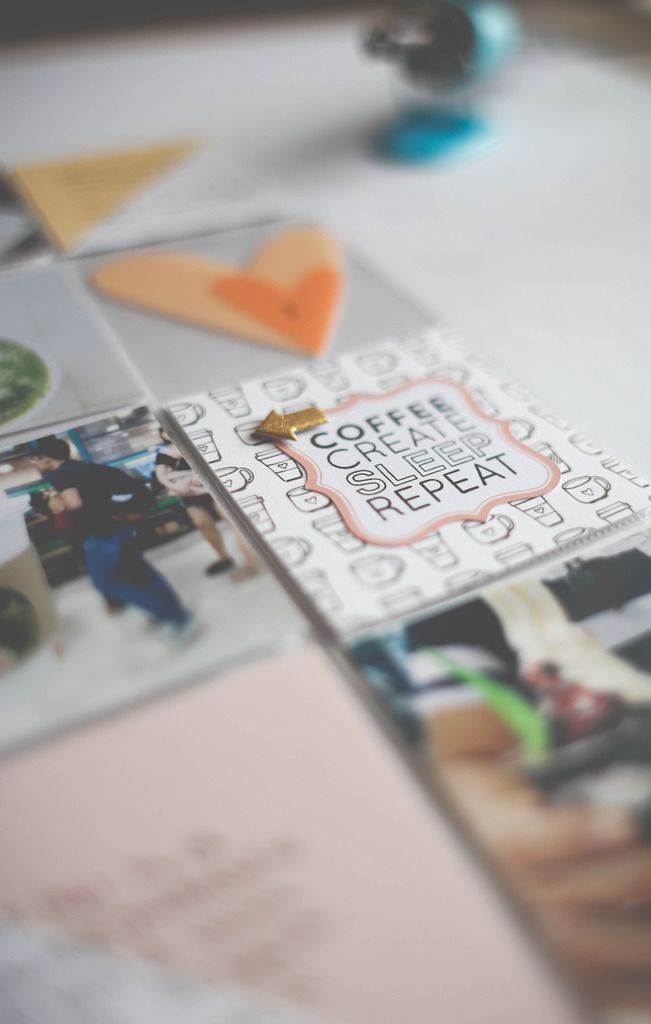
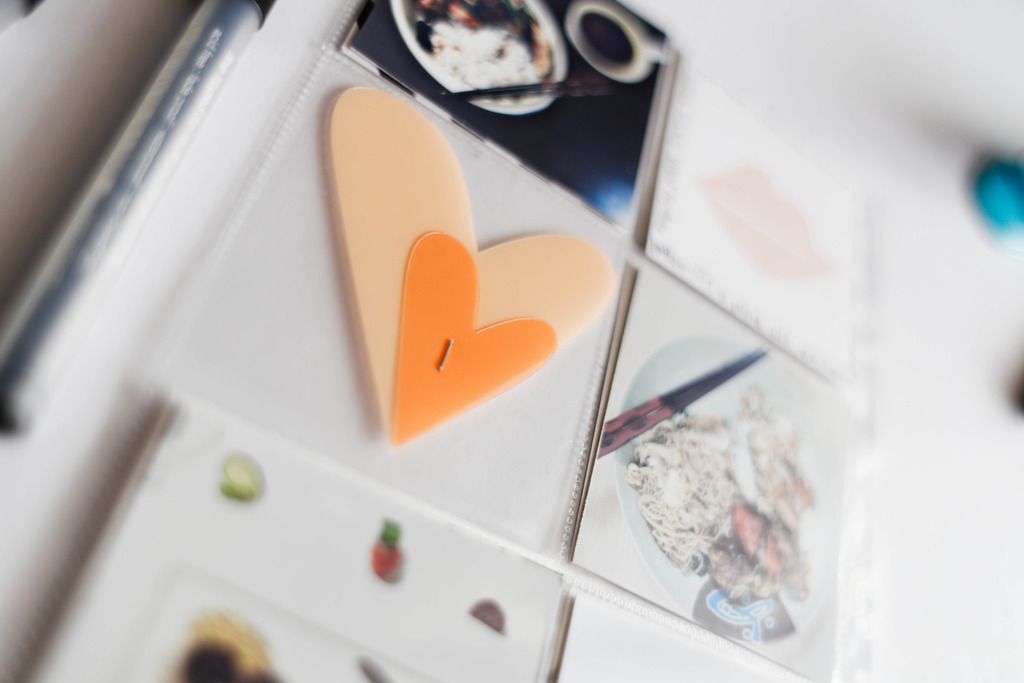
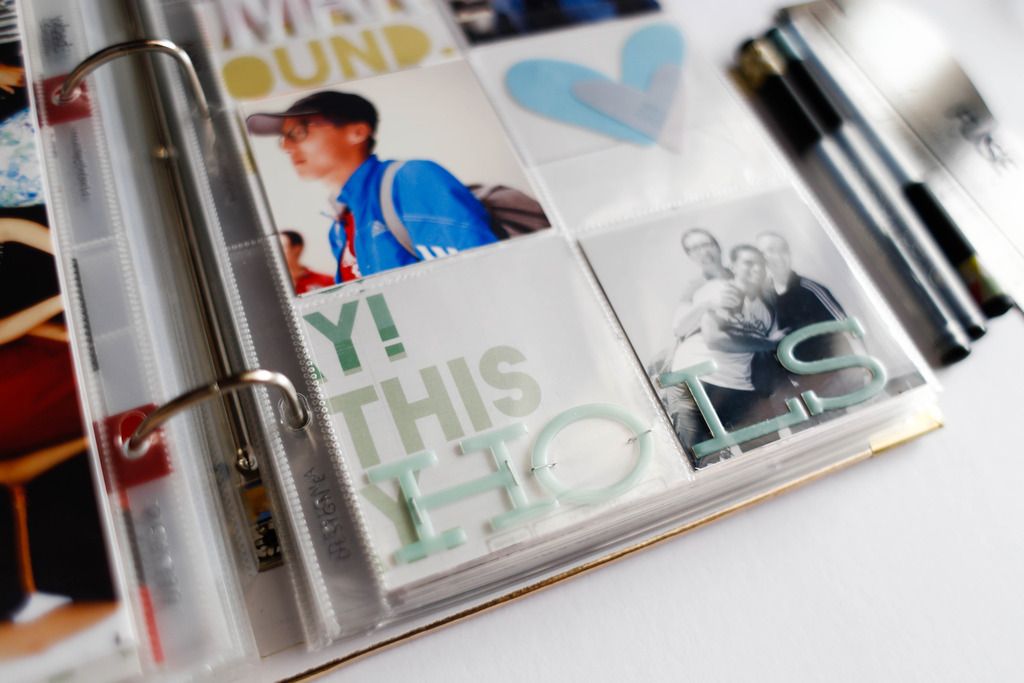
Some close ups


Thanks for looking. Till next time. Ciao!
3 comments:
Hi! Sooooo I just found you looking for more people doing 6x12 (always see Kelly Purkey but not much more!) and I'm loving your PL! I haven't started yet and this will be my first PL album ever. After the initial frustration because of huge shipping costs from Studio Calico / ABM to Spain (my plan was to buy 9x12 square and vertical page protectors and chop them off) I've been a bit frustrated about only having two models to choose from, so finding this on Pinterest was perfect!
I was wondering, how did you manage to cut them in order to change things if wanted without breaking the page? I saw the video but didn't quite understand that part, sorry!
Greetings,
Camila.
Hi Camila, Thanks for your comment. Apologies for getting back to you this late. I cut the pages using a craft knife with a chipboard or anything hard slot inside the page protector, so that it doesn't cut through the backside of the page protector as well. So I create this opening on one side of the page protector. there is quite abit of Math involved when I try to manipulate the pages because i need to account for where I want to be able to slot the pages in and etc. I also did some trial and error with older page protectors to make sure the configuration works :) Drawing the layout onto a piece of paper helps too!
For this particular one, i cut a 6inch horizontal line in the middle of the 6x6 pocket, then i seal the vertical and the horizontal. When sealing the horizontal, i'm actually sealing back the same place that I originally cut, but that seal is the bottom of the top pocket (i hope it make sense!) So I still have the opening :) I see if there is anyway i can send u a picture to explain this! Once again, thanks!
Post a Comment