Greetings fellow scrappy friends!
I’m back with a series of scrapbooking classes for you. This December, you will get 4 scrapbooking classes and 1
card making class! How cool is that?
The class
will be held in December, and it works on a first come first serve basis. You
can register by sending me an email at greentea_world_56@hotmail.com with the subject “Pepper Creations December
Scrapbook Classes” to reserve a seat. Your seat will be confirmed once you
made the payment.
There is no
fixed date for the class, and that’s the flexibility you can get at Pepper
Creations. Since we have a small group, once the minimum class size is hit, and
everyone has confirmed their attendance, we will come up with a date that
everyone of us can make it :)
I hope you
will join me in the fun and see you soon in classes :)
- Click here if you want to download onto your phone. (you can download the app called Scribd so that you can save the doc in pdf form :)
- Click on the link below to download the PDF for more information of the classes we offer this december :) (Click on the download button on the top right hand corner of the page) https://www.box.com/s/jxulr0noojtbbe8yjhps
Here are the descriptions of each class.
*Click on the various images to have a clearer view of the class samples !*
1. Simply Scrapbooking

Want to start Scrapbooking but not know where to begin? Simply Scrapbooking
is the workshop to take now! In this workshop, you will be exposed to the
different choices of Scrapbooking projects that you can take on. You will be
making one layout and one mini tag book in the class base on samples I will be
showing you in the class. I will also be sharing tips on how scrapbook using
minimum supplies, clever scrapbook shopping tips to save money, and also some
basic design concepts in making scrapbook layouts looks professional :) All
these, makes it easy and fun to learn so that you can get started on
Scrapbooking !
Why wait? Call upon a scrappy buddy and join us now!
P.s: this workshop works best if you come with your friends , or even friends whom you want to introduce Scrapbooking to :) as this workshop is more hands on and pretty interactive one :) Not sure who to bring? Just hop on and you will find various scrappy buddies right here!
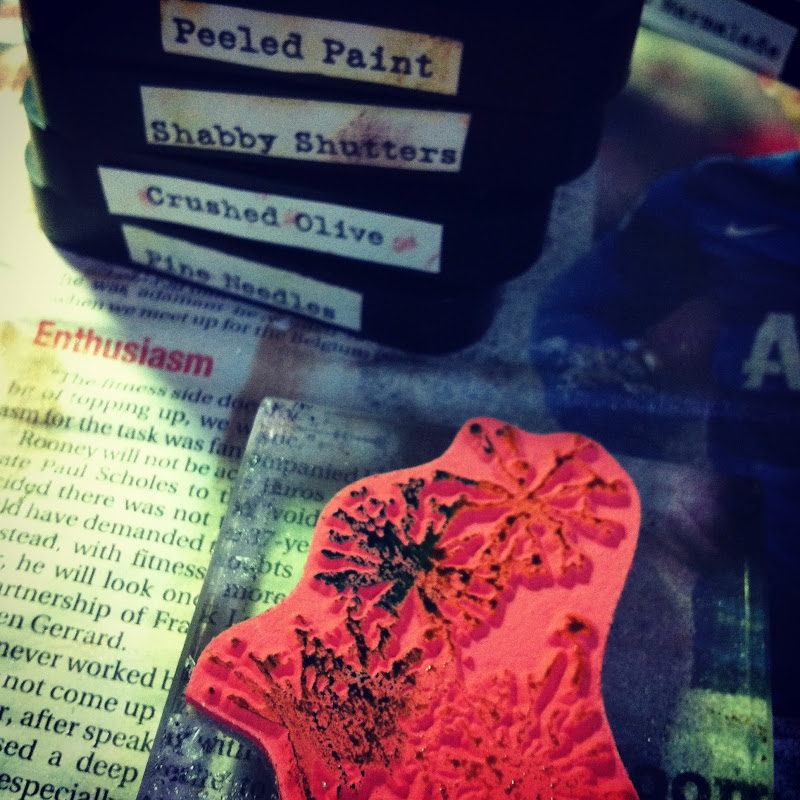
2. Inky Layering Fun!

Ever feel your layouts are too plain? Not
enough dimension? In this class, you will be able to experience all the fun
about layering and inking with the bright and cheerful Pink Paislee Spring
Jubilee collection. Get misty with the Prima resist canvas embellishments and
Tattered Angels Glimmer mist. You will also be able to play with embossing and
stamping to create your own customized tags, and add dimension to your layouts
using shape and edge punches J
3. Eco Mini Album (Back by popular demand!)

Create a mini album from scratch. This
mini album is a fun and interactive one. In this class, you will get to play
with paint, lots of paper punches and learn how to make your own embellishments
from paper without having to buy those expensive flowers etc. This album is
approximately 5 inches by 3 inches; it includes 4 pockets and 4 tags for you to
journal on and add photographs.
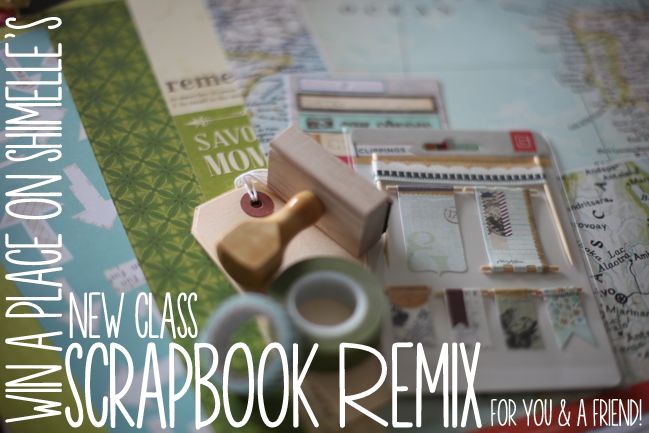
4. Travel Paper bag Album (Back by popular demand!)

Learn to
make an album using paperbags! You will learn to assemble the mini album from
scratch. At the same time have fun with making embellishments from stamps and
make use of spray mist and inks to add colour to your tags :)
We will be using a different colour scheme this time, with the amazing Heidi
Swapp Vintage Chic collection. It
will brighten your day with the awesome teal, pinks, yellow and map print!
5. Merrily Merry Christmas
Learn to make THREE interactive x’mas cards with the beautiful
Simple Stories x’mas collection. You will learn how to make the mechanisms of
each cards, and the ideas are transferable to cards of other festivals(be it
valentines days, birthday and etc)! You will learn additional tips on how to
make the interactive cards works better :)
______________________________________________________
What's more?
This is the first time I'm formally launching so many scrapbooking classes at one go, I'm going to spice things up abit by extending some special offers to you ladies!
Early Birds discount (valid until 2nd december)
- Sign up for a class and receive 10% discount !
- Sign up for 2 classes to receive 15% discount!
- Recommend a friend and both of you gets 15% off the class :D
- Click here if you want to download onto your phone. (you can download the app called Scribd so that you can save the doc in pdf form :)
- Click on the link below to download the PDF for more information of the classes we offer this december :) (Click on the download button on the top right hand corner of the page) https://www.box.com/s/jxulr0noojtbbe8yjhps
The classes will be held in my humble studio and home located in Yishun Chong Pang area , easily accessible from the Yishun MRT (:
If there is any questions regarding the classes, feel free to drop me an email at greentea_world_56@hotmail.com