I thought I should update with a little something
these few weeks is going to be really busy
with all the tests and exam coming in
But here goes, some layouts I have done over the last holidays
These layouts are done using the studio calico handmade kit
BY the way, I have updated my gallery at studio calico
You can take a look HERE
and like or comment as you wish :)
Comments are welcome , here there everywhere!
*photos are taken before i write the journalling , some privacy hehe *

Mcguigan is a Winery in Adelaide
which i visit during may
They produce de-alcoholized wine which i find interested
This layout is done following the sketches by Shimelle Laine
in her 4x6 photo love class from twopeasinabucket

The colourful chevrons are stamped with
exclusive studio calico stamps

hidden "unglam" photo inside!

____________________________________________

Love the chevrons so much that i thought i make a bunch
this layout is on Whispering Wall
same trip to Adelaide
Love the photo

Little flower i made using studio calico Fab-rip
Fun:)

Here's another fab-rip (fabric )
___________________________________________________

Ok, i'm officially crazy over the chevron stamp
Now trying them on a sheet of 12x12 kraft cardstock
a more muted tone, but i still love how it looks like :)

A close up
You see, I love twines,
they are great to add a little touch to every project you're doing
doesnt add bulk, but it does change alot
imagine the layout without the twines
missing a whole lot!
______________________________________________

trying a little something different and simple
using my new ek- success cheese punch
to do some decoration with confetti


Another way to use the fabric is to layer it under the photo
fold it a little, make it looks like a section of a curtain on the window
___________________________________________________

Love this layout
I used this awesome maya roads words stamp
love the font

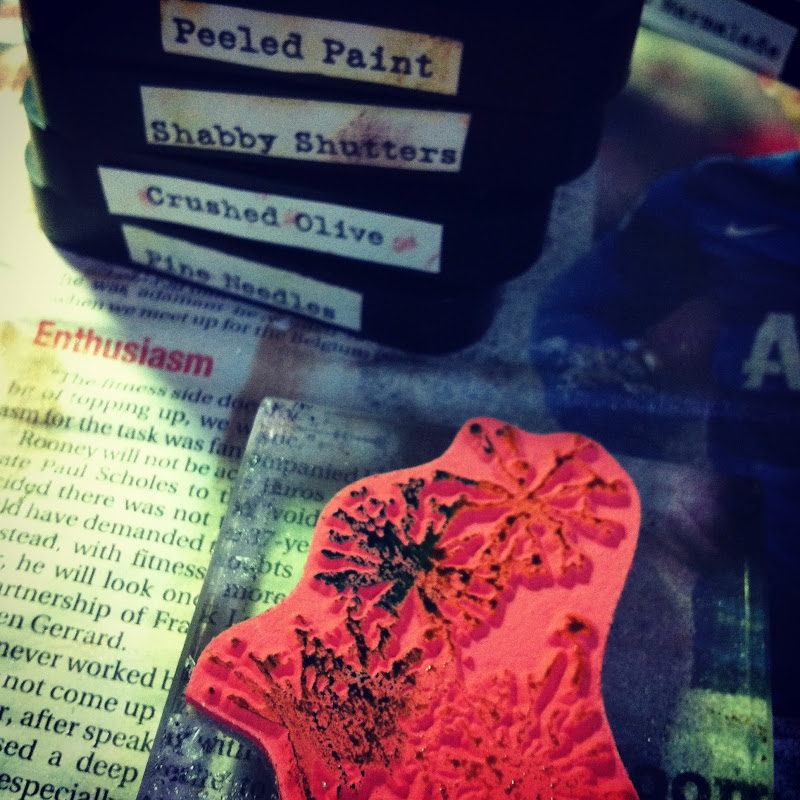
some close ups
i did some misting too :)

haha not forgetting the chevron
see that tone - on - tone chevron peeking in the right hand corner ?
still loving chevron


________________________________________________
and last but not least!

I was thinking what can i do with this bright pink die cut paper
and i thought i muted it down alittle
using some studio calico white mist

more flowers

flowers :)

and flowers! haha
Wow, that's alot of layouts from one kit
that's how fun a kit can be.
you can make your own kit and scrap lots of photos at once
or buy a kit from various kit clubs like studio calico and many others
I love studio calico's kit so far
and there are more to discover too :)
If you haven try a kit, give it a try
it might not be for everyone
but it can be really fun and therapeutic
sitting down with everything and not having to worry of what to match :)
Because they all matches!
____________________________________________
That's all for now and till next time!
~ xoxo ~