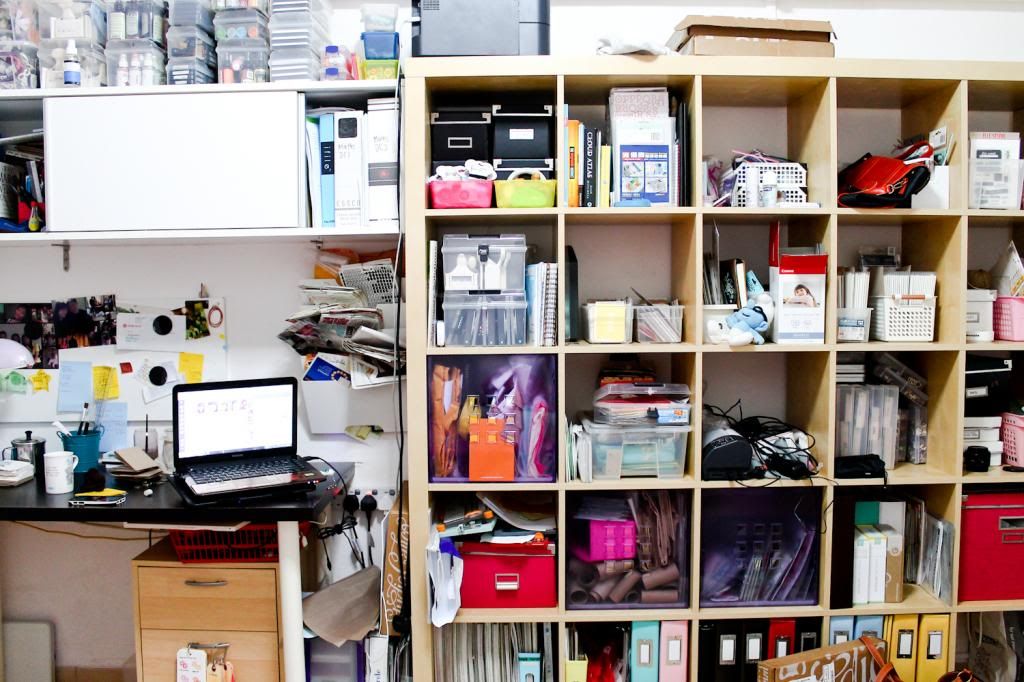
Hello all! Today I'm sharing how i use my expedit bookcase .
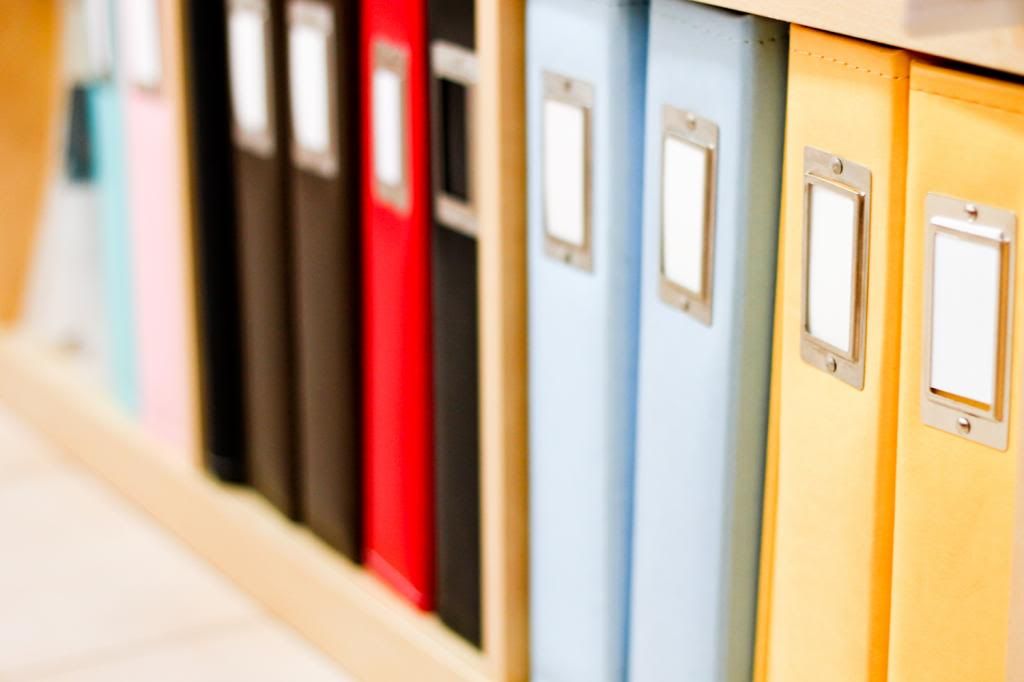
The bottom row holds my albums (the heaviest stuff)
i colour code my scrapbooks
BLACK= Project Life
BROWN = New zealand trip
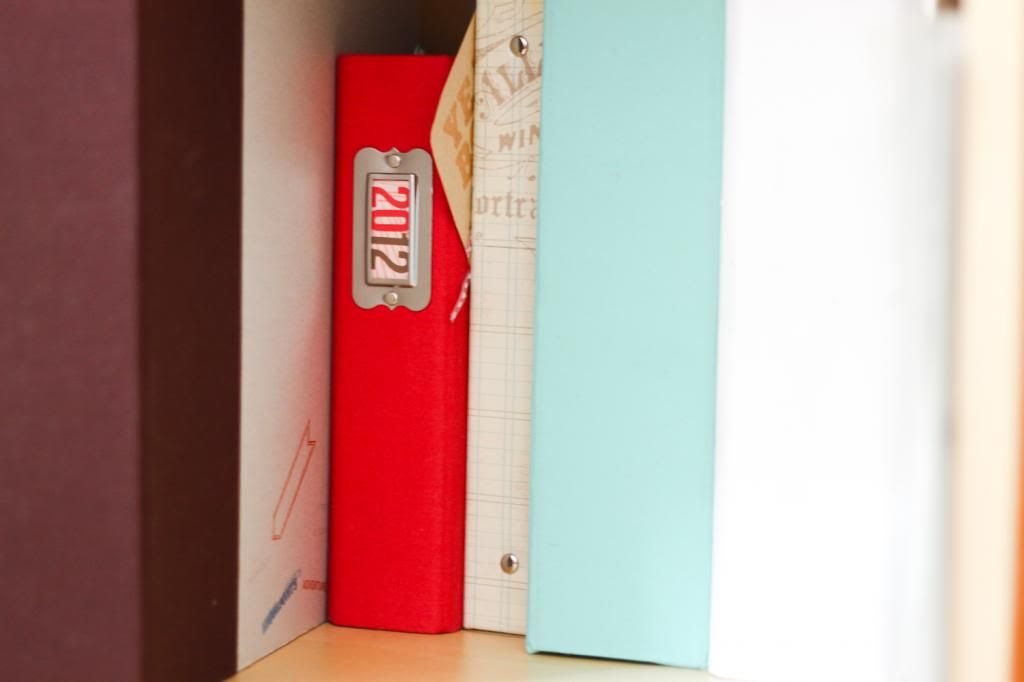
YELLOW = Adelaide Trip 2012
BABY BLUE = my relationship
PINK = About Me (personality)
TEAL/RED = Childhood stories
They are all filed chronologically
although i do not scrapbook the pages chronologically
I'm just someone who love to see things is a chronology
probably is the mathematical side of me
where she let go of the chronology part
and scrapbook more about stories that mean to her
She has a really good system , so check it out :D
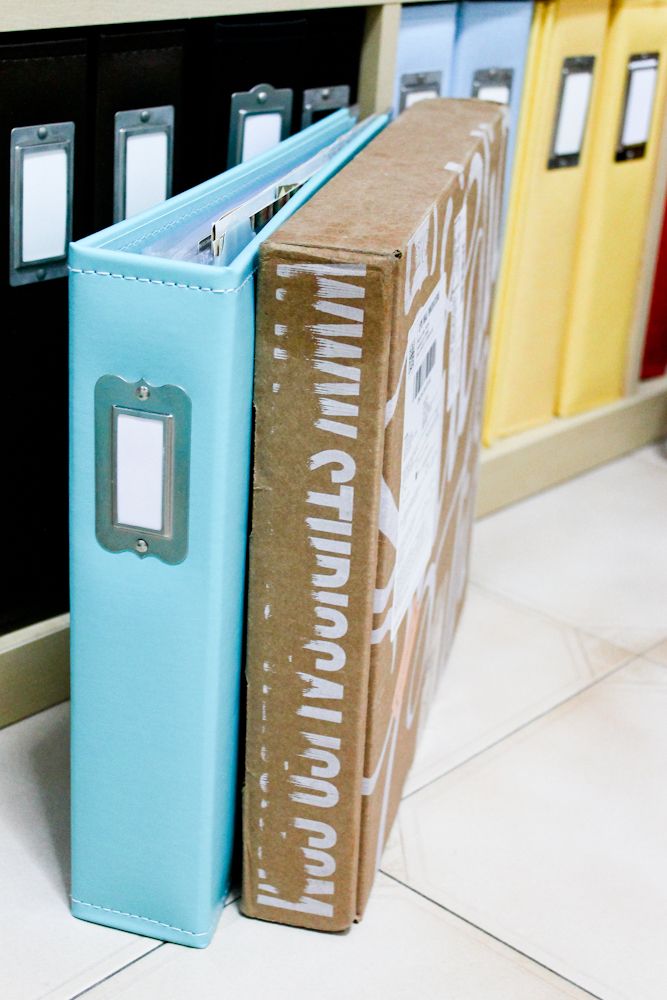
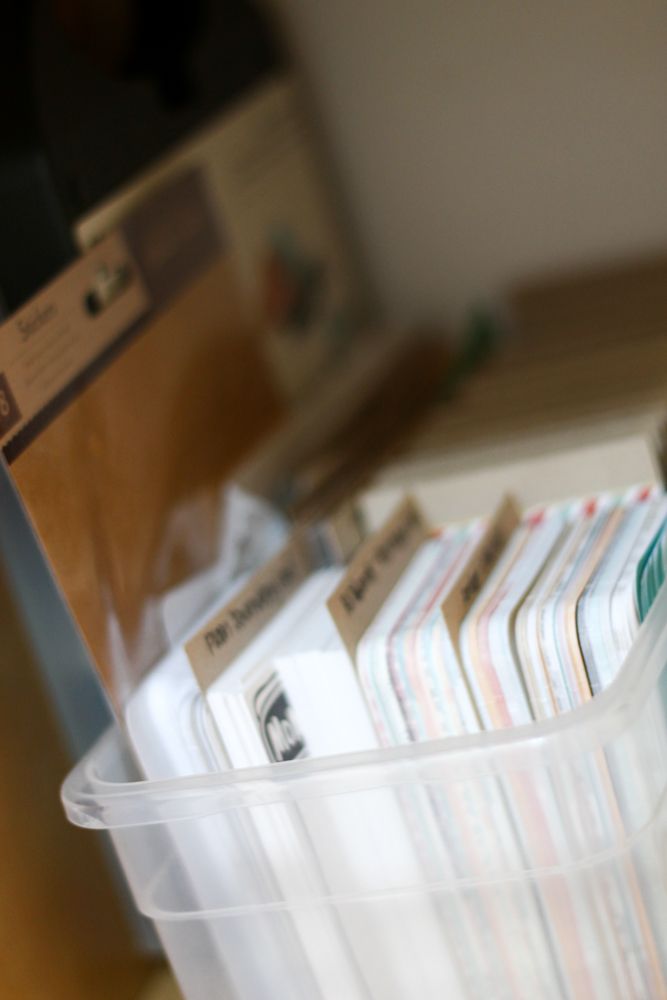
I also have some mini albums which are approximately 6x8
I have one which is a summary about my year 2012 which i made when
There are 3 studio calico handbooks which are about my adelaide trip 2013
I scaled it down as I'm lazy to make the giant album :p
It works fine and since the album is chipboard, I might paint it yellow to fit my Adelaide theme
:)
Others will be soon used for smaller stories
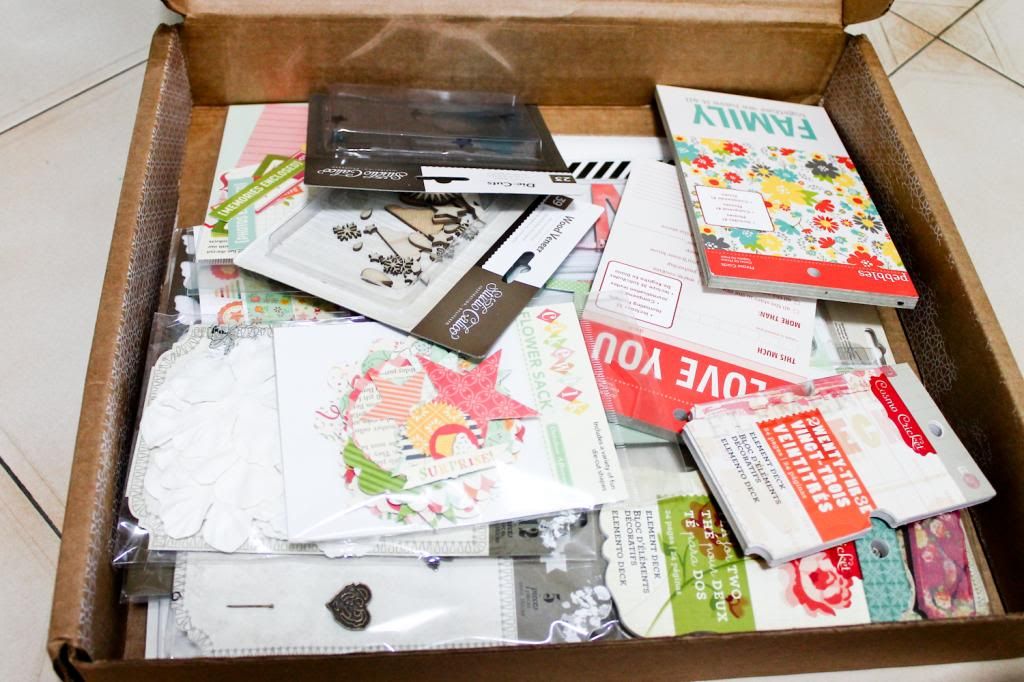
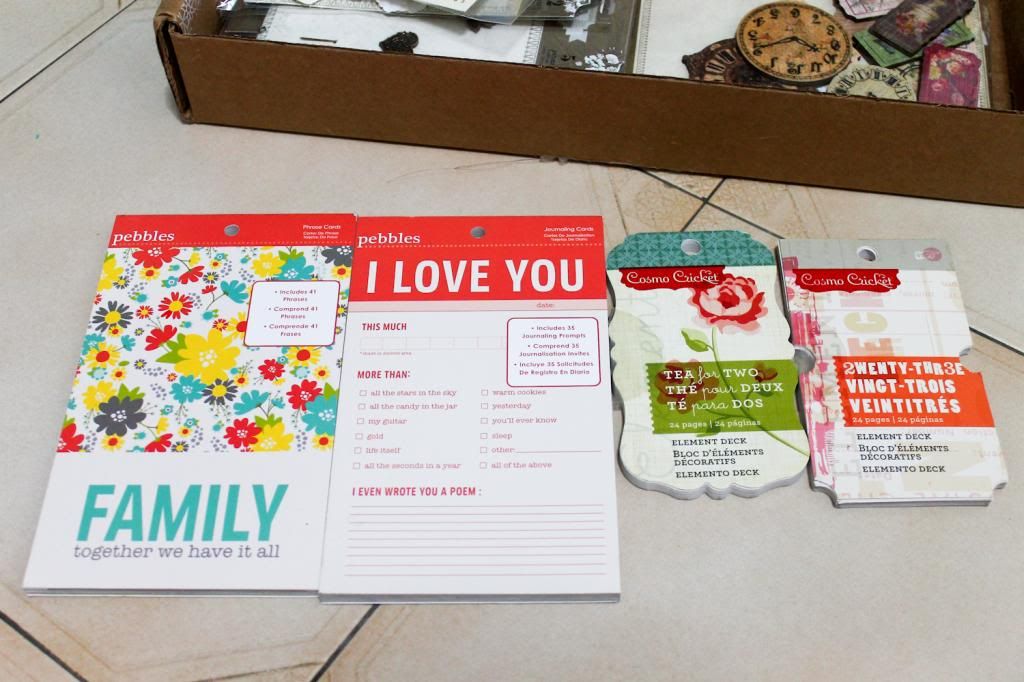
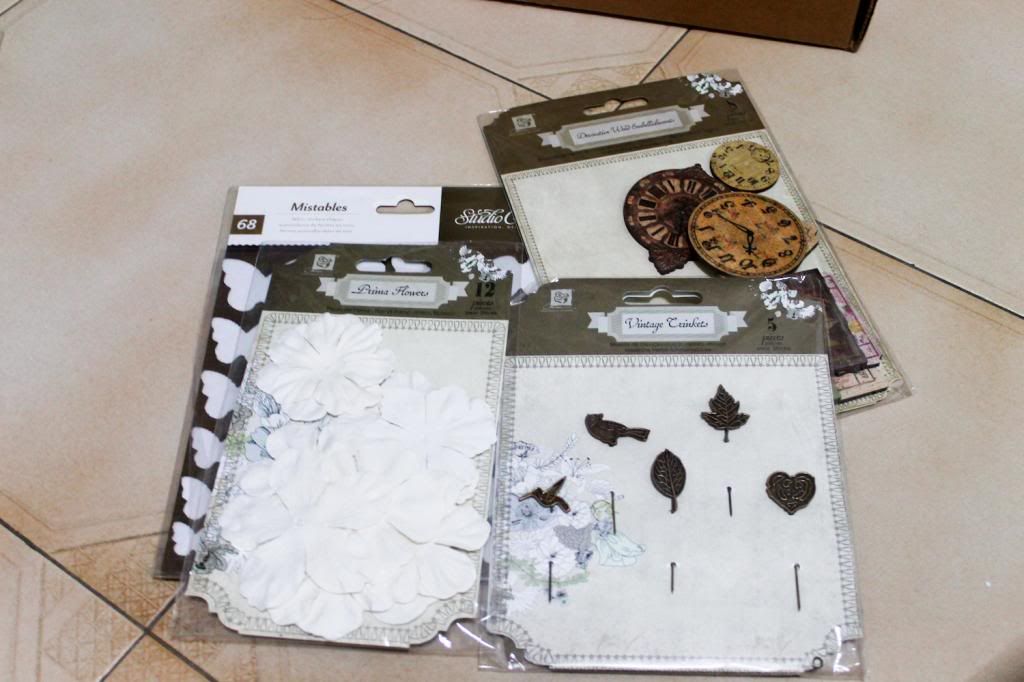
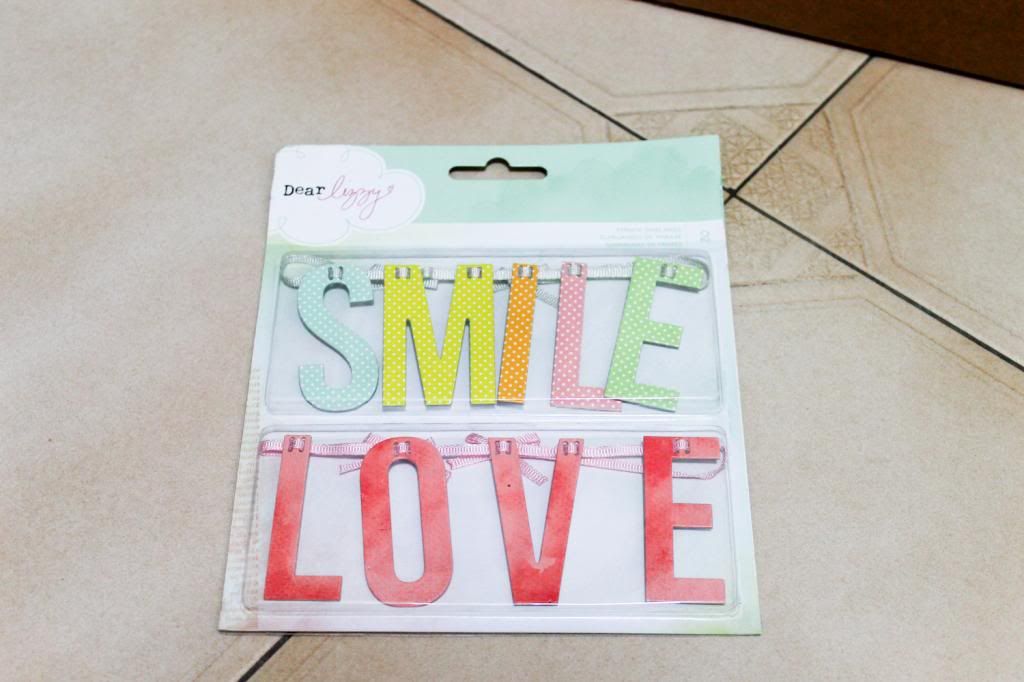
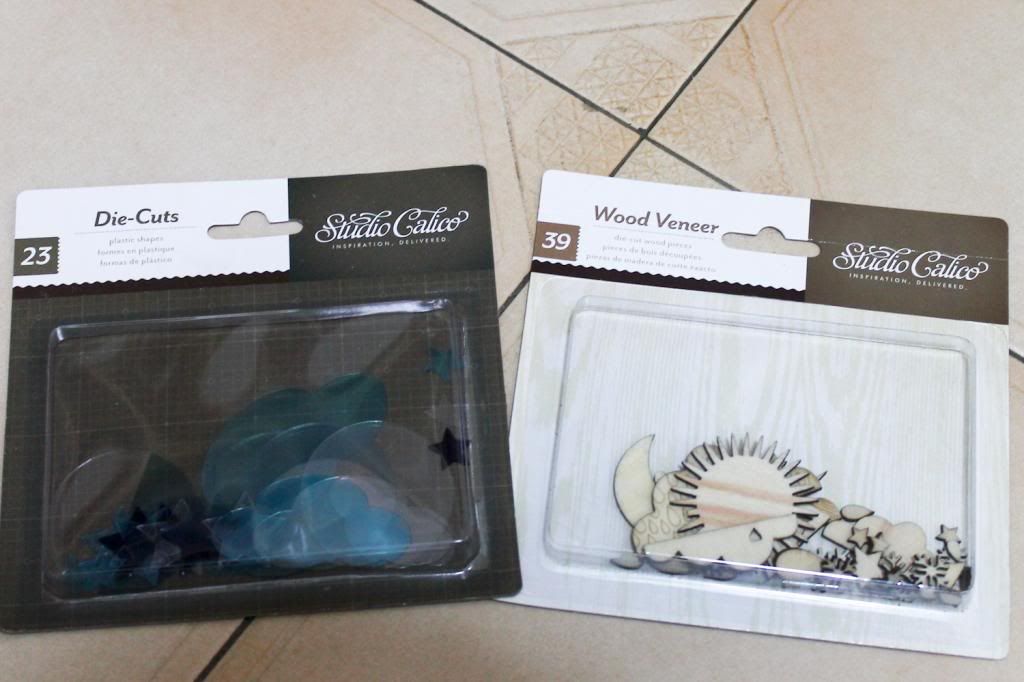
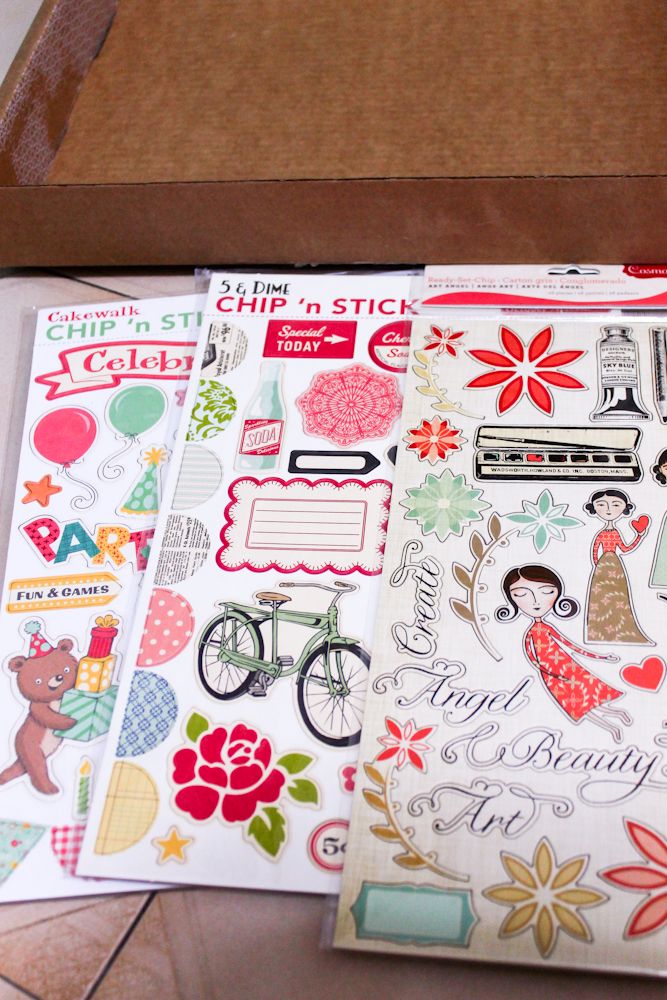
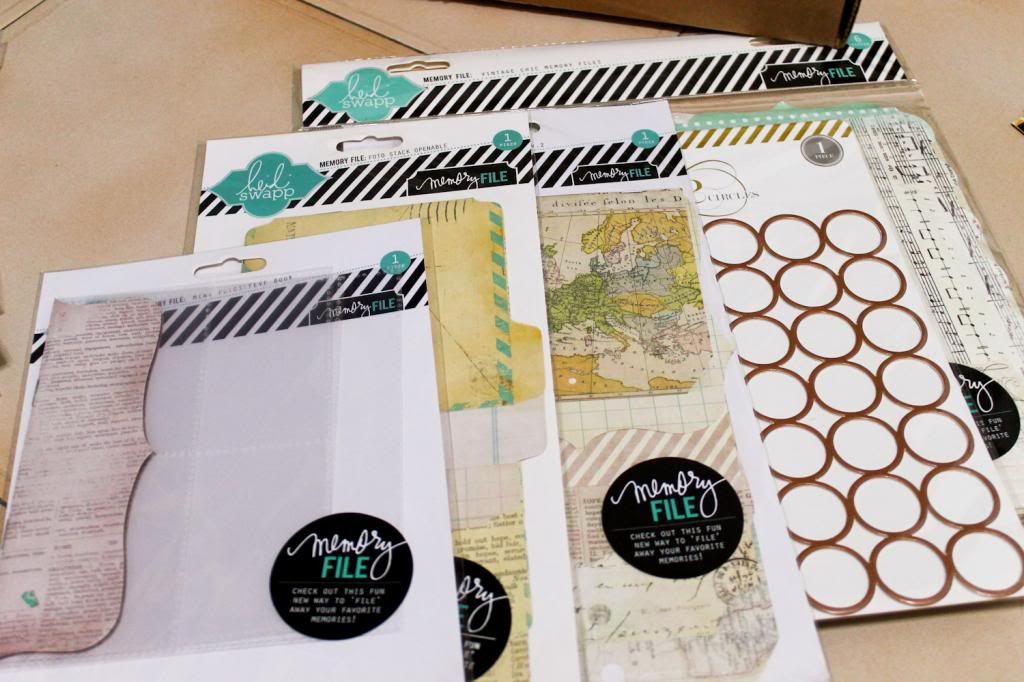
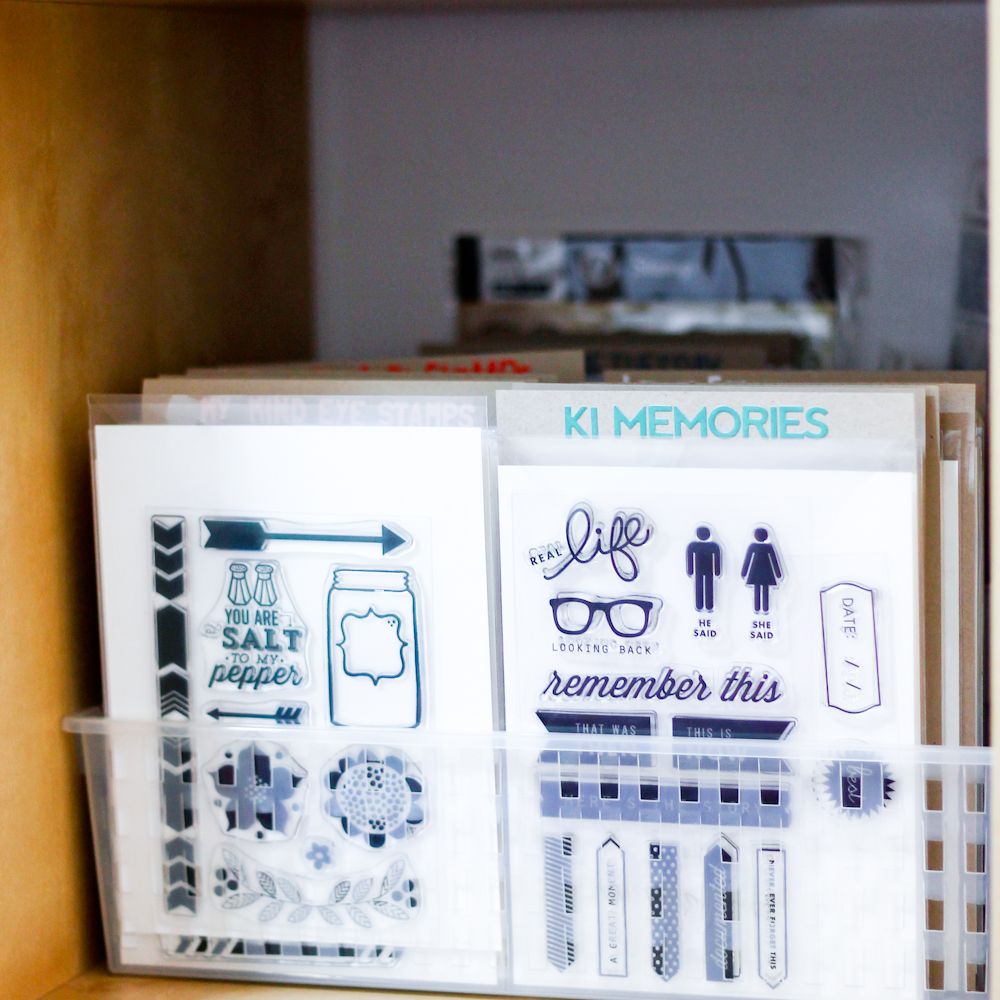
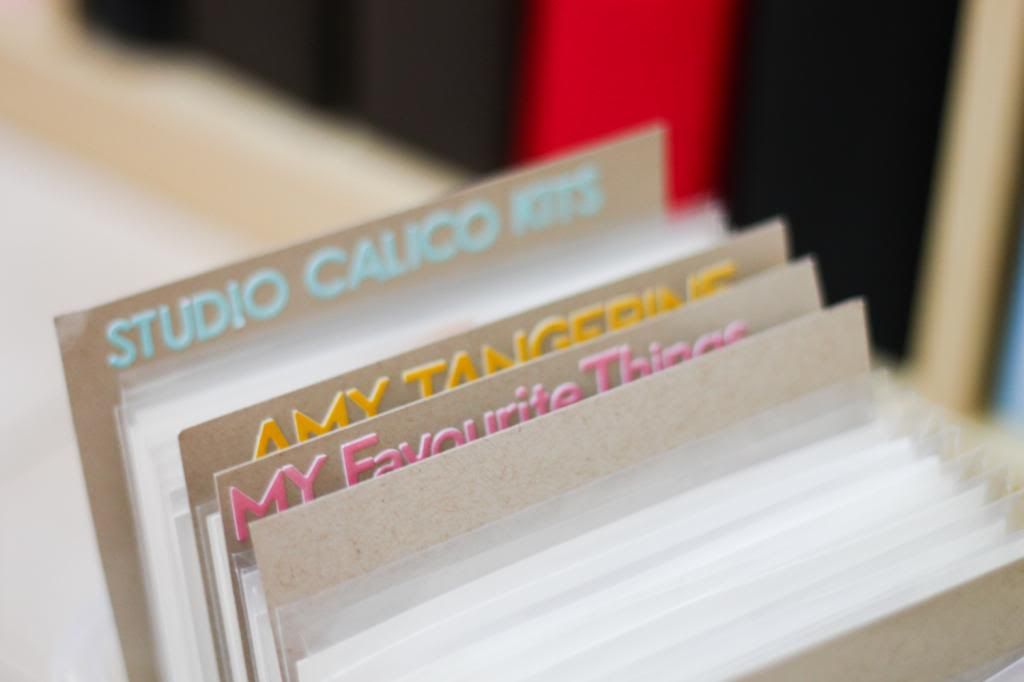
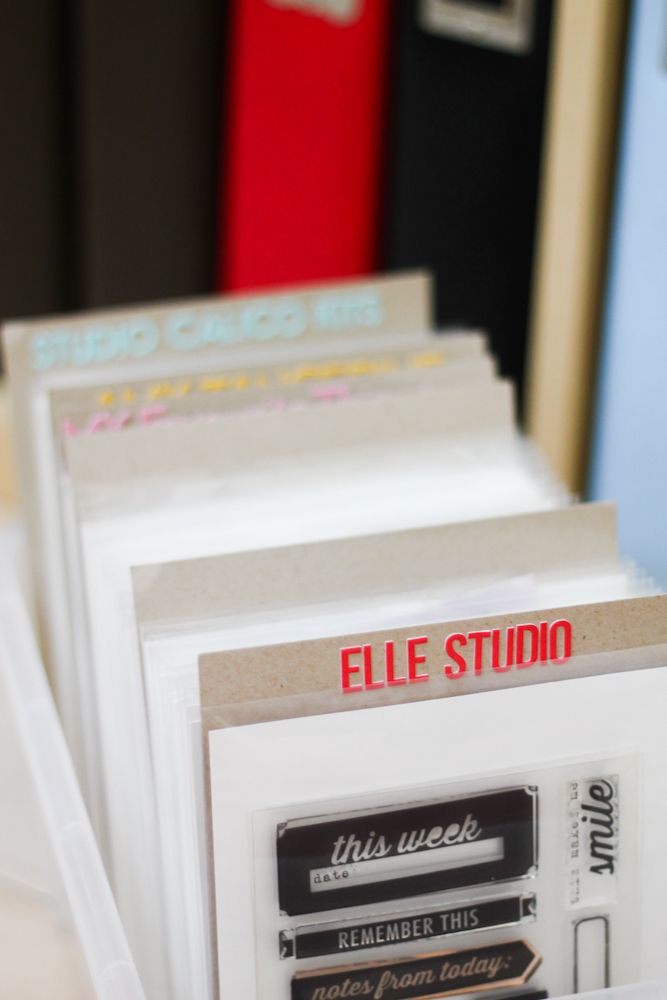
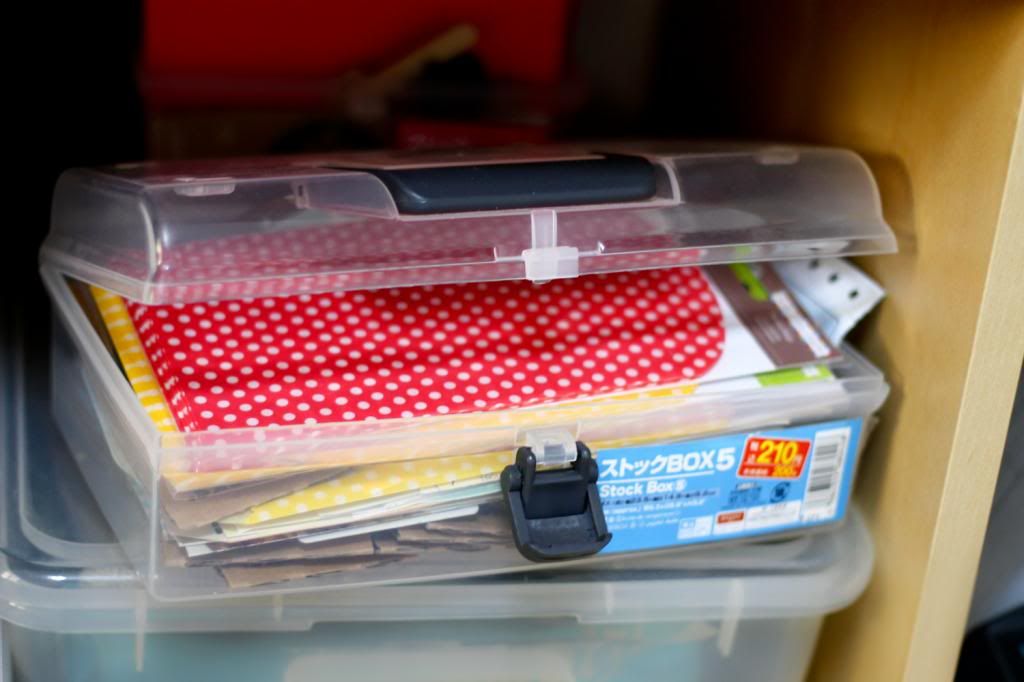
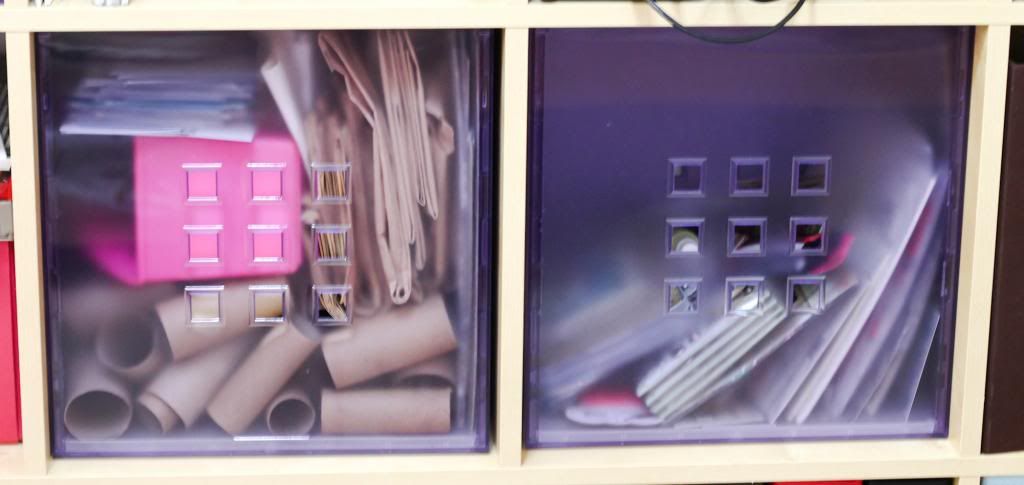
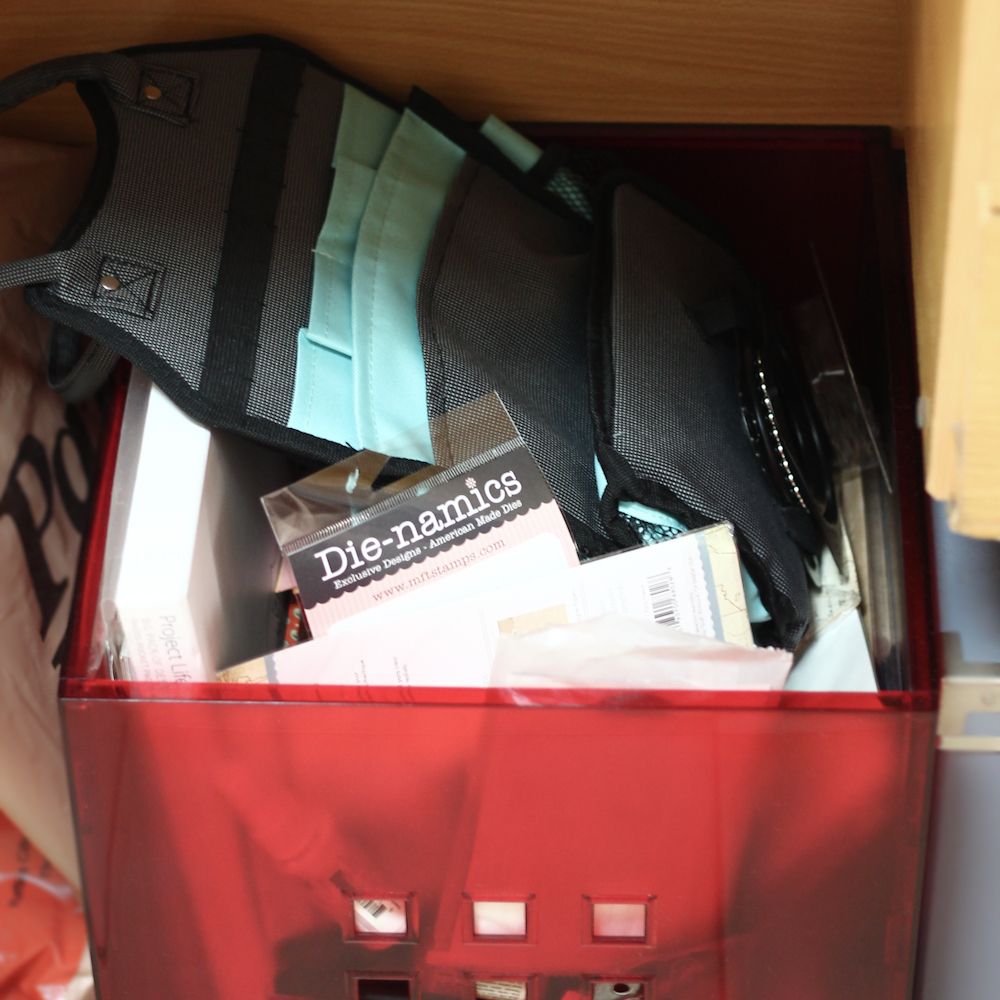
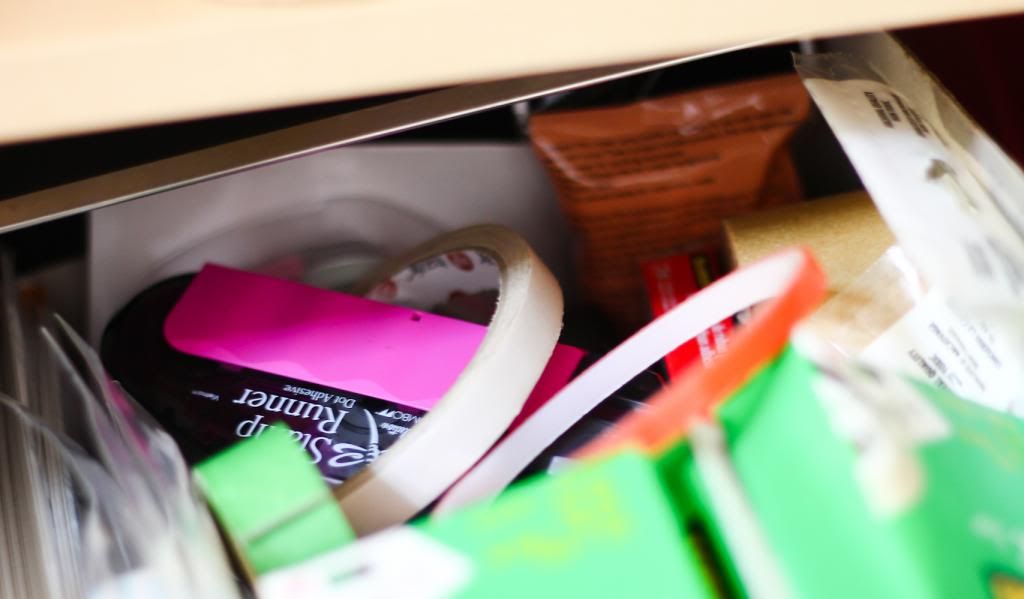
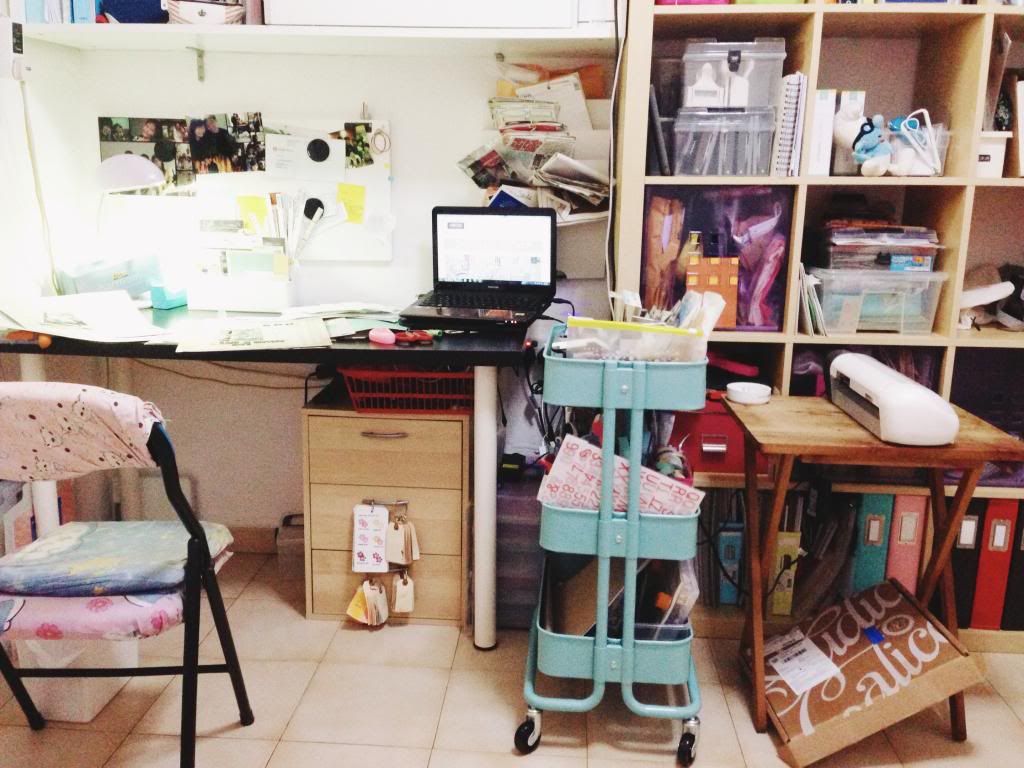
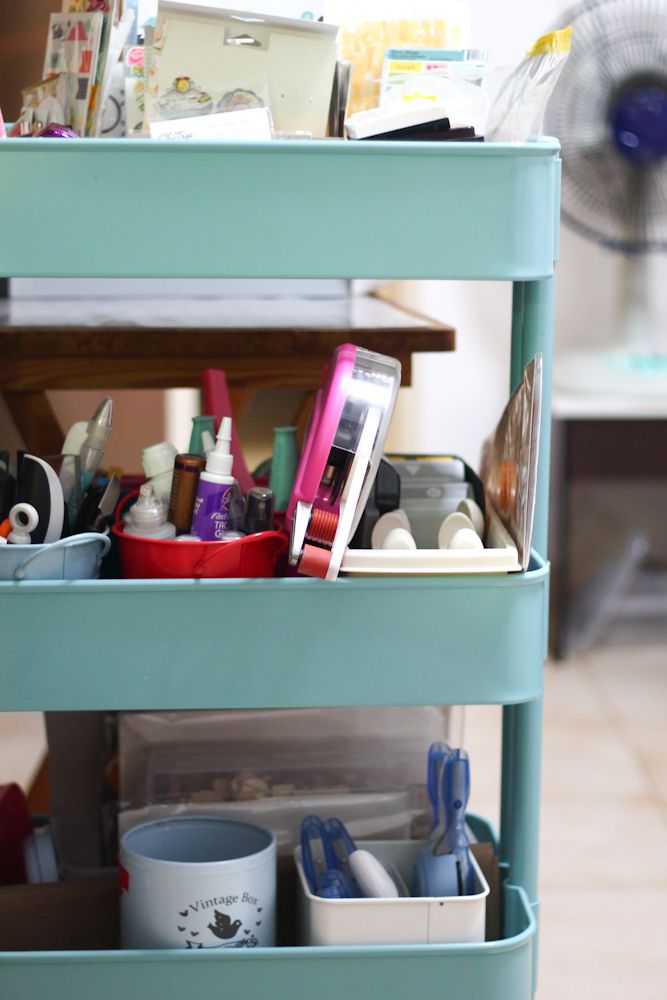
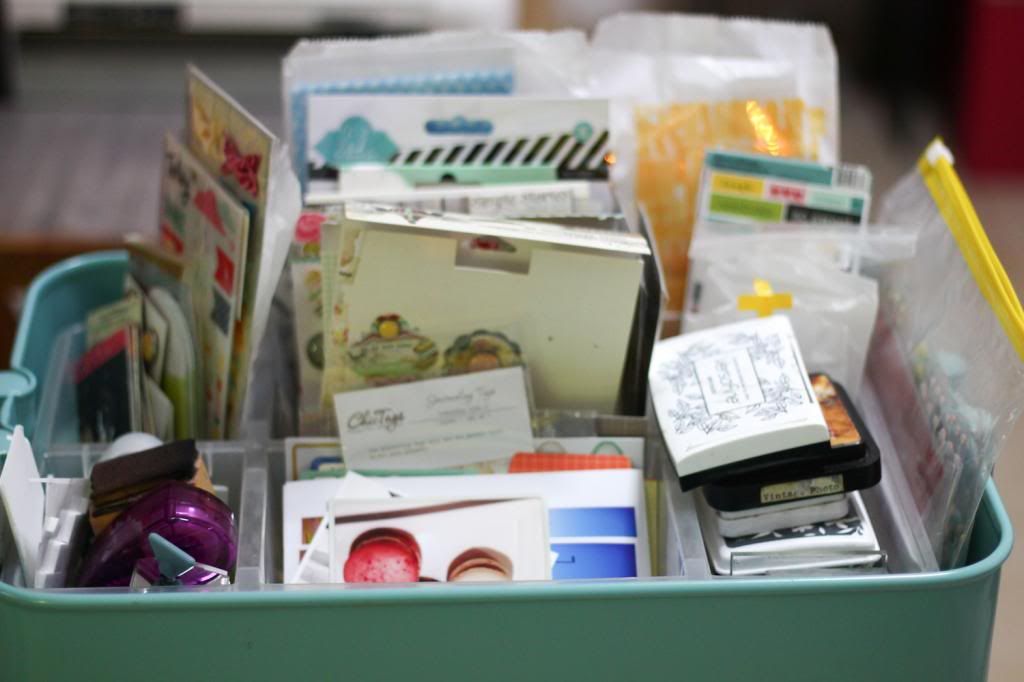
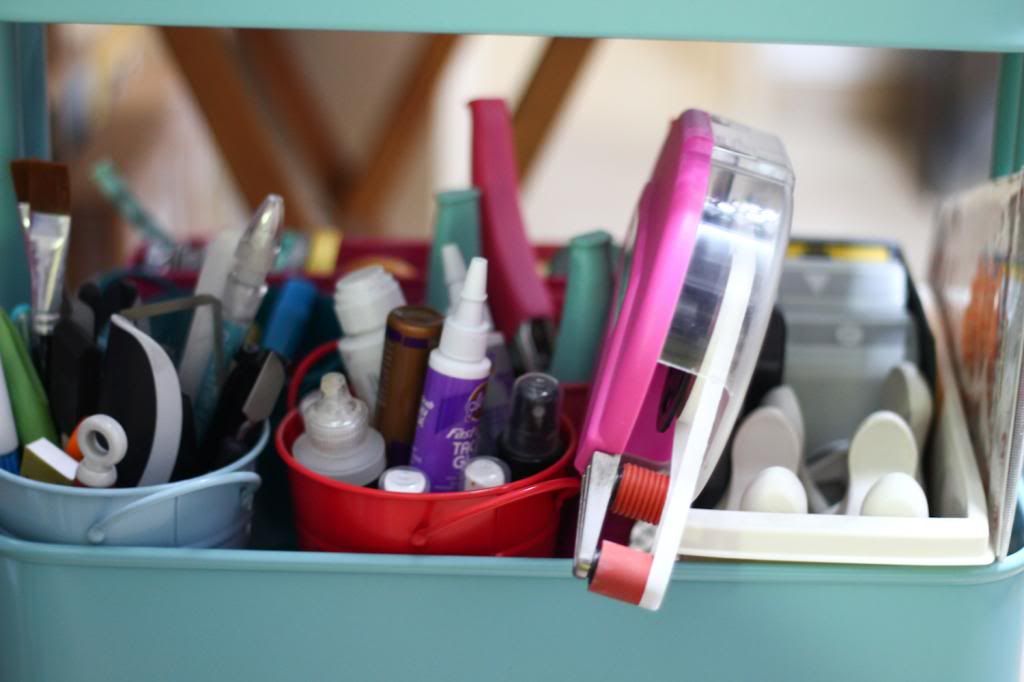
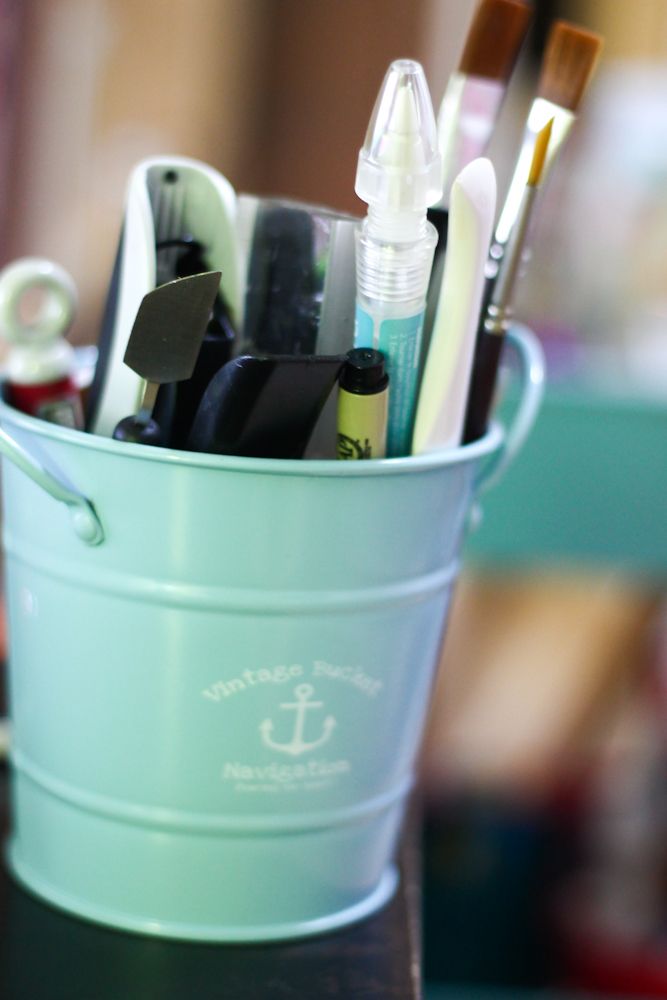
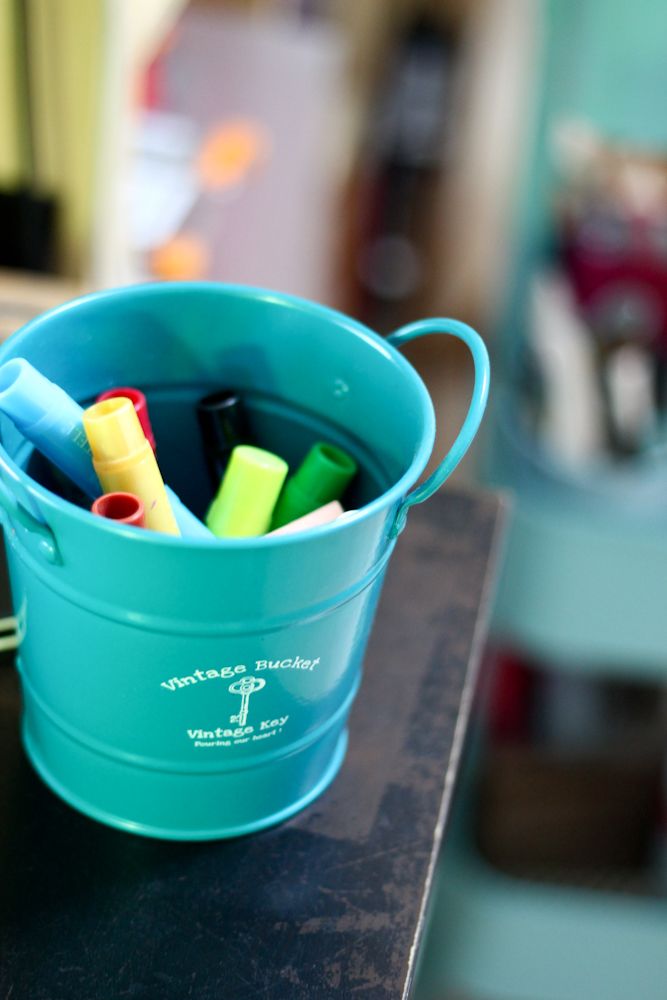
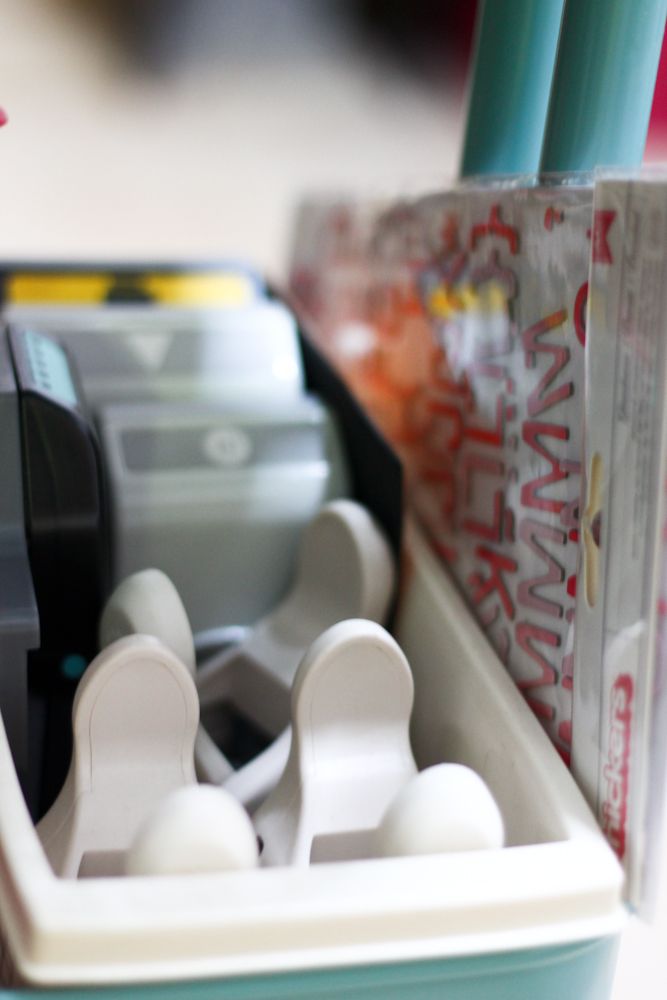
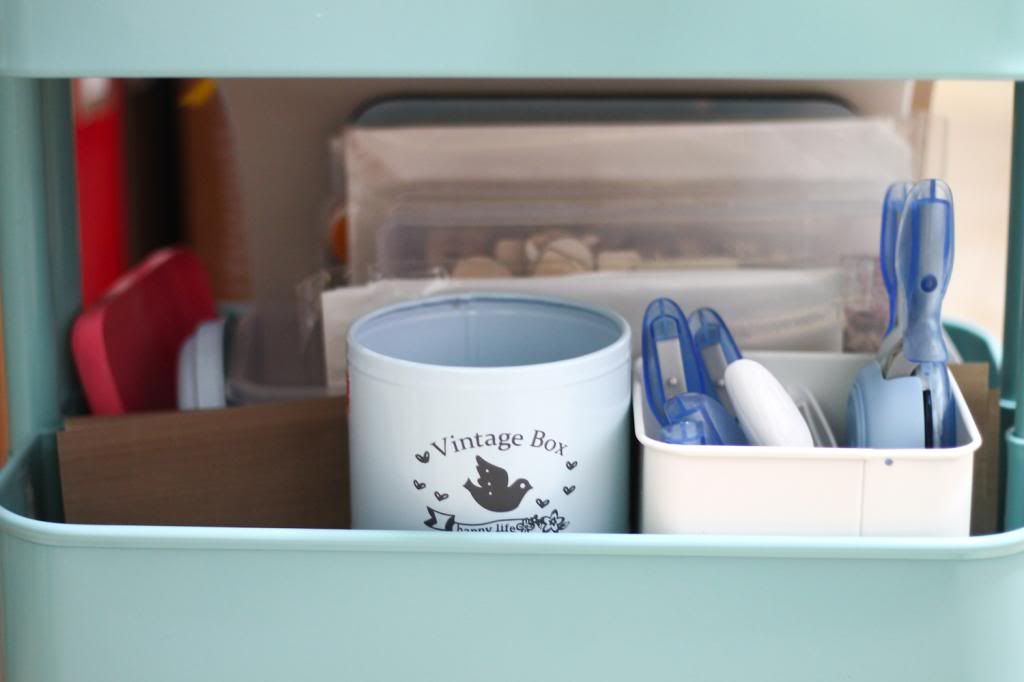
Below i'm showing how i keep some of my materials
All the refills/extra adhesive are in one box
glue tapes, glue dots, double sided tapes
tiny attacher
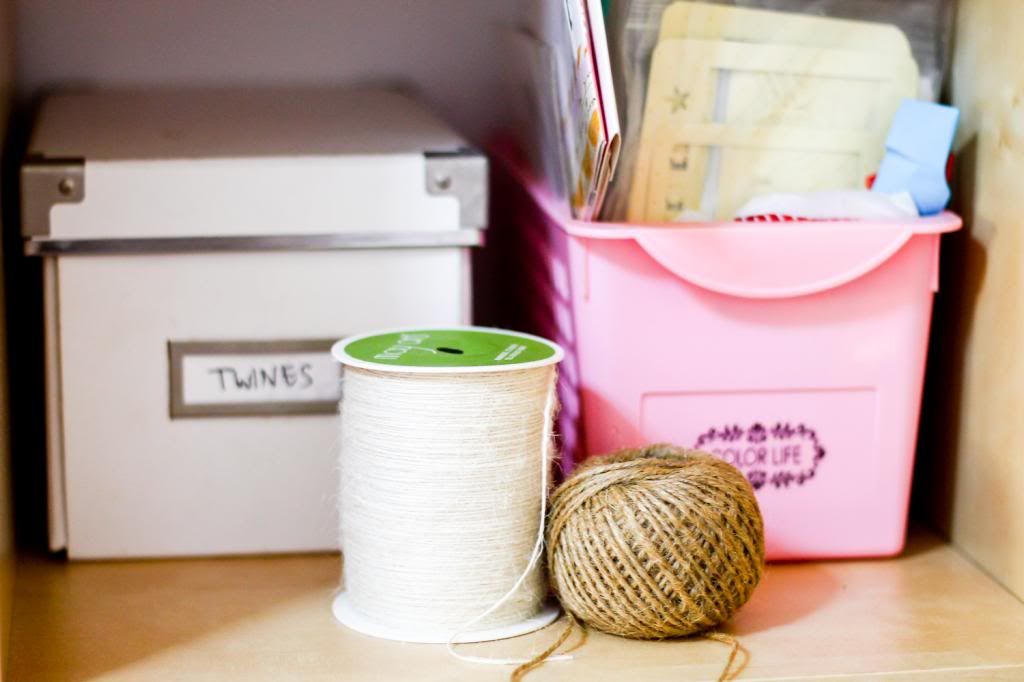
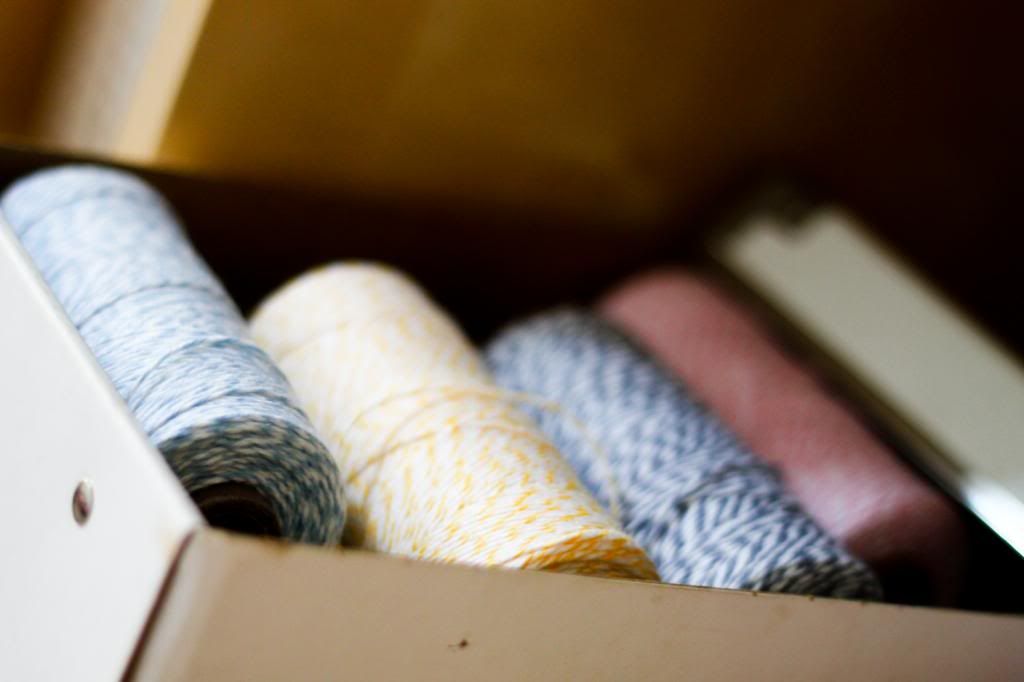
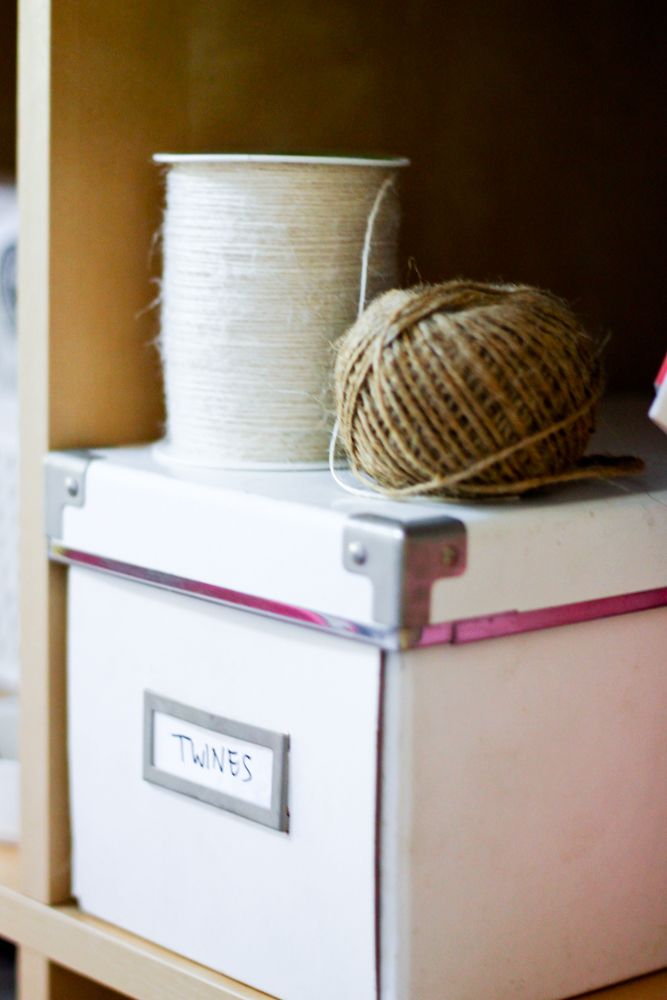
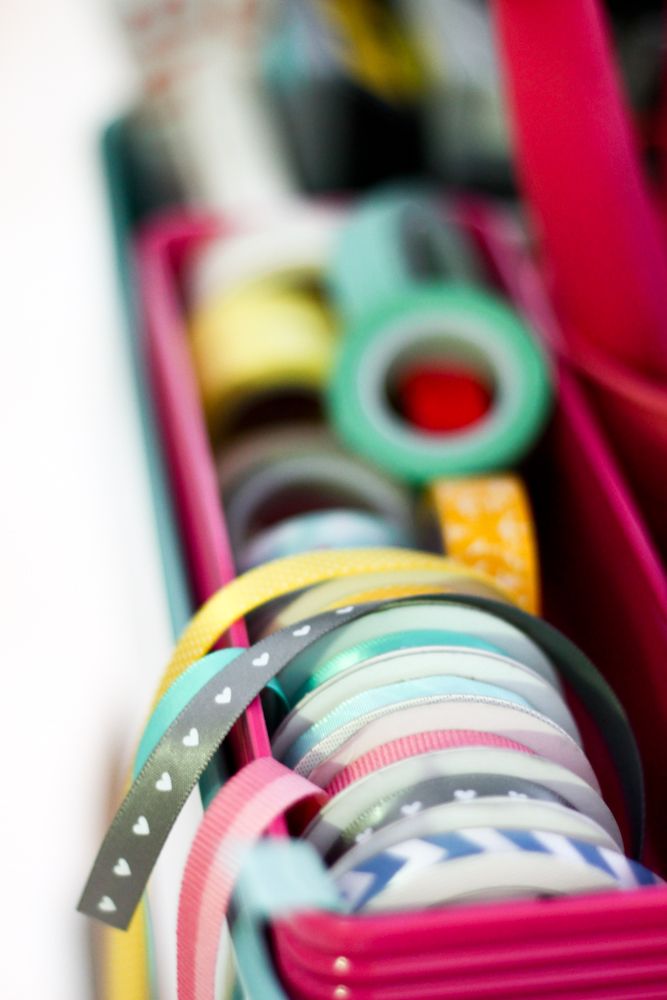
Twines get one box
I have twines from may arts which i use alot
and also some from twinery
By leaving some of the items outside I can remember what items is where
_______________________
One of my friend asked me how do i edit my photos
I edit them using Lightroom on computer
but mostly I use apps in my iphone
So here i though i would share FIVE apps i use all the time
#1 - PicTapGo
I love this app to death!
This is my favourite go to app for editing.
All apps allow you to add filters, but this app allow you to control the strength of the filter. There are sliders which allow you to determine how intense the effect you want it to be, and you can keep layering filters over the photo until you are satisfied :) This is by a company Totally Rad. Try this and you will never regret! Just so you know, my top favourite filters in this app is highfive, brightside, lights on, air, skinny jeans, +contrast, awake and loft
#2 Snapseed
This is my second fave! This app is soooooo comprehensive that it can almost replace photoeditor on computer. Almost. It has ability to adjust exposure, brightness, contrast and many other specifics. It can add fliters as well, but are more on the vintage side. It allows you to blur our certain part of your photos. My favourite use is actually to do selective adjust. It allows you to pin point one area on the photo where you want to edit. I did tried to help a friend to edit a pimple away using that ! haha! This app has a rather steep learning curve because it's comprehensive. I didnt explore all the usage, just stick to what I need it for.
#3 Hipstamatic
This is NOT a photo editing app. This app works like a flim camera. You get to choose 3 things - 1. The Lens, 2. The flim 3.The flash. Different combination of these 3 items create a different look. after taking the photo, you cannot edit it in the app. So instead of post processing, it's pre processing haha. What I like about this app is the sharpness and the resolution of the photo taken. It is actually BETTER than the photos taken by the normal iphone camera. And you can blow it up really big and get really clear images. The thing to know about this app is, the 'lens' will auto focus , so you cannot choose where you want to focus, which is a disadvantage. but once it focus on the right thing, it actually can create a good bokeh. Another point to know, it is great under high light conditions, especially natural sunlight. I can actually take a photo of a seagull flying on the sky and zoom in to see it's eye!
#4 Rhonna Design
This app is new to me , i just started playing recently. It allows you to kind of create a layout. You can add "stamp" images over the photos, and word arts, texts and etc. It allow you to add layers and mask over the photos which create depth. My favourite use of this app is to add words and some arrows at the corners of the photo to add a little interest. I love the font available on this app. There is alot of fun icons to use, such as camera, polaroids, hats, mustache etc.
#5 Photo Grid
I use this to collage my photos before uploading the any social media. You can also use this to collage your photos to print, so that you can print one 4x6 directly. I love it has the rounded corners options and also you can control whether there is gap between the photos.
____________________________________
This week we have a new giveaway.
My Favorite Things LEAD THE WAY Die-Namics MFT
My Mind's Eye SIMPLY LOVELY Brads Honey The Sweetest Thing
Thanks for all the comments yesterday.
To be entered into this giveaway, leave a comment sharing what is your favourite photo app on your phone :)
. Comments will be closed at the end of the month. The winners will be posted 1st October.
Check in tomorrow for more storage ideas i'm sharing :)