
Hello!
Hope you're having a great weekend so far
While making the guestbook/scrapbook
I was tempted to use my favourite technique for card making
It's something to do with stamping
colourful and water
And time, i added some shine too :)
Here is one card that i made during valentines using this technique
and i though i could share how i made it :)


LOVe the colours :)

Here is how the finished page looks like
on my guestbook project

Close ups
See the shine and the water colour look
and the mix of fabulous colours!
LOVE IT!
LOVE IT!

Here is the supplies
You would need
1. a few colours of dye ink
(I'm using distress inks cause I really lovee the colours)
2. A bottle that spray water
(i usually use tap water, this time I though of adding some shine
Hence i'm using the studio calico mister huey in the shine colour
it's just a glimmer water, add a glittery touch to your project.
Quite subtle but nice in real life )
3. Your favourite stamp!
( I'm using the tim holtz cling stamp
from the nature moment collection )

Mount ur stamp onto an acrylic block

Add the darkest colour onto your image first
I just smear direct ink pad to stamp
just be a little careful

then add the other lighter colours,
also in ascending order or the colour tone
( from darkest to lightest)
this prevent yourself getting the ink pad stained
i usually have no problem with that :)

then i come back in with the darker colours
to add some touches at the edges of some parts of the flowers
this add a little dimension to the stamped image

now u can see our image is all inked up

take the bottle of spray mist

Mist it about 2-3 times dependng on the size of the image

u can see the ink darkens
and become more watery looking then before
then we are good to stamp

now stamp :)
and you have ur pretty image
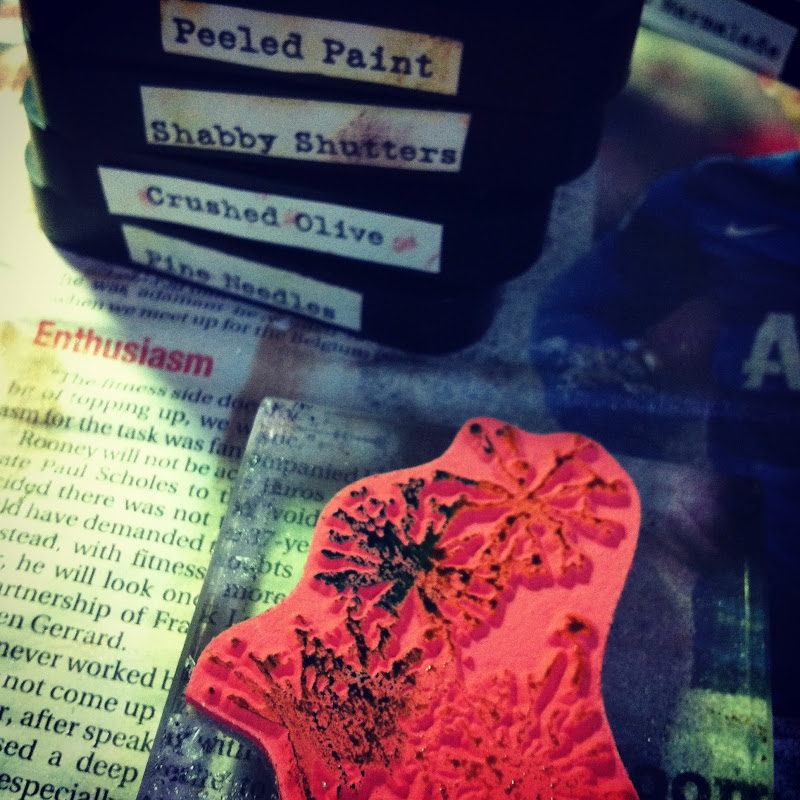
i thought could do one that just use all greens in different shades

Hehe this is an example of me misting too much
becareful if you mist too much water,
some parts of the ink might flow to other parts
and parts of the image might not stamp clearly
and it might even drip onto your project before you stamp!
(that has happen before to me >< )

well here you go the final product
fun right?
I love mixing the colours up
and trying different colour combination

Hope you have enjoy this little tutorial
and hope you give it a try
share with me if you do !
__________________________________________________
Also want to add
I have signed up for shimelle's neew class called Scrapbook Remix
And so I though I could share my recent paper stash
I was buying so much given that my LSS is having moving out sales
and follow by ware house sales
and all the CHA goodies
I cant resist
So it's time for me to sort out my paper stash before it gets out of control!

I used the cropper hopper divider
and added some washi tape
and label by company

Here is part one, some papers sits in between my albums
and somehow
the comb and hairband just find their way into the hole
haha, kind of a good way to store them too :)
makes me happy when i comb my hair and look at the pretty paper lol

Here is part 2
This rack is from goodwill
a friend of mine RAK it to me
It's really nice of her!
It sits some of my favourite collections
Beside it sits the container that house all my thickers
and alpha stickers

Love it :)
And the class starts coming monday.
It's about mixing the pattern papers
and all the fun stuff.
I can't wait :)
Join in if you can :)
___________________________________________
Thanks for stopping by today :)
then next time!


