Thursday, December 18, 2014

Project Life | November Pages 4 | Johor Bahru Cafe Hop

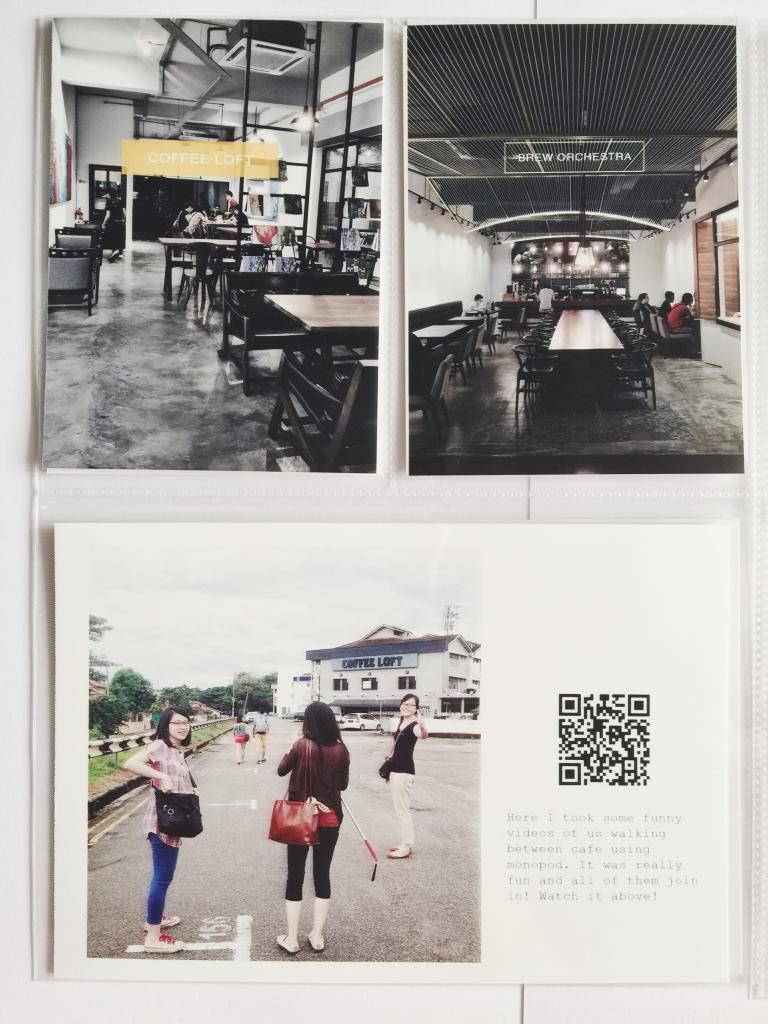
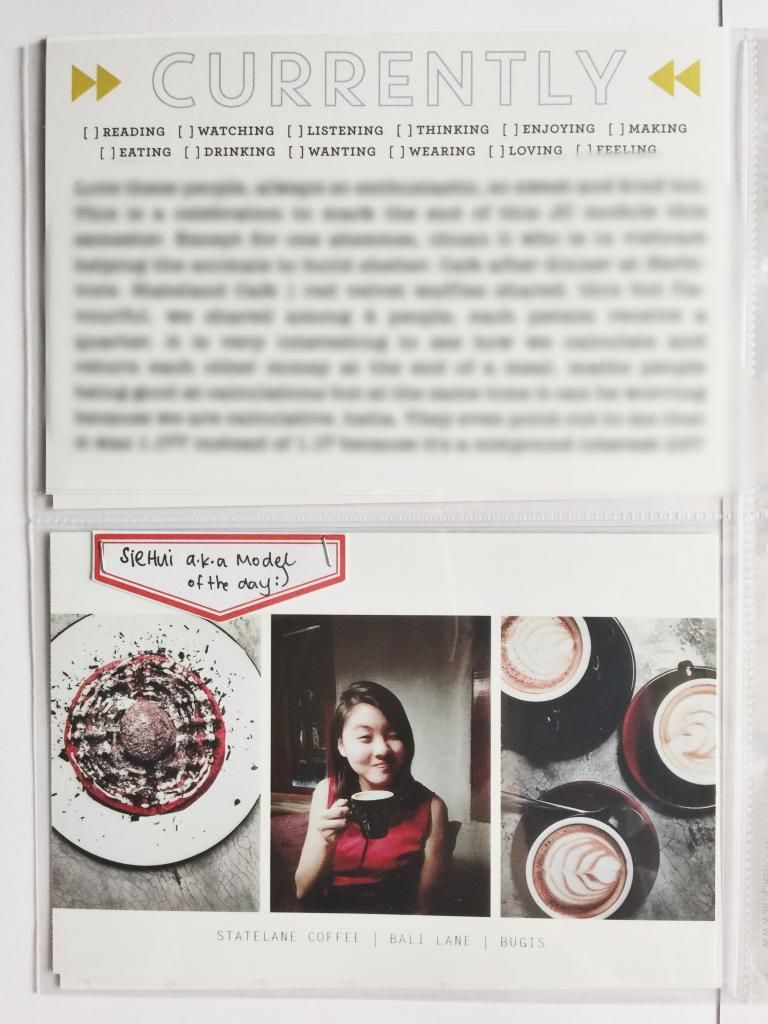
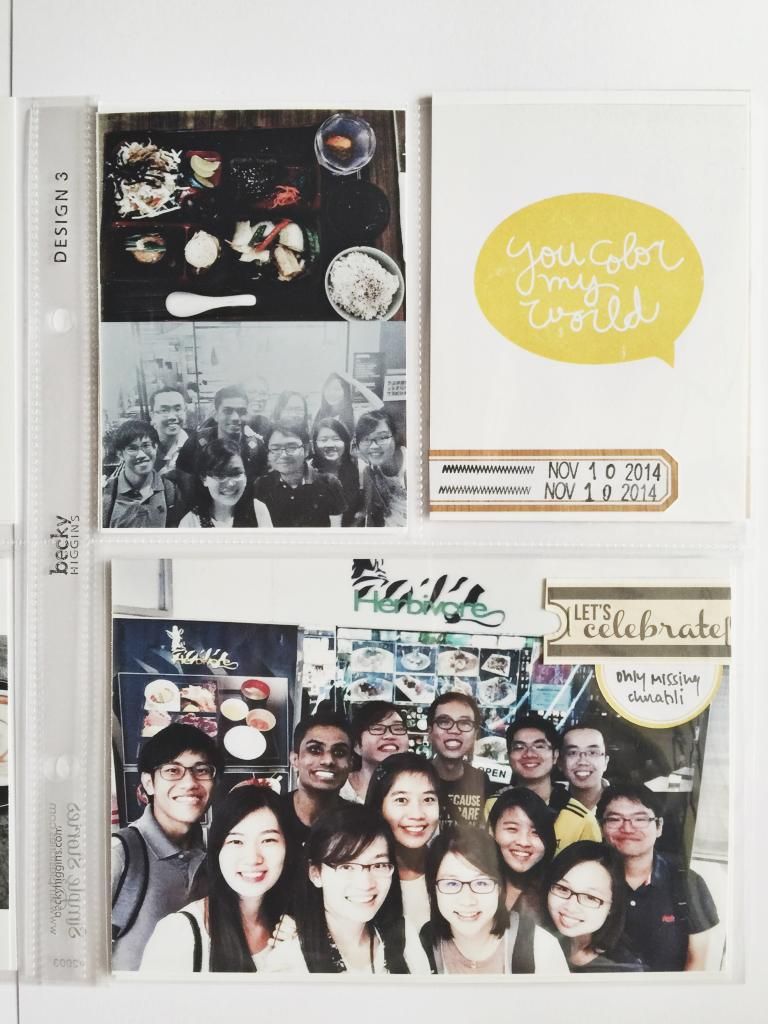
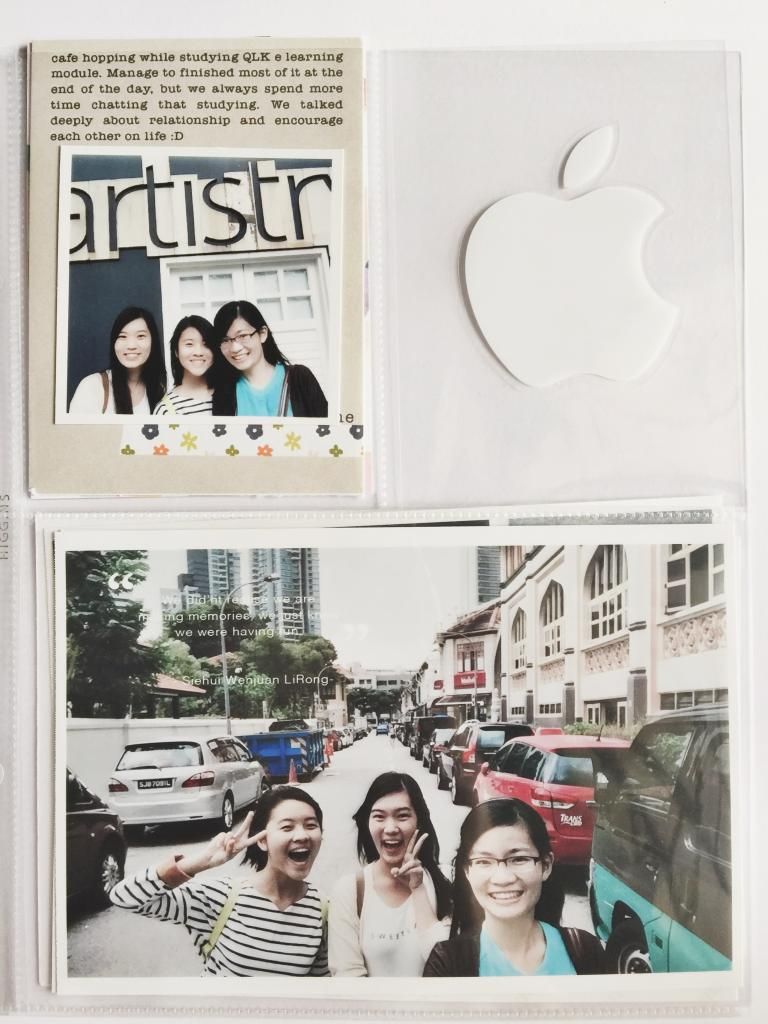
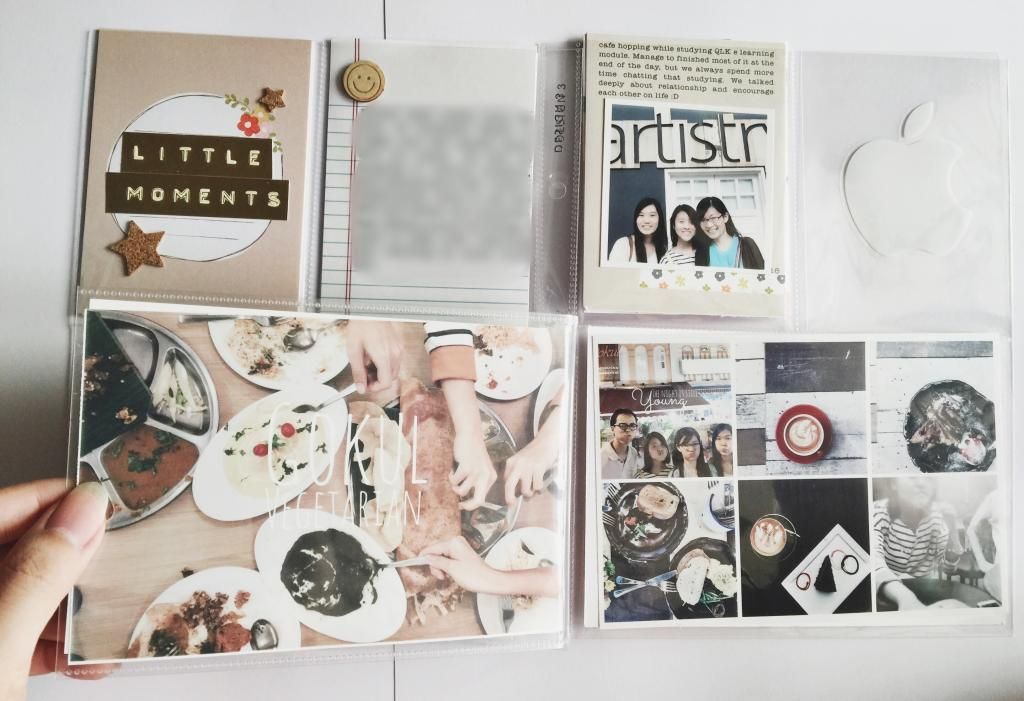
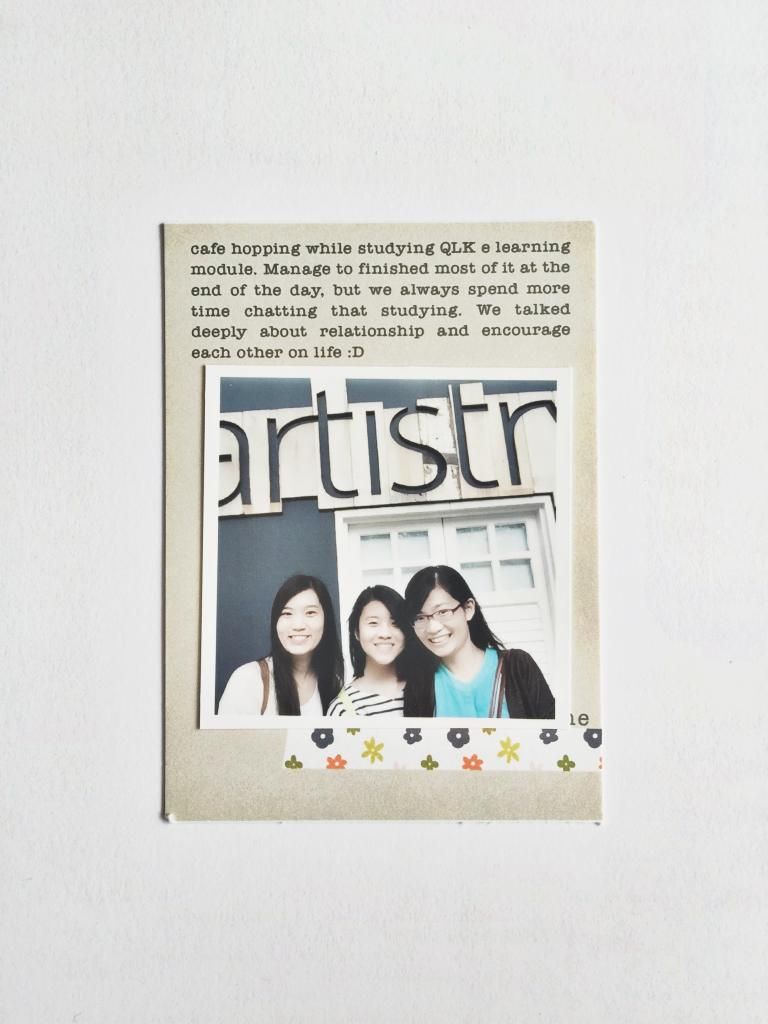
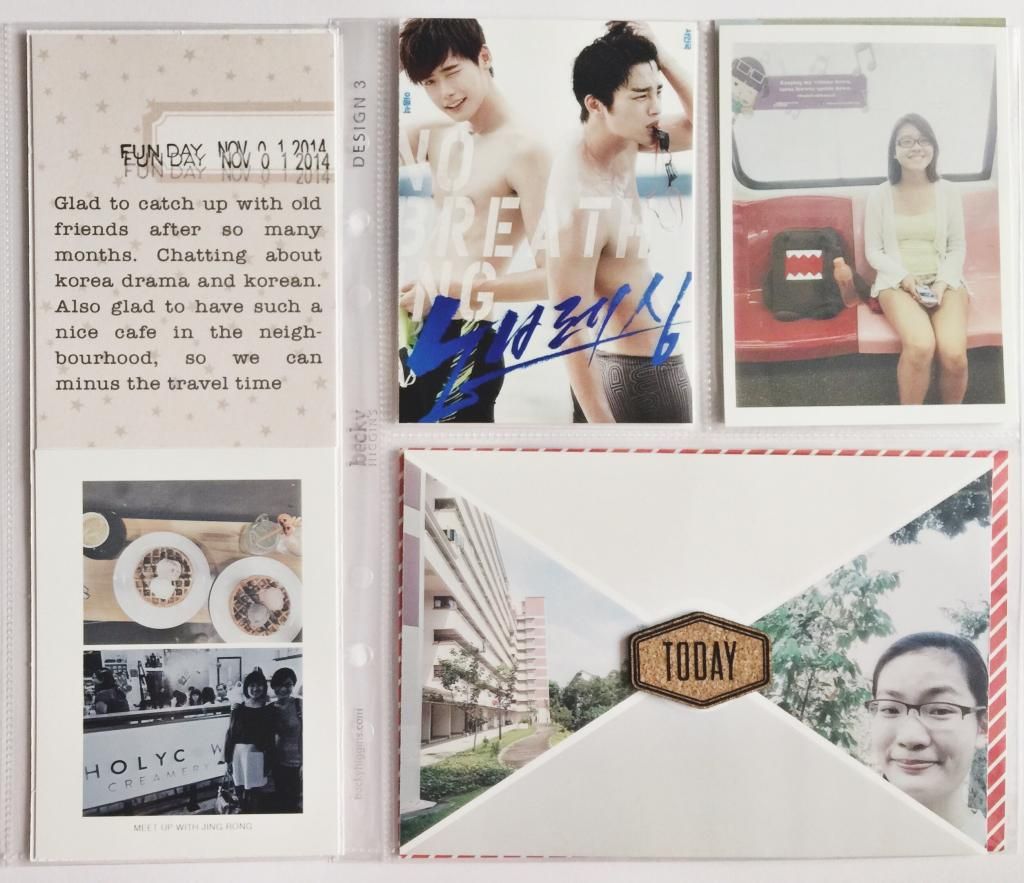
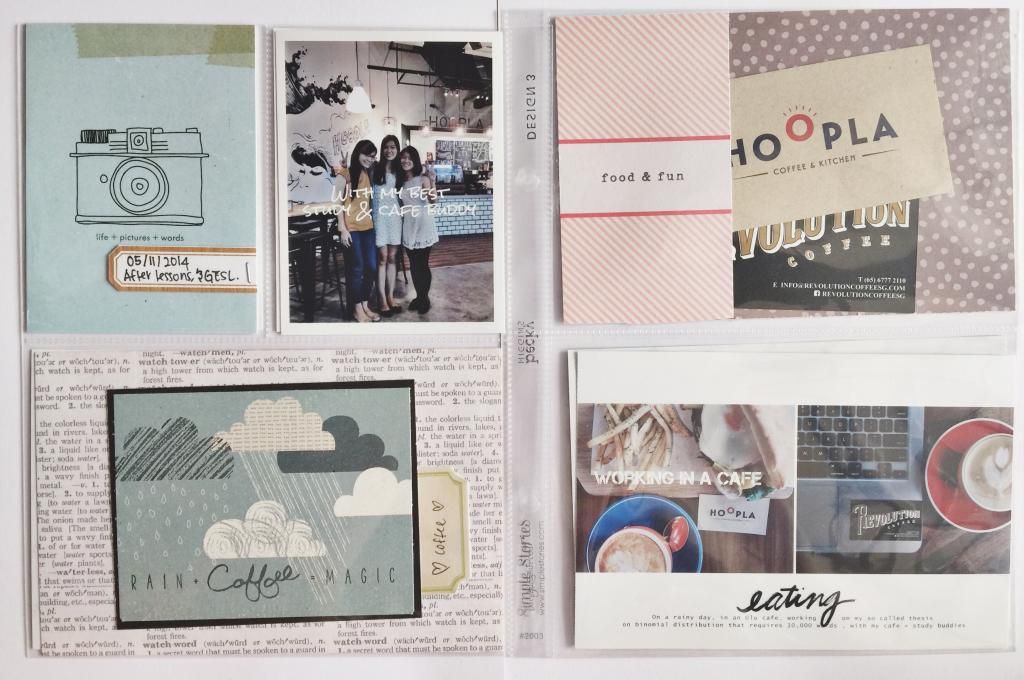
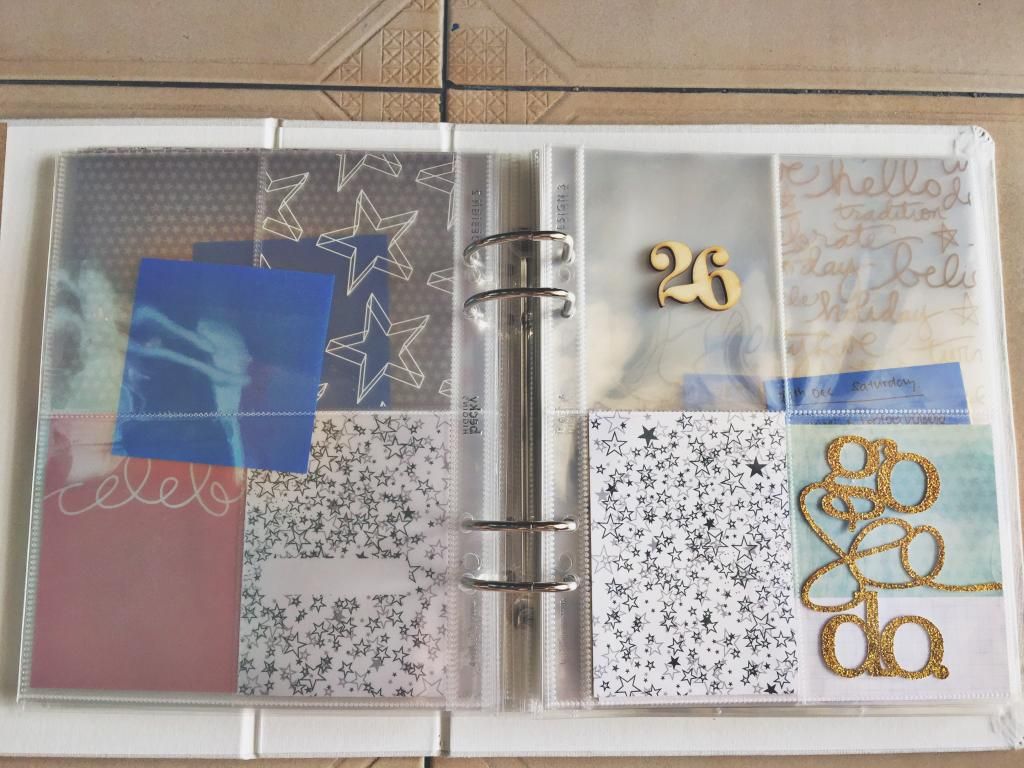
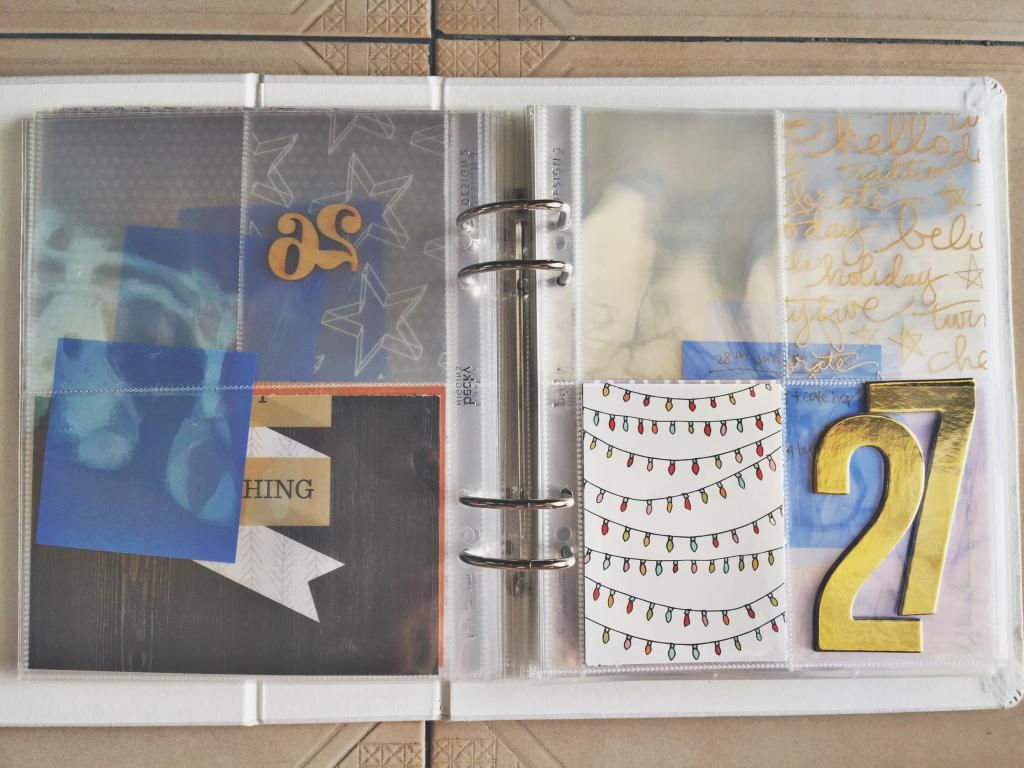
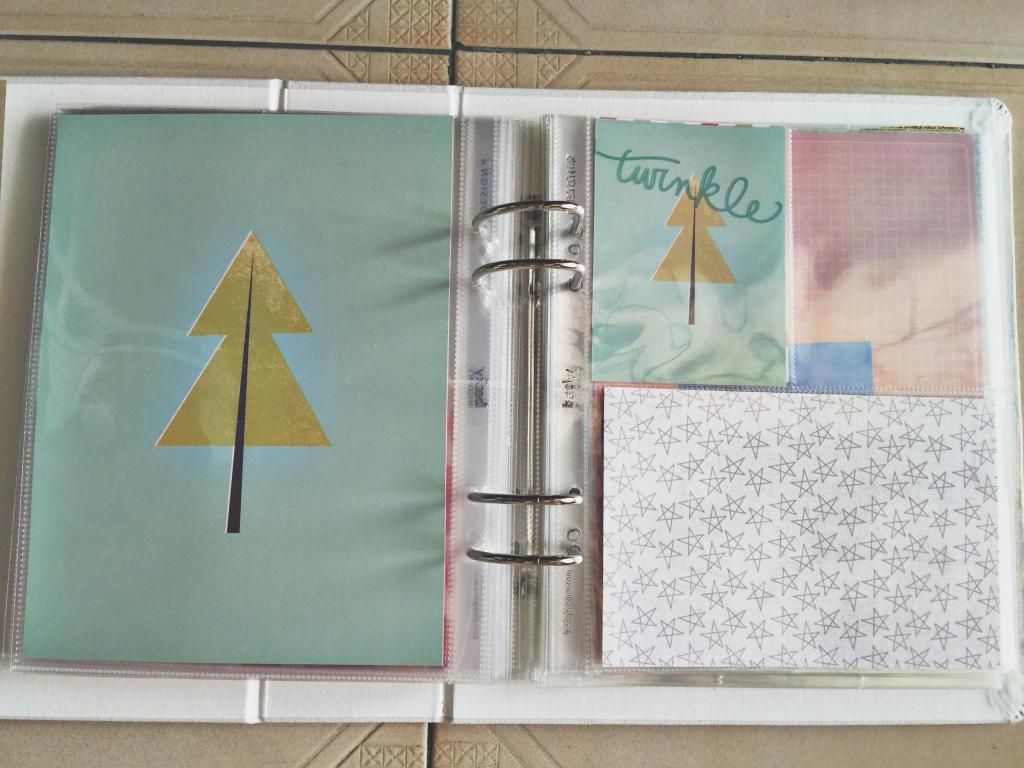
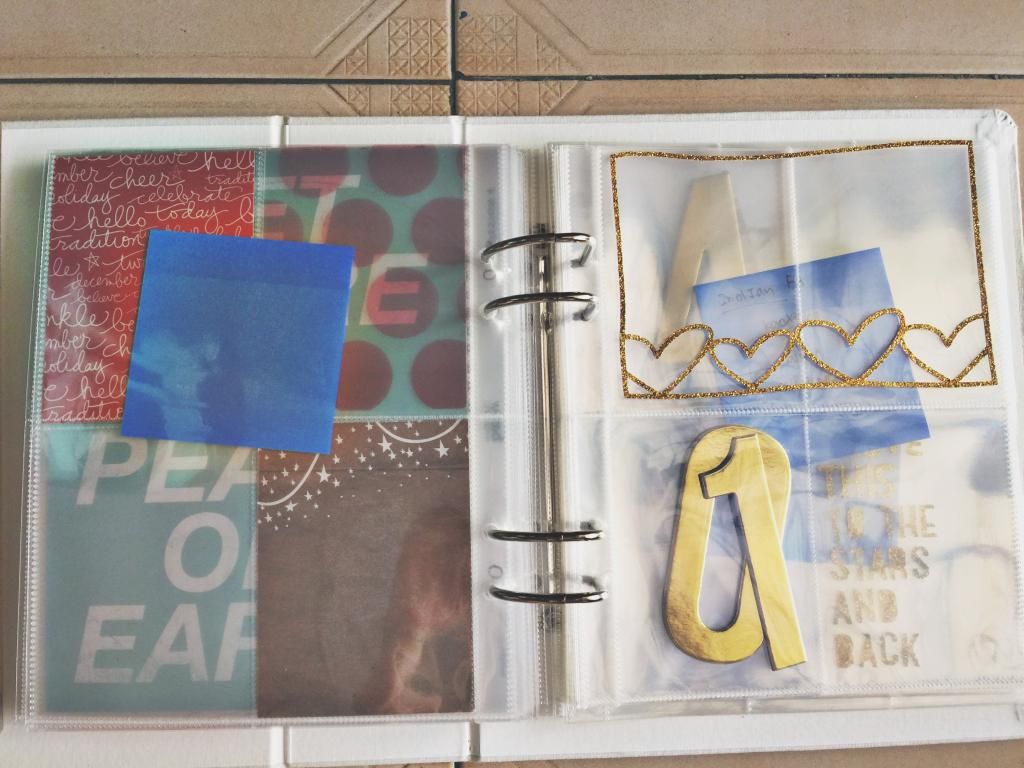
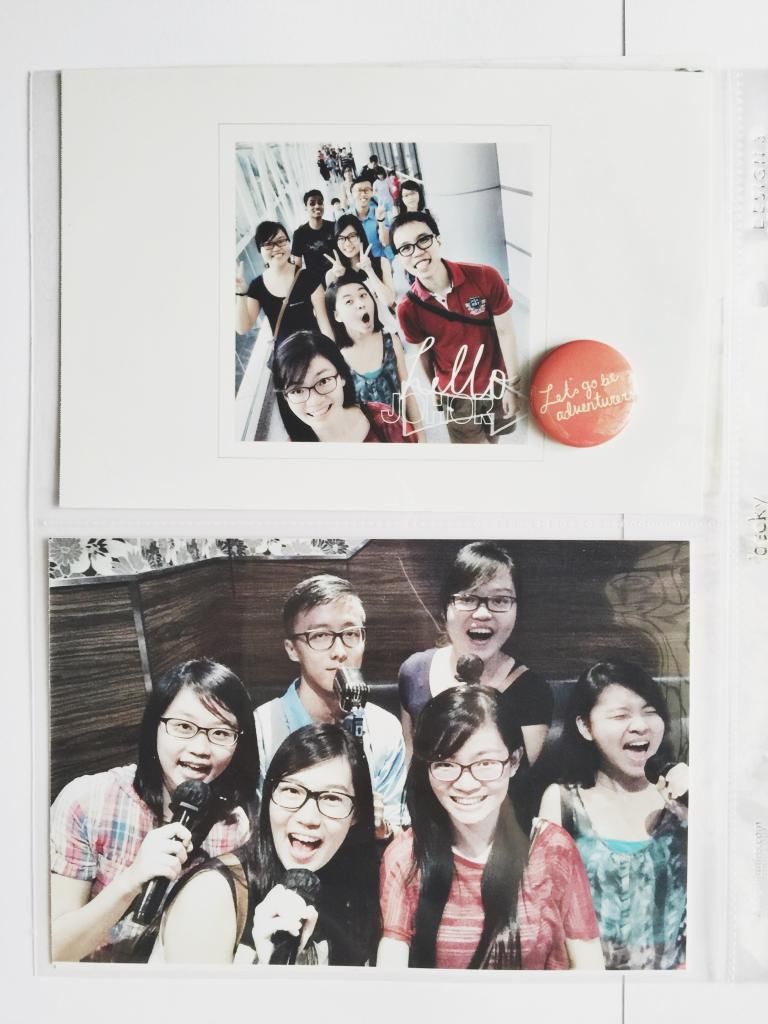
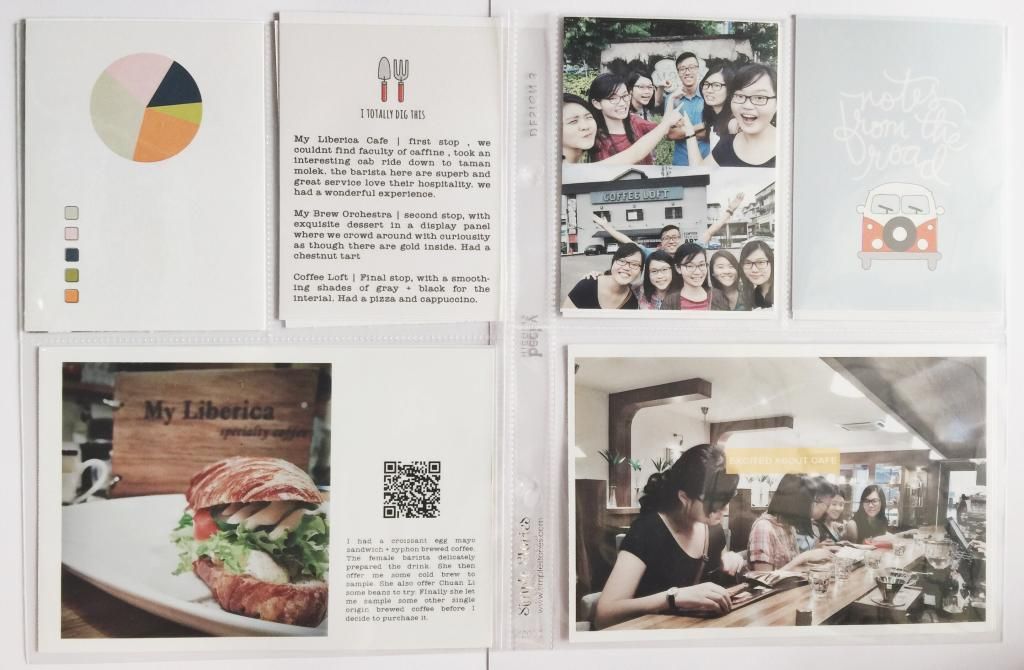
A few weeks ago, I went to JB with my friends for a cafe hop + KTV + Movie date. It was lots of fun when the cafe + coffee enthusiast come together. We took so many photos that I have 3 spreads for just one day! And here goes!

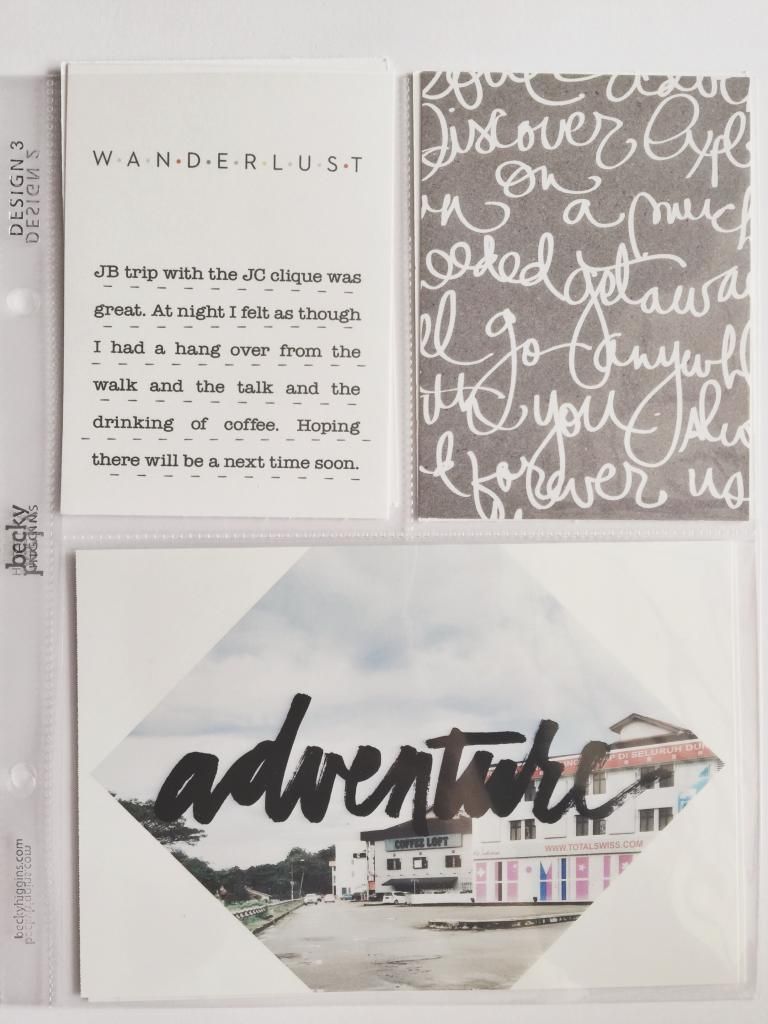
The "Adventure" card is my favourite! I love triangles and diamond shape. And the brush stroke words art is just awesome together :D You can find this template from The Lilypad and Paislee Press

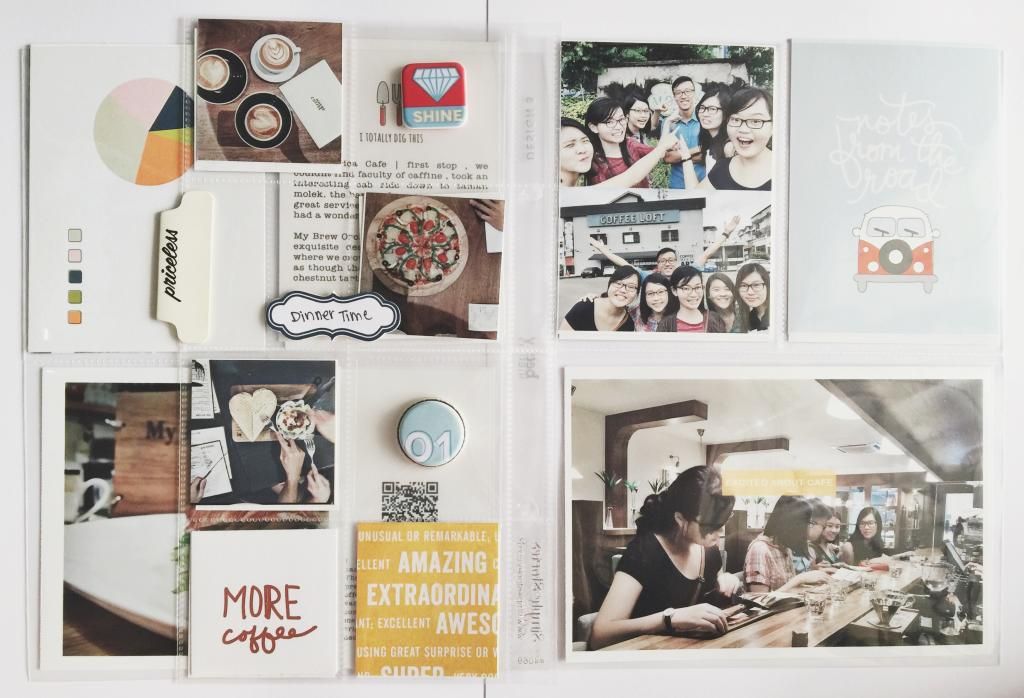
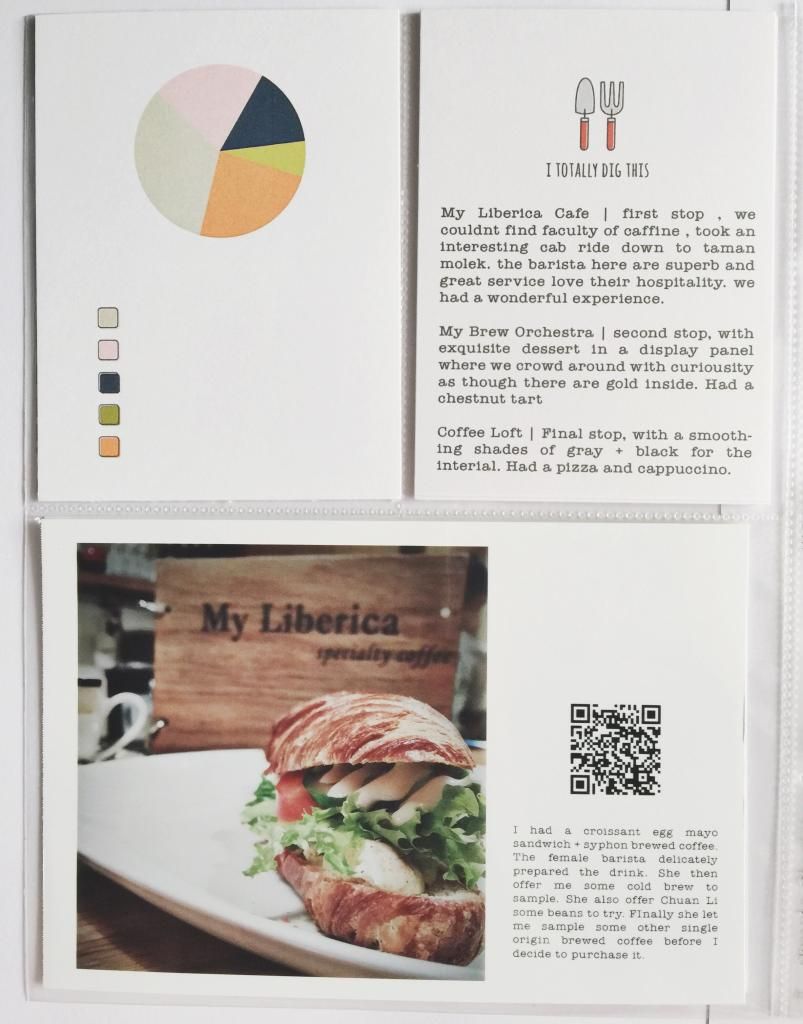

Added a page protector with 2x2 pockets for all the food and coffee photo. Because there are too many of them, I choose the tiny size  :)
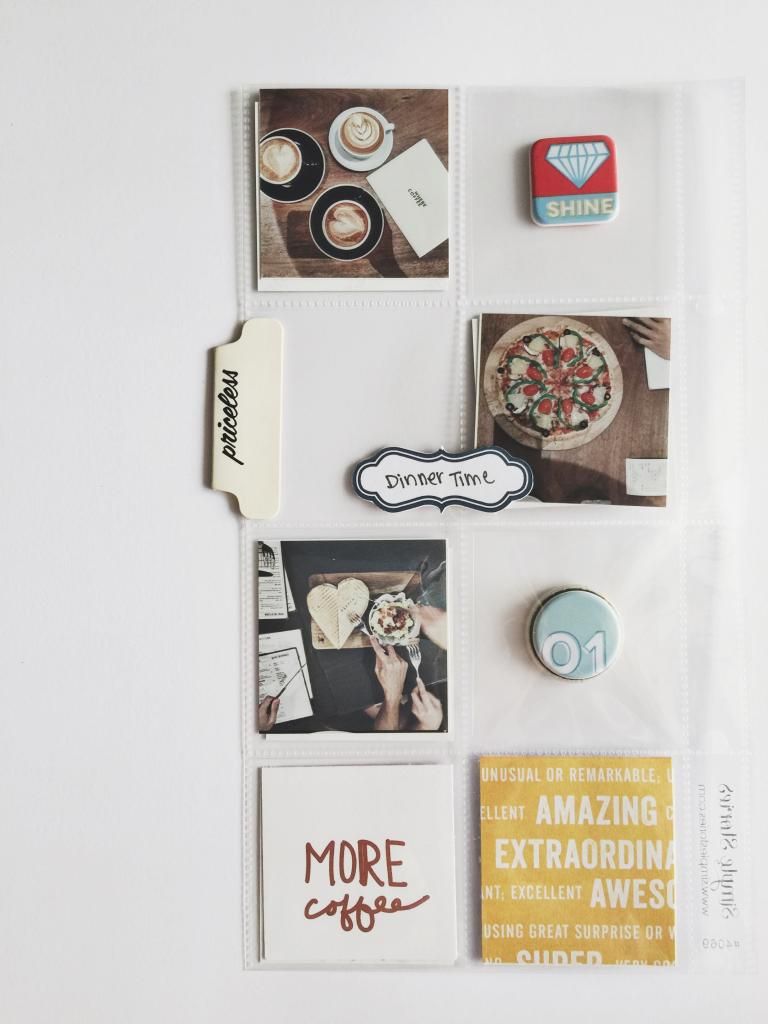
Added some puffy stickers on transparency and tuck it inside the pocket
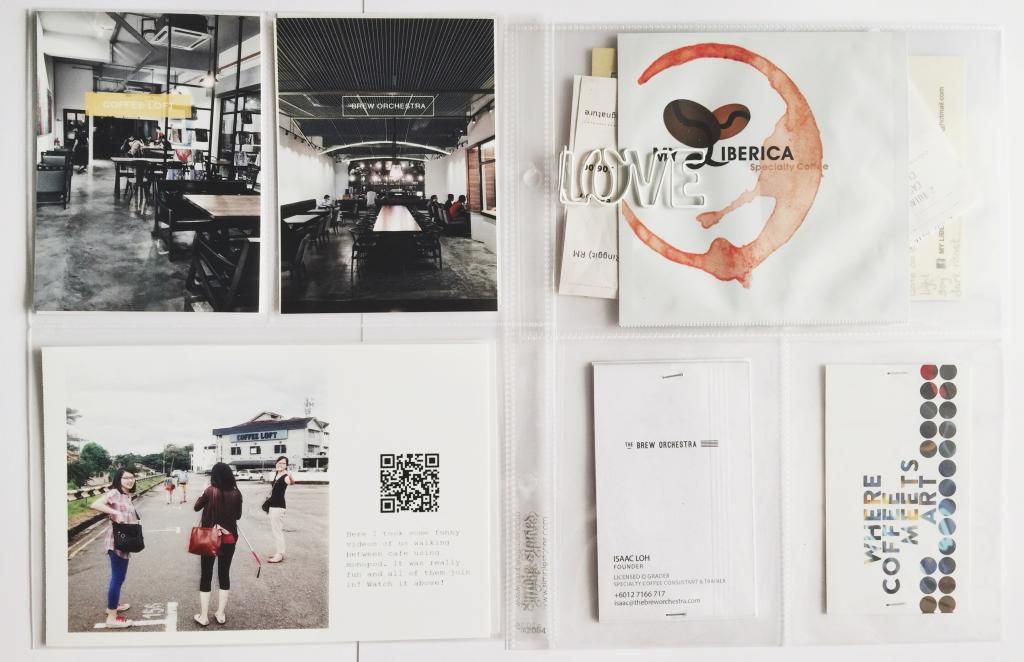


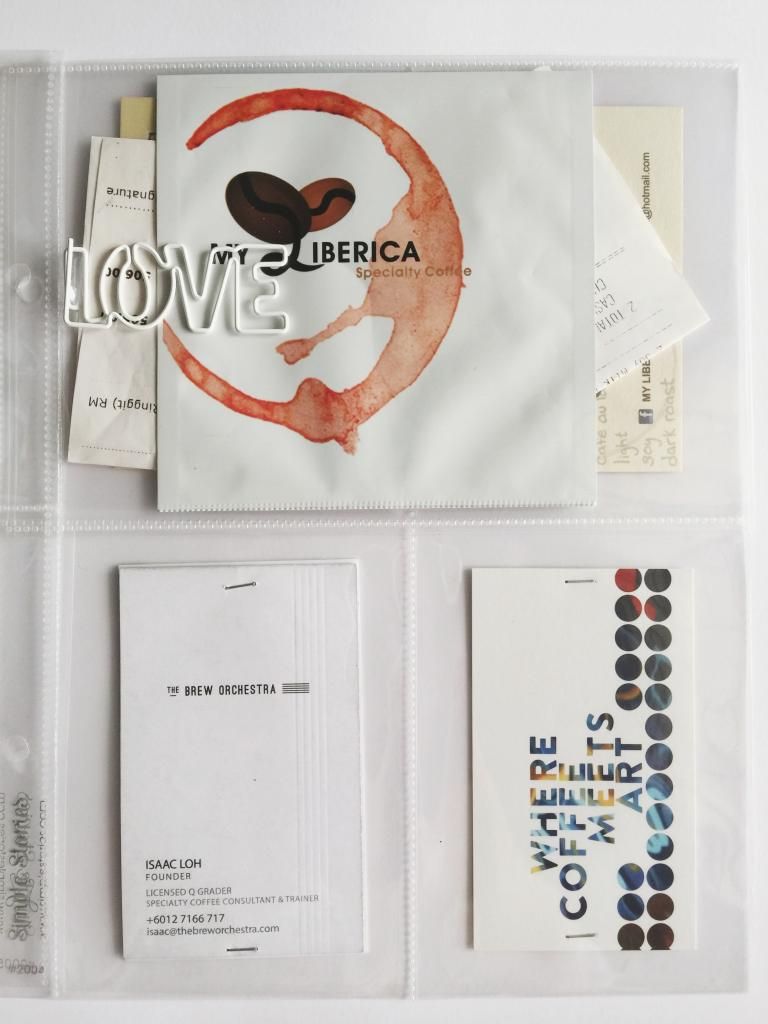
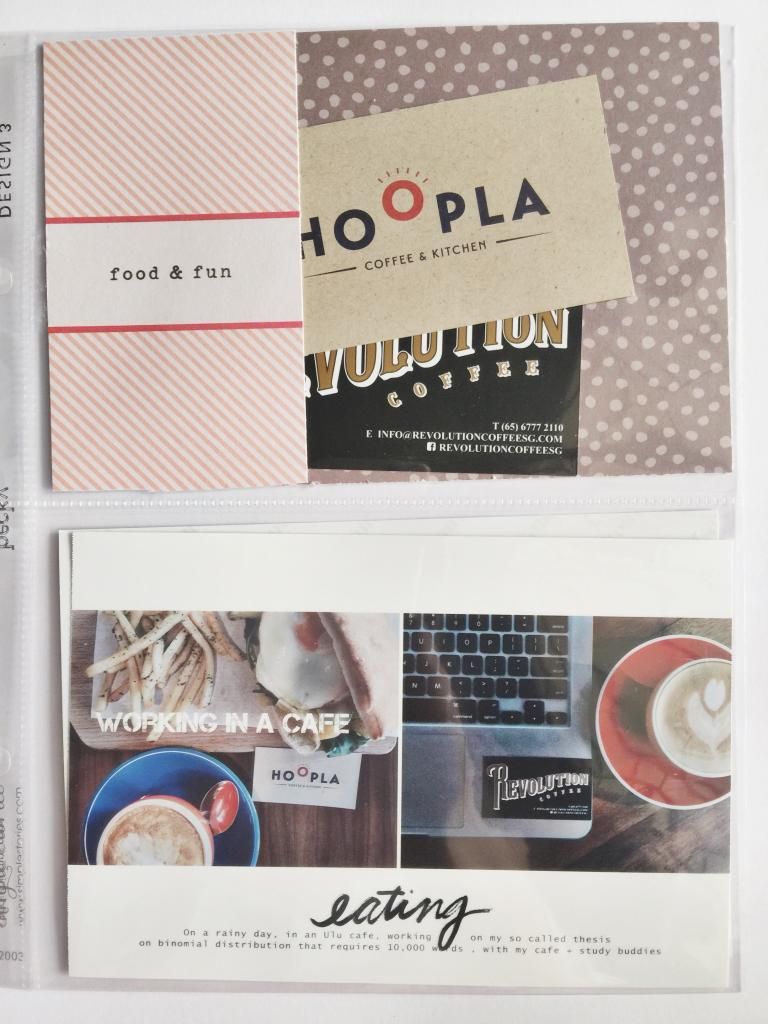
Dedicated entire page to business card and other ephemera. I stapled the card to a transparency and slot into the pocket, since the transparency is of 3x4 size, it helps to keep the card in the pocket. And since the transparency is transparent (of course), I can see both size of the card no problem :D
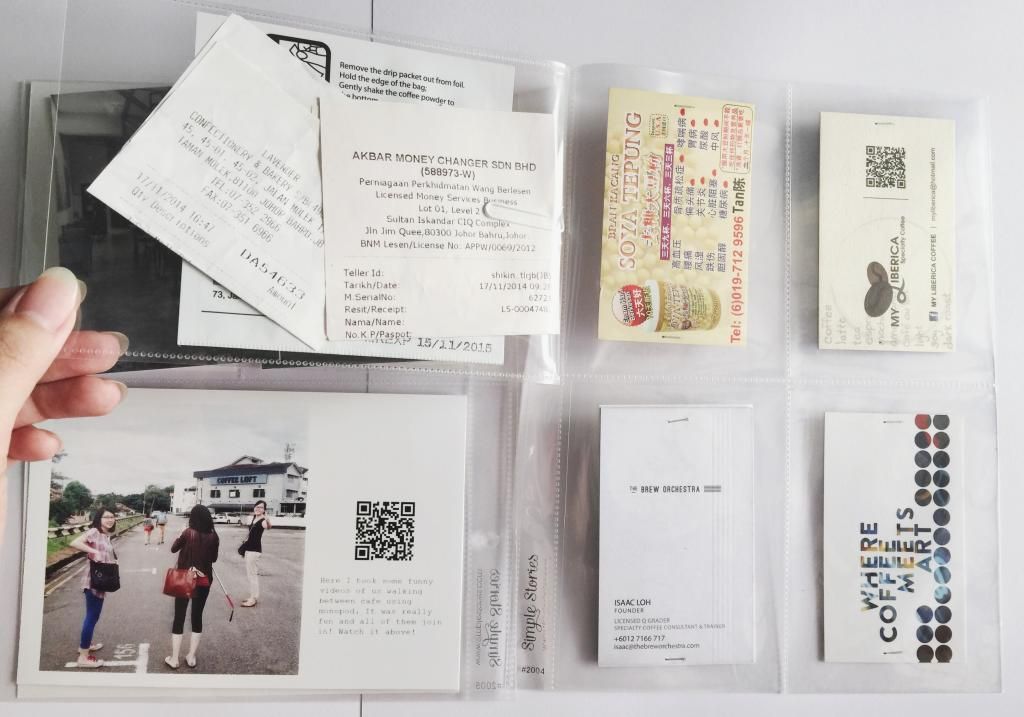

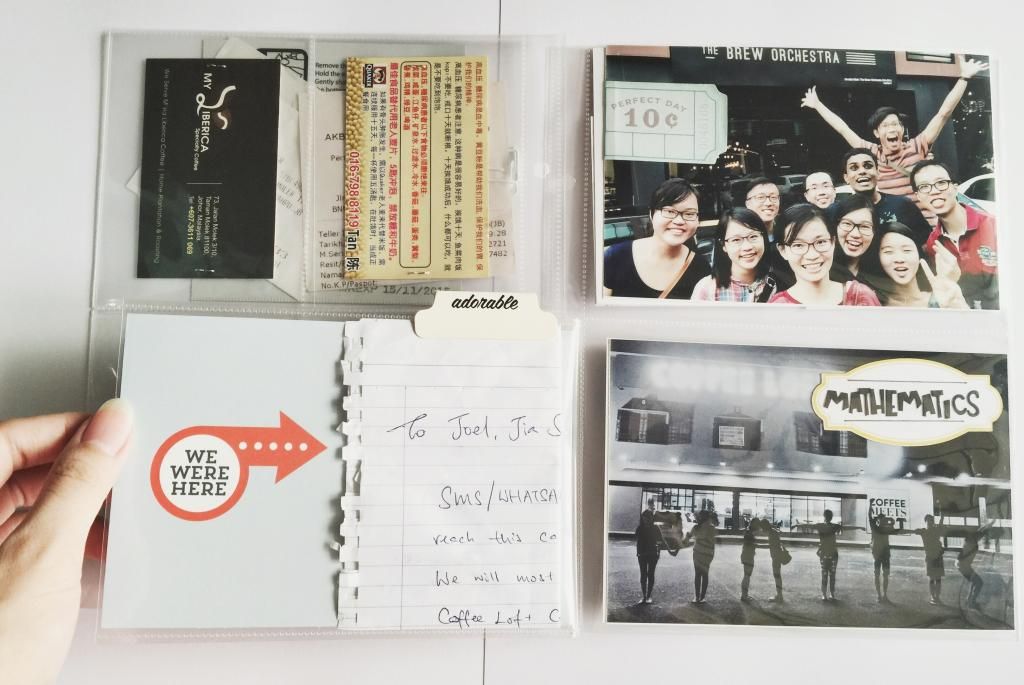
Another photo flip, this time round, for more ephemera 
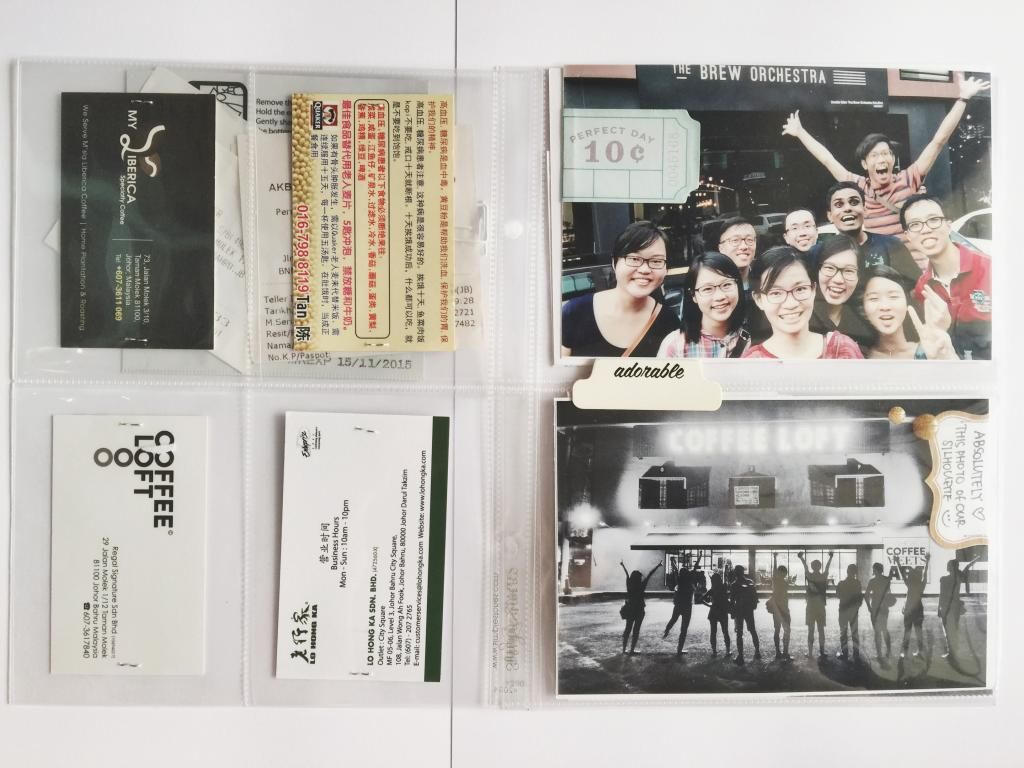


A note one friend scribbled during our trip because some of us get lost ! Such a fun thing to keep for future read haha!
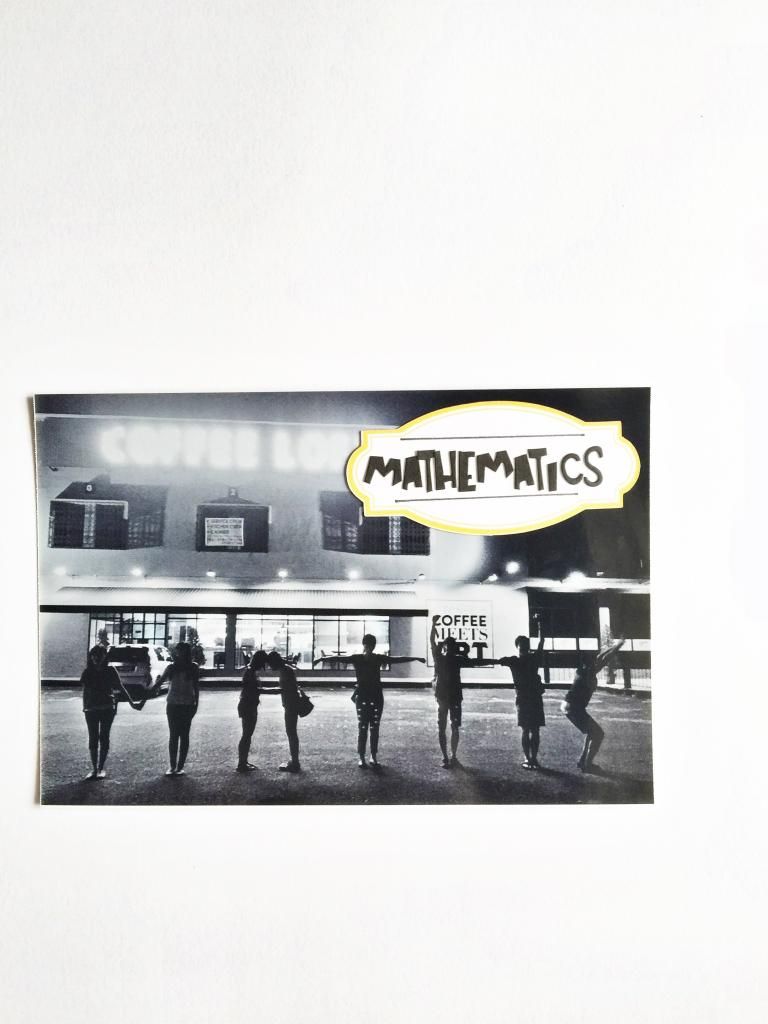

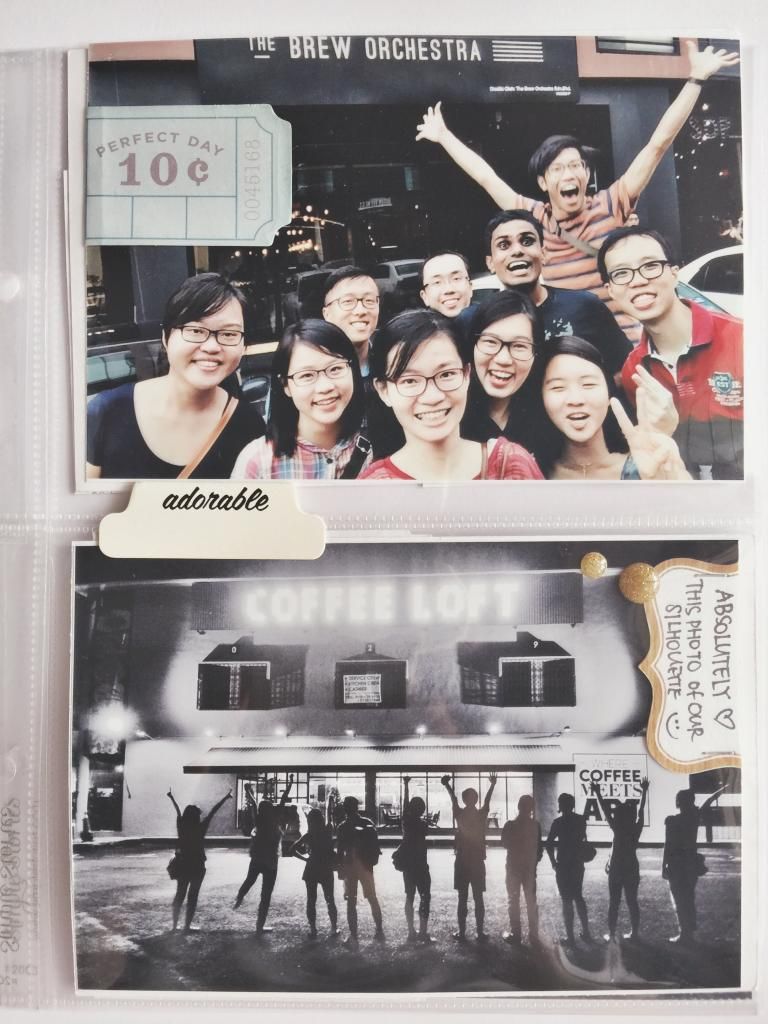
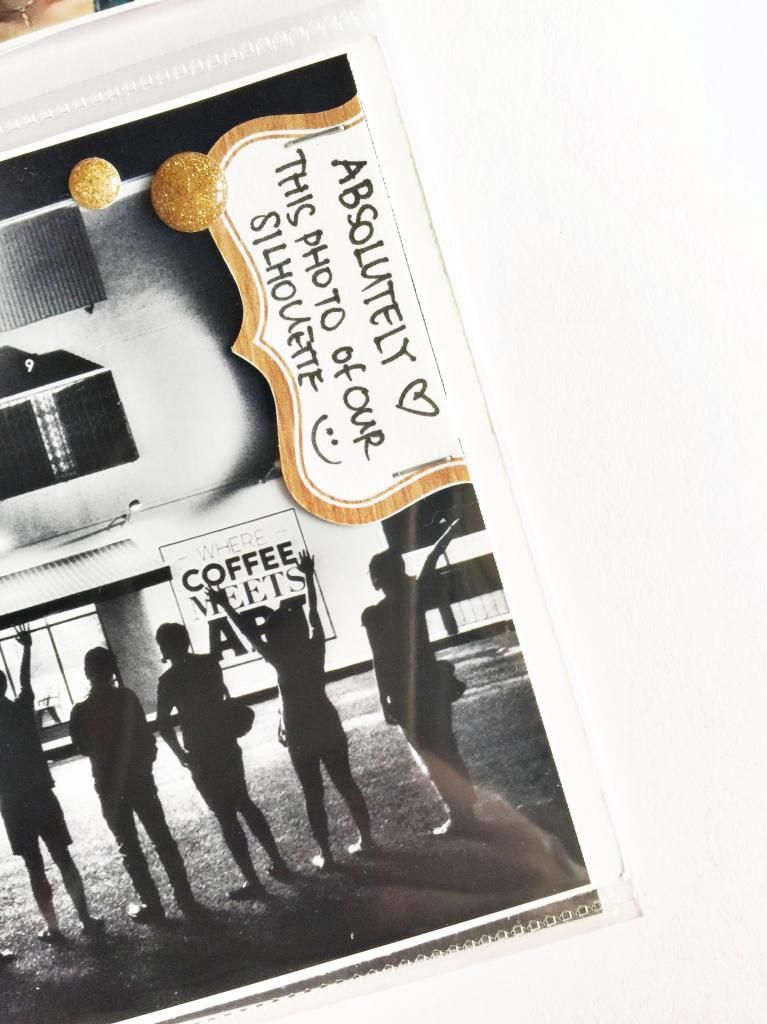
This is my favourite photo of the entire trip, silhouette outside a huge cafe. Can you figure out what word is this?

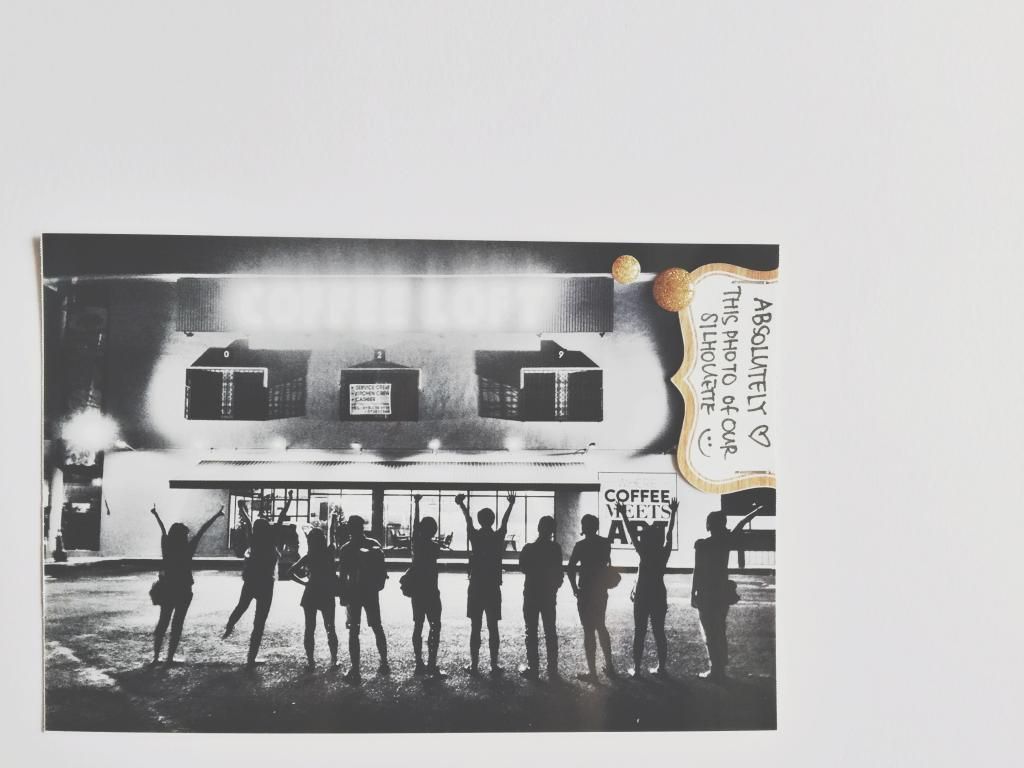

Thank you for stopping by :D


Tuesday, December 16, 2014

Project Life | November Pages 3

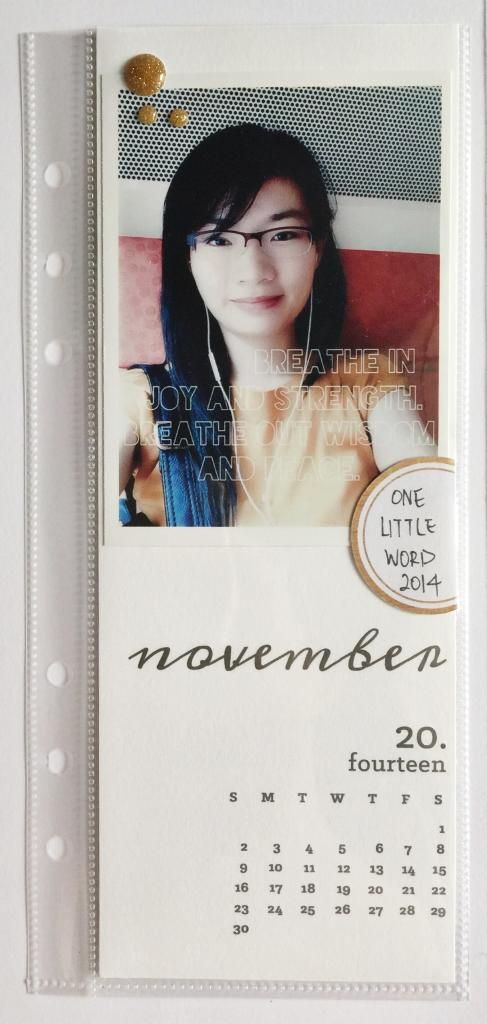
This is m third post of my November Project Life pages. Notice, I have more than 4 spread and I do not have 1 photo per day. Some days I have 20 photos, some days I have zero photo. I have gave up the "one photo a day" idea long ago because I really do not want to restrict myself. Moreover, somedays I basically wake up and sit in front of my computer doing work/watching tv the entire day and nothing else happen. No photos for those days and I'm ok with that.


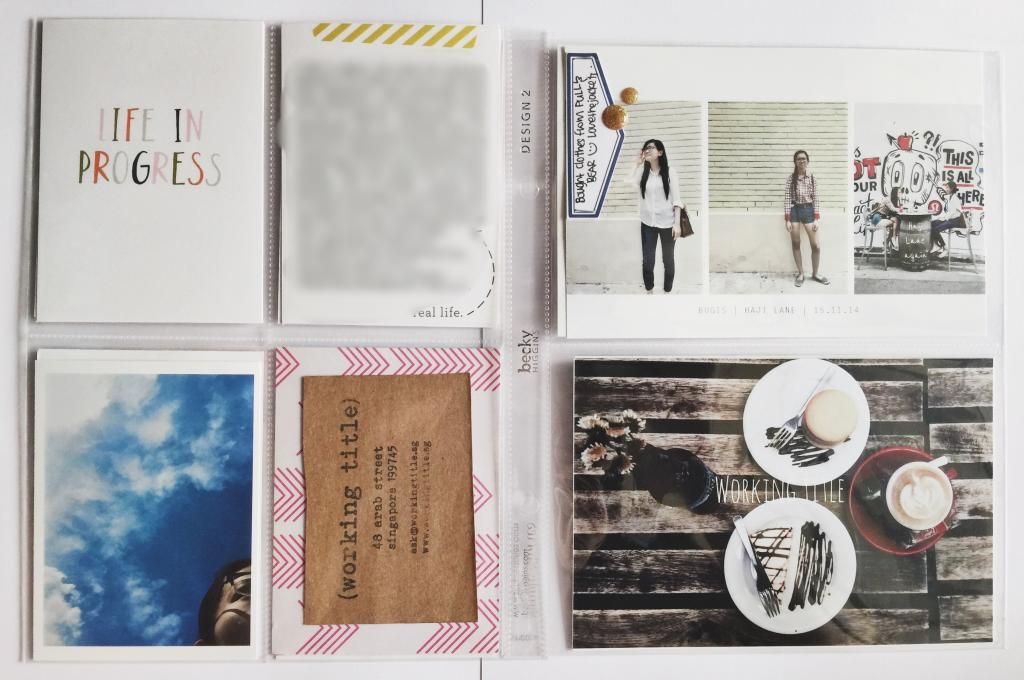
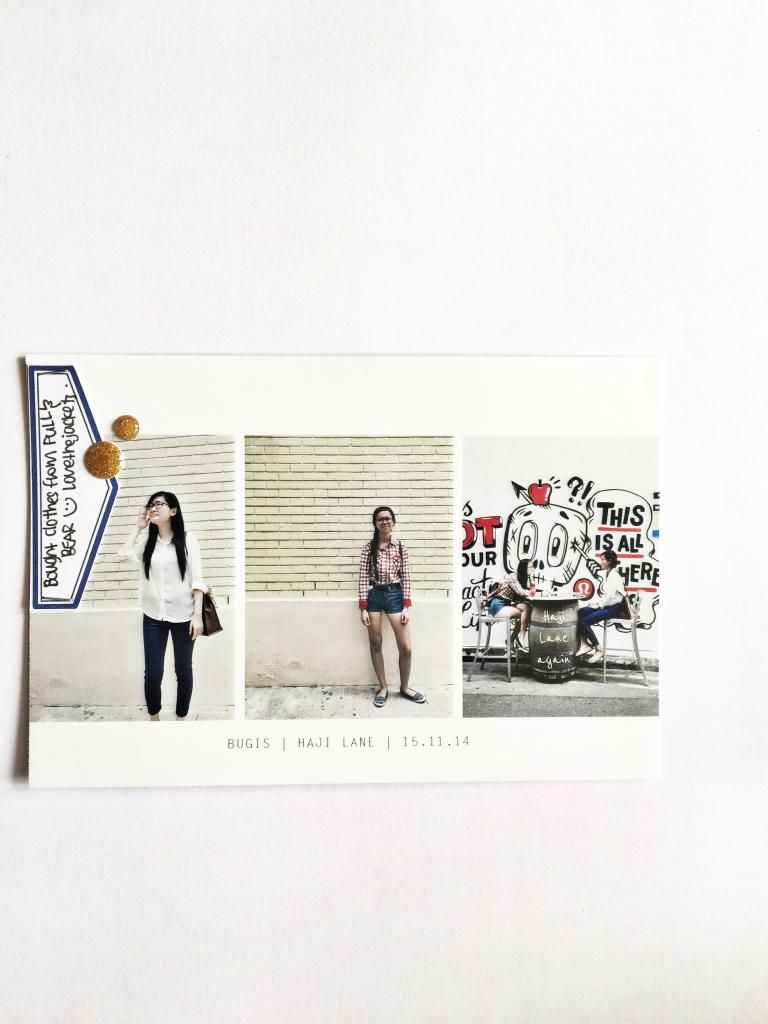
My embellishments are generally label tags, enamel dots and flair badges. I also remove the foam dot behind to prevent too much dimension :) 


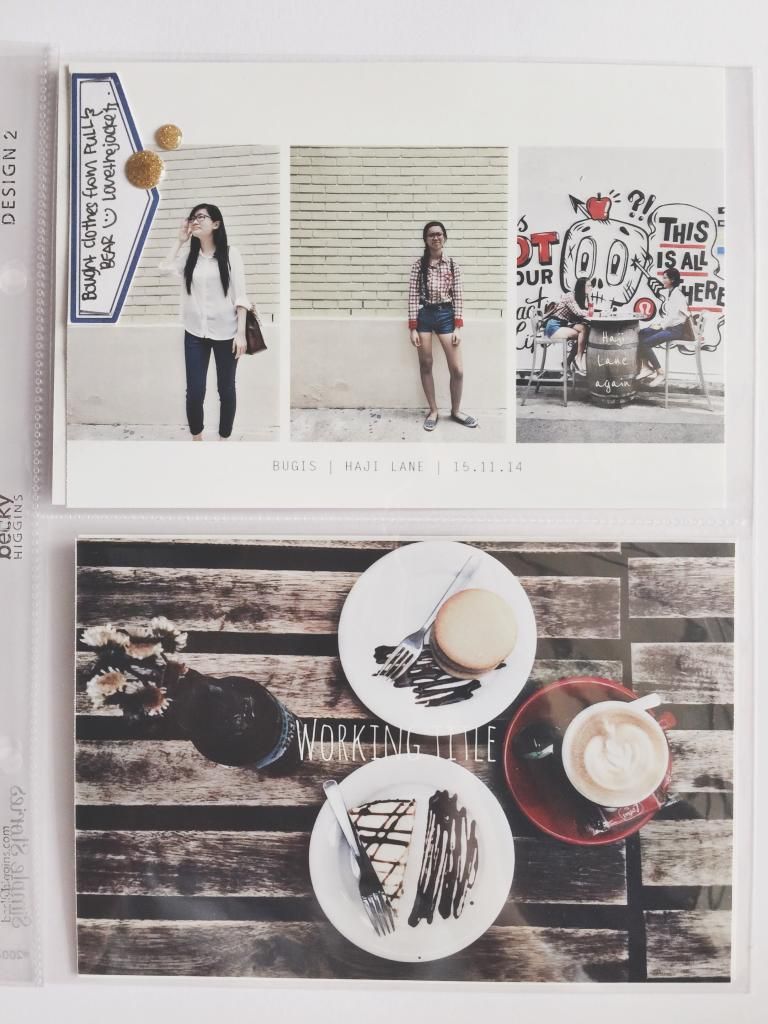
Sometimes I like to add the title directly onto the photo on my iphone, without the hassle of using photoshop. I mainly use Pic Tap Go app to edit the photos and Letterglow to add the title


Till next time :)


Sunday, December 14, 2014

Project Life | November Pages 2

Continuing my Project Life November Pages.  Again, I'm using some journaling cards from One Little Bird Design and Photo templates from Paislee Press


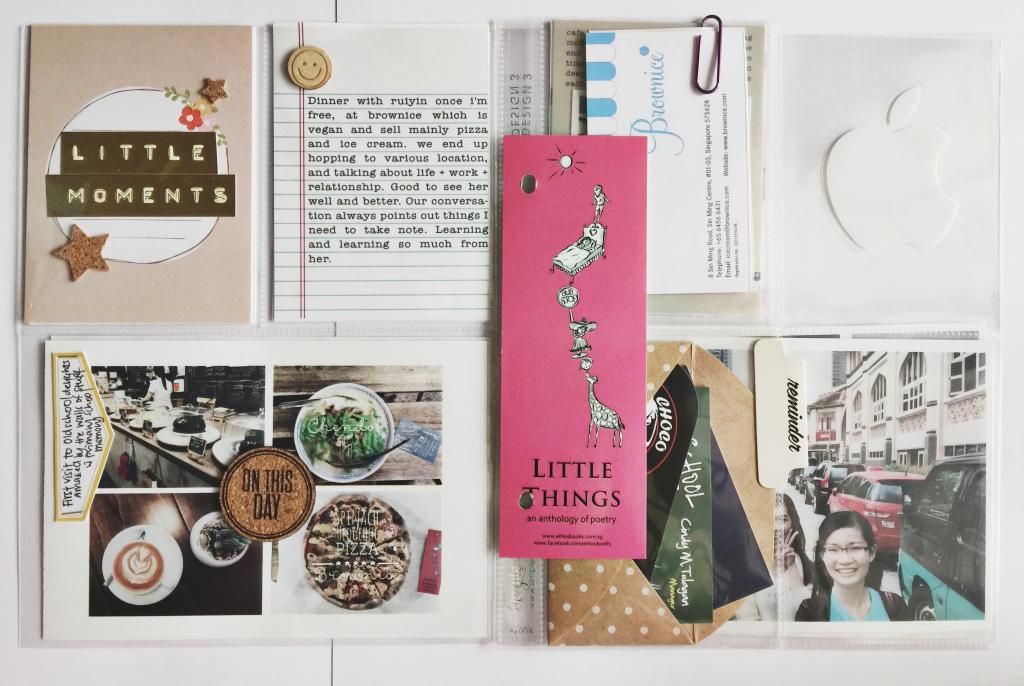
Adding the bookmark my friend kindly gave me :)
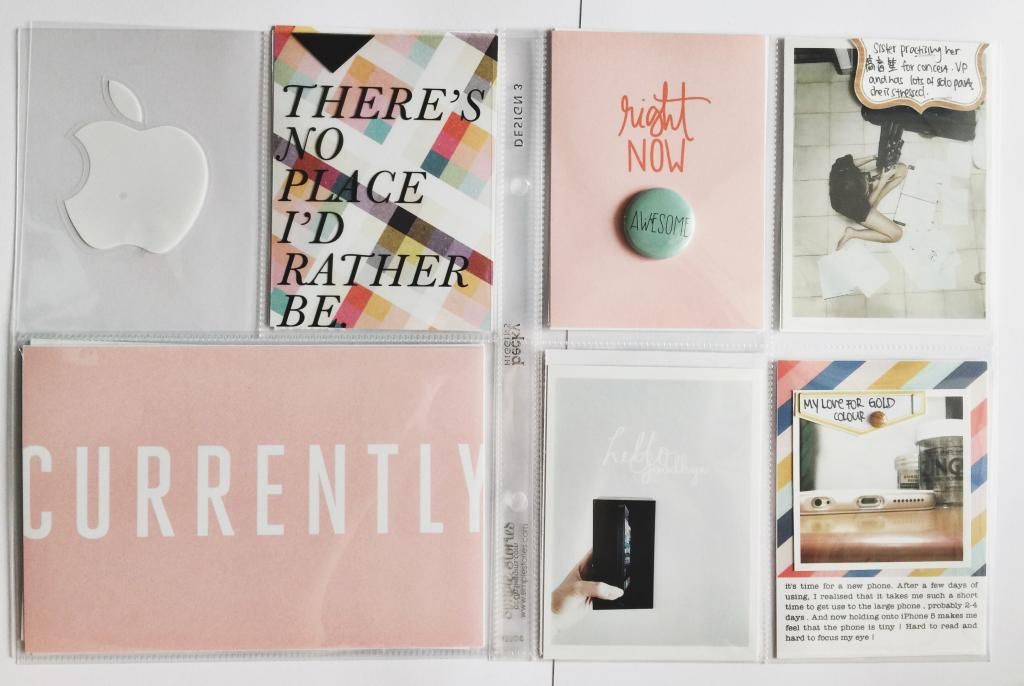
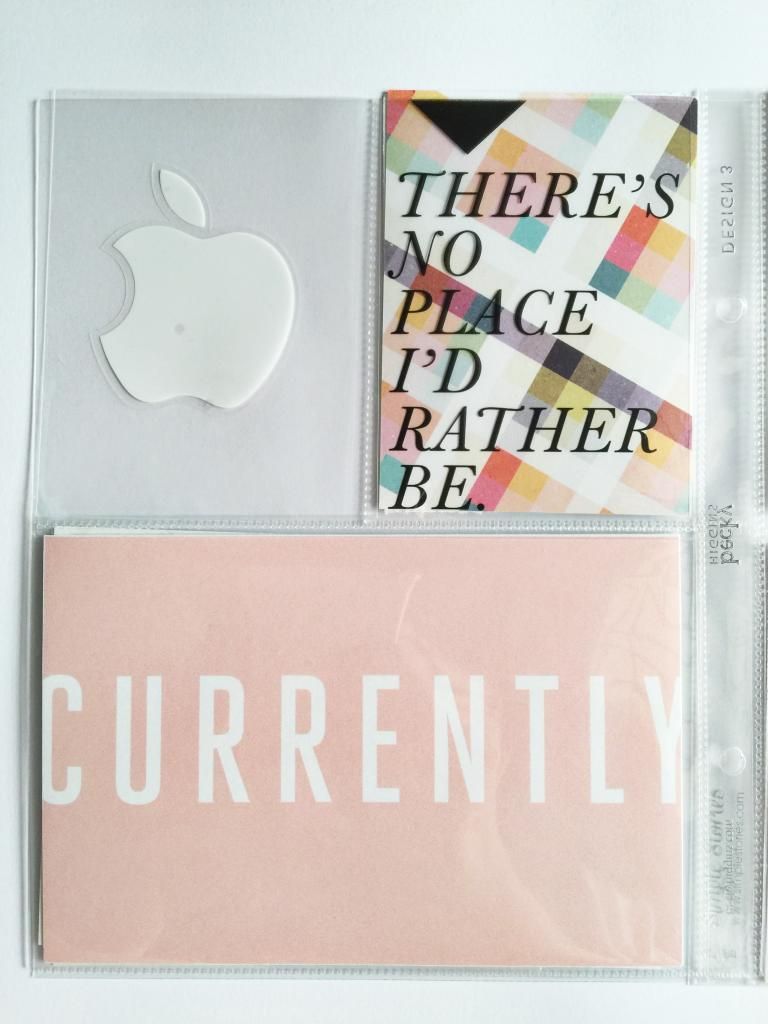
Bought the new iphone 6 plus and included the apple sticker inside, stuck to a sheet of transparency


Cards from various cafes and shops I visited this week is tucked inside a Maya Road envelop (again not gluing them down in case I want to use them for other purposes)


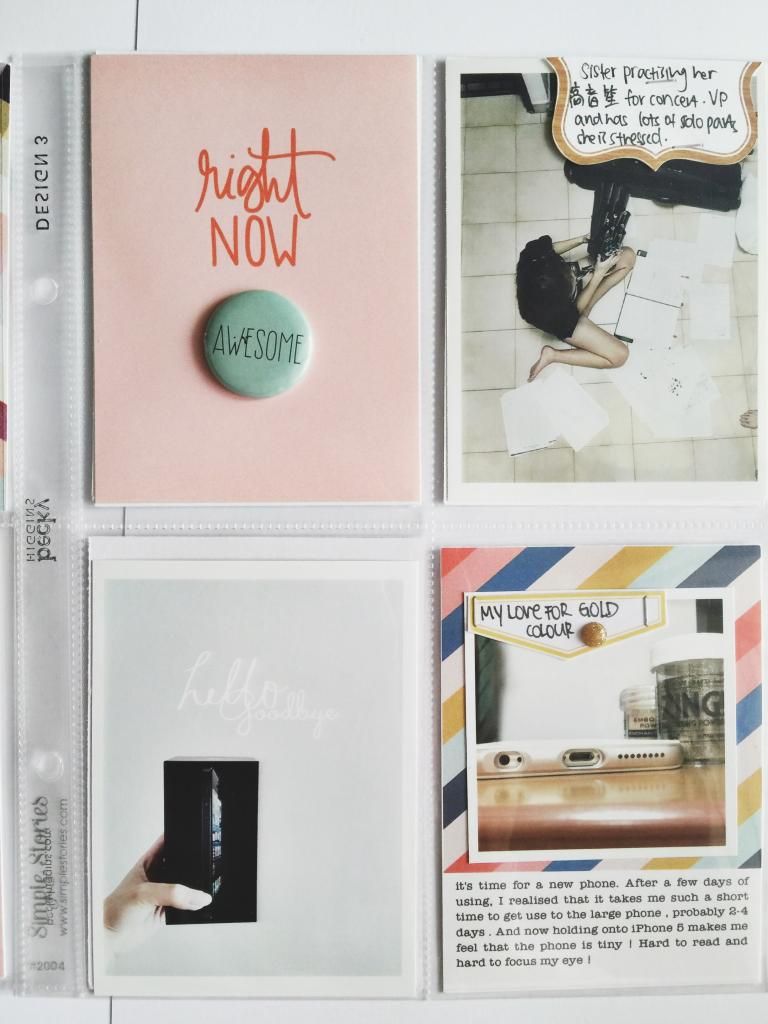
Another thing I used a lot this month is the Photo Flips from Simple Stories. It allow me to add 2 more photos than usual. There is a great video by Ali Edwards about the photo flips . You can get them from Simon Says stamp here.


Trimming away half of the pockets in this page protector to hold my embellishments. I love how this look, but it tends to puff up my album alot . Maybe next time I should consider adding this as a flip pocket on the outer 2 pockets.


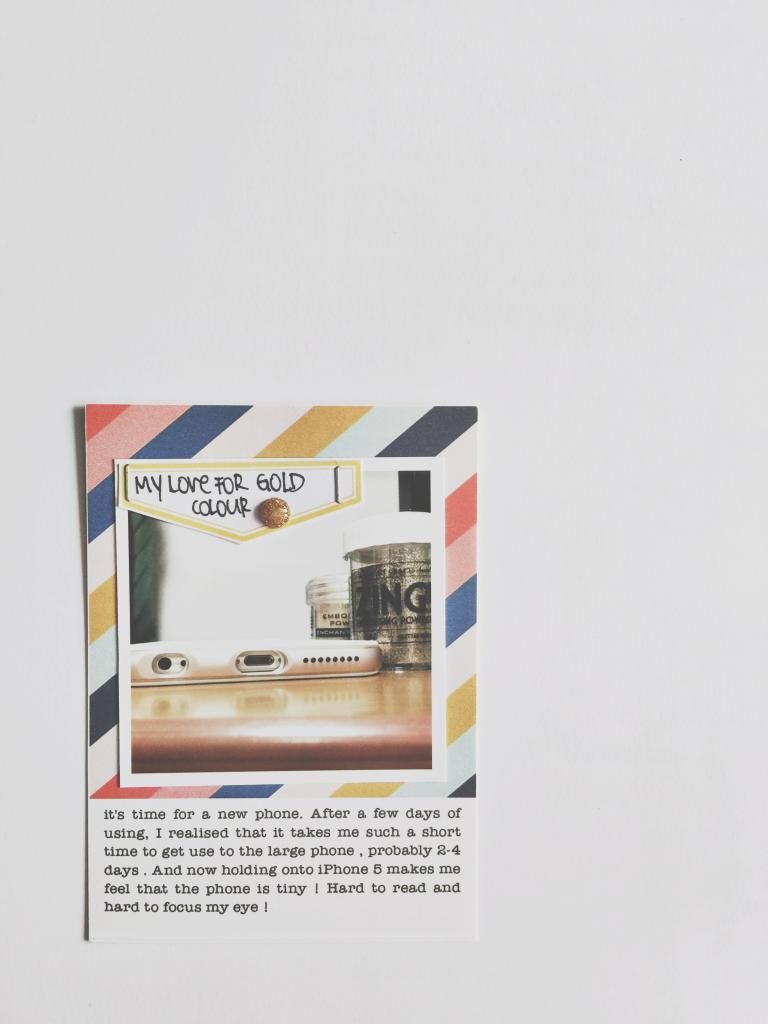
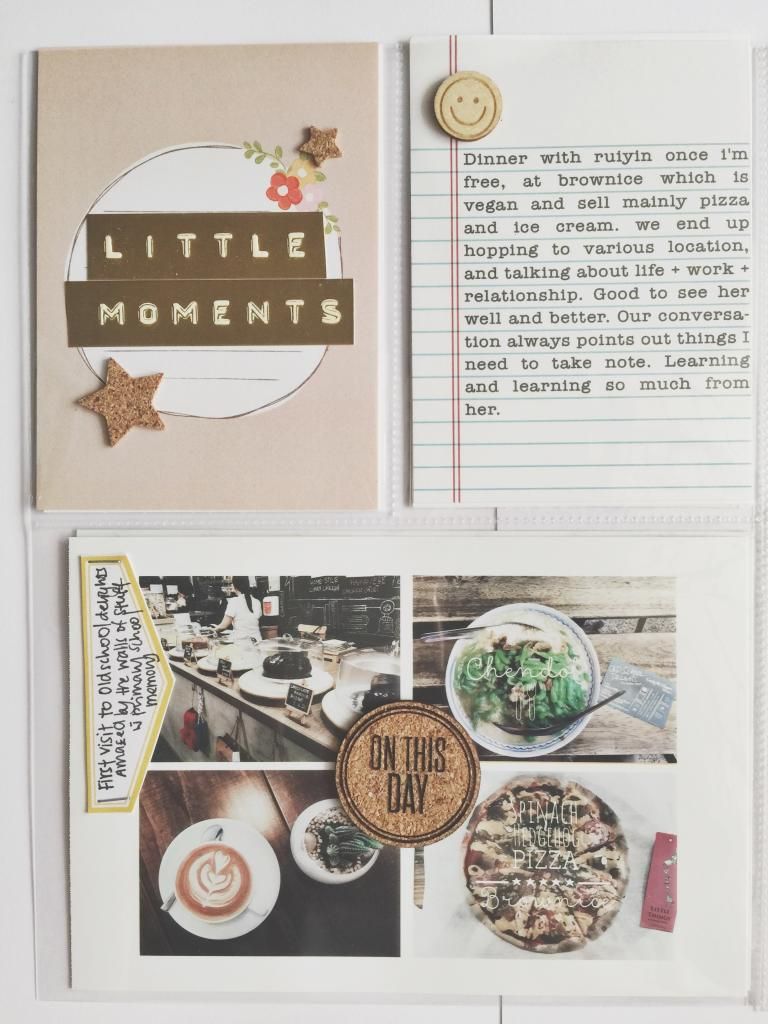
Keeping things simple, journaling card + photo 


This is by far my most favourite photo template by Paislee Press as it can include 3 portrait photos in one 4x6 photo. Love it!

Thursday, December 11, 2014

Project Life | November Pages 1

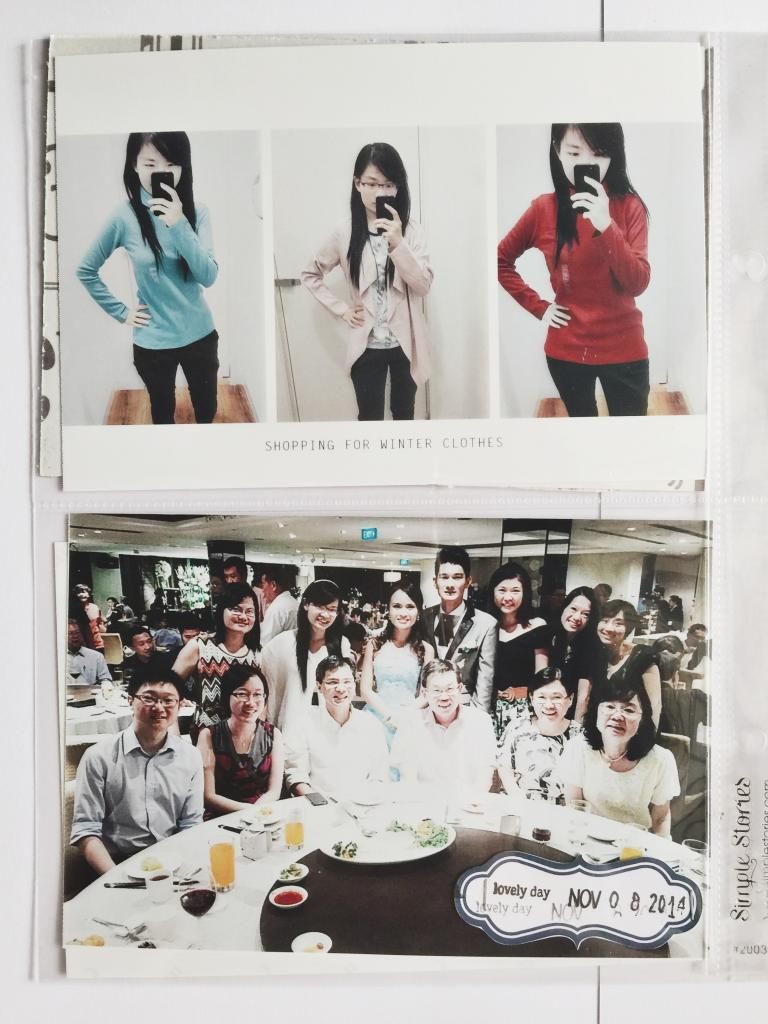
I have recently changed the way I scrapbook my project life photos. Usually I'm too excited to get the photos printed, so I used Lightroom to collage the photos and print them immediately with my canon selphy. So it turns out that my album will be full of photos and ephemera and no journaling. Project life cards and pattern papers are usually stuck there . 

This time round i turn totally HYBRID. So this time round i'm determined to make it work, so I dont print any photo, instead, I typed all the journaling into the caption area of my photos in Lightroom. And I gather the journaling from places such as my Evernote app, and my Momento app (which pulls information from all my social media network) . 

I got my journaling cards and templates from The Lilypad. Especially love those by Peppermint Granberg and Liz Tamanaha . Using photoshop, I add the journaling to the cards and printed them out. Then using the photo templates, I made collages of the photographs I want to print. When everything is done, it's assembly time! I added minimal embellishment, and I love how it turns out! Thanks to the journaling cards and photo templates!


** Follow my instagram @pepper_creations **


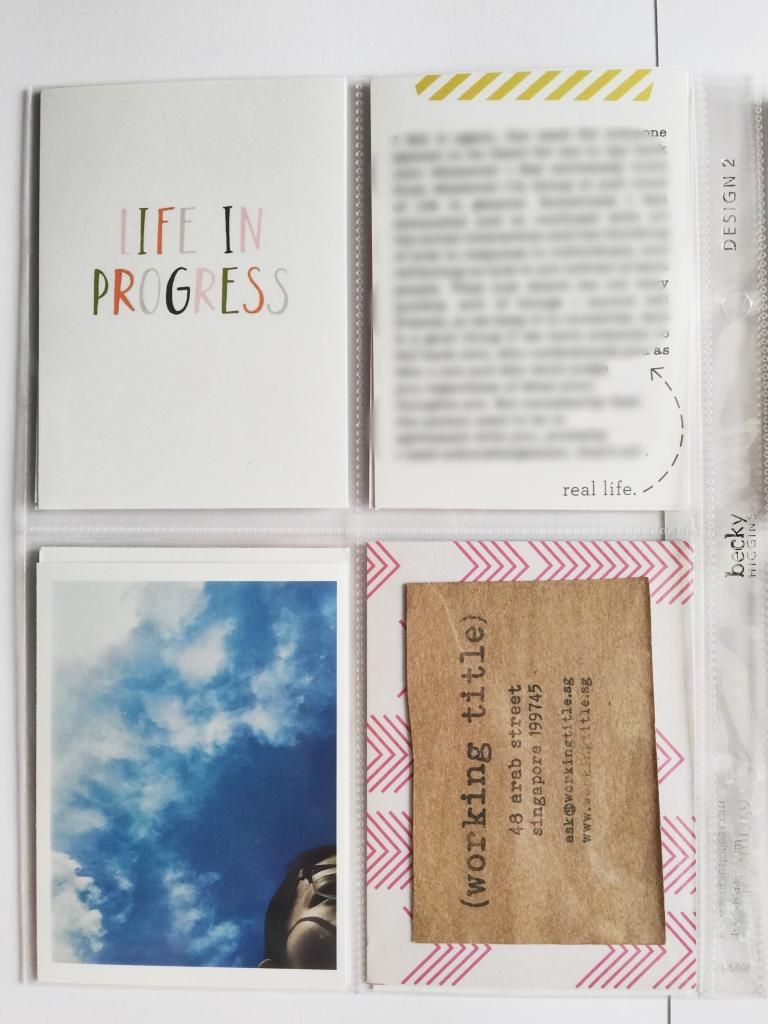
I love collecting name cards from cafe. And sometimes the name card are so pretty that I dont want to stick them onto the pattern paper, I want it to be removable, so i made a pocket with a 3x4 card, trim it to size and stick the edges. Then I tuck in the name cards so I can take it out if I want :)


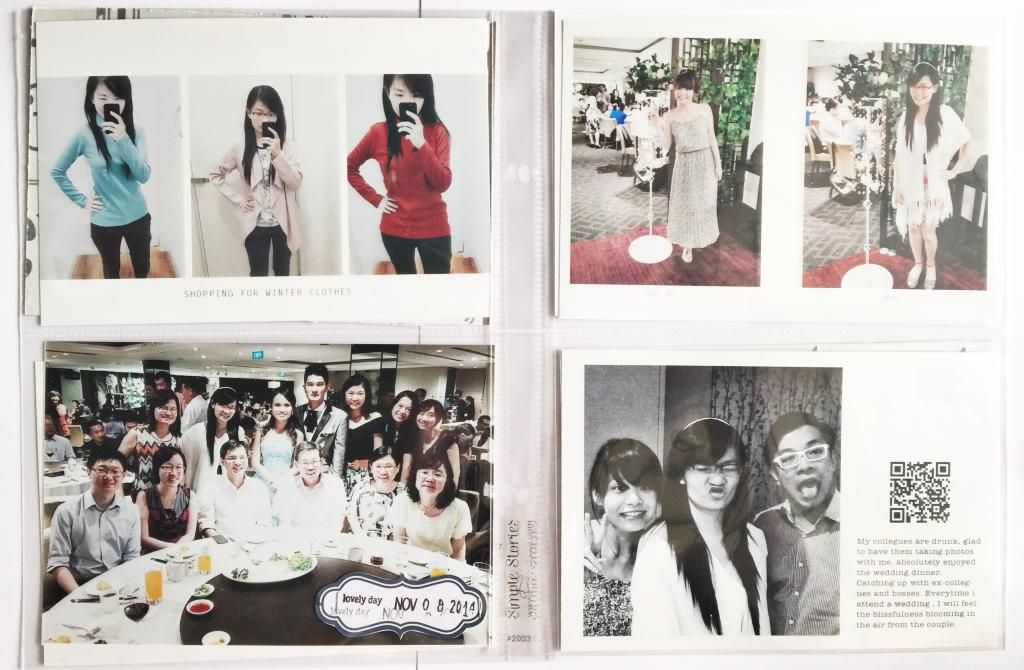
This is also my first time adding QR code to my project ! It's so fun! Below the QR code is a description of the video.


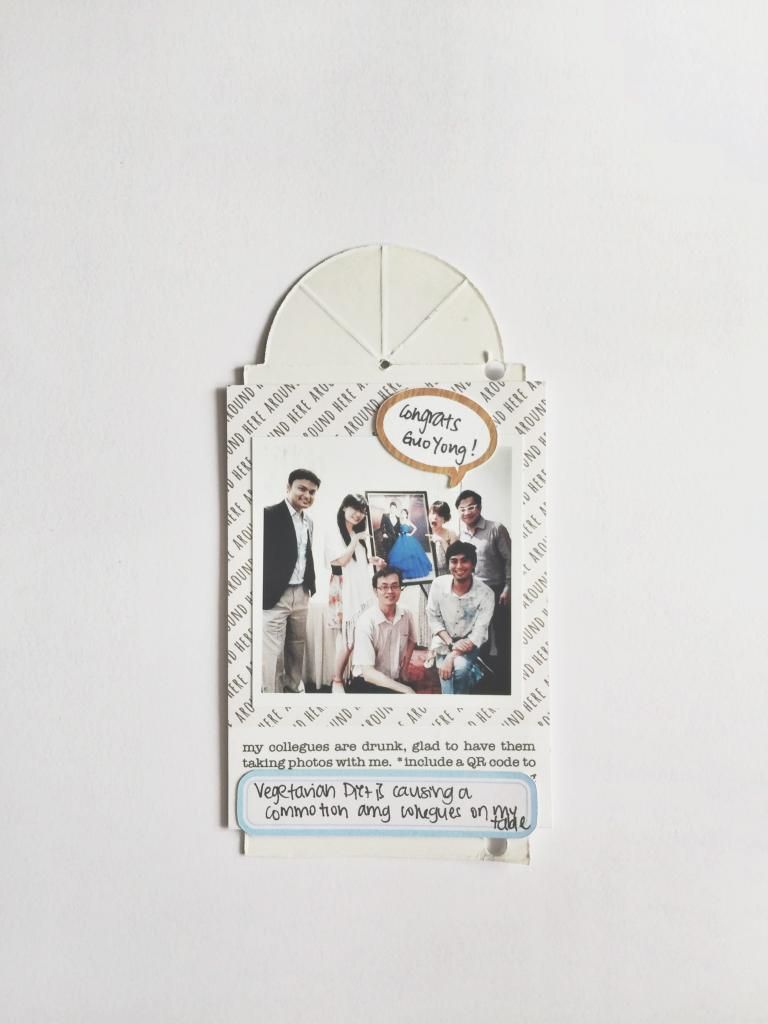
A sovenier from the wedding, i punched holes at the edges and added a journaling card and a photo on the back (Plain side) . 

Thanks for stopping by! I will post the remaining of the pages on the following days so stay tune! :D


Friday, December 5, 2014

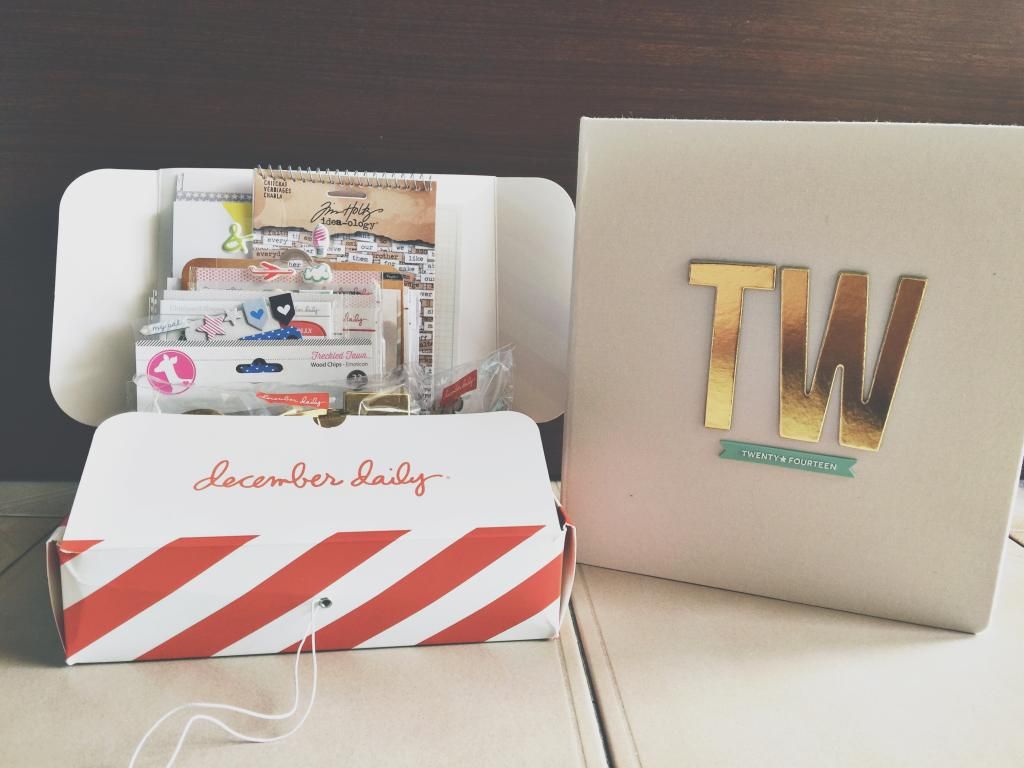
Taiwan 2014 album foundation pages w Ali Edwards December Daily Album Kit

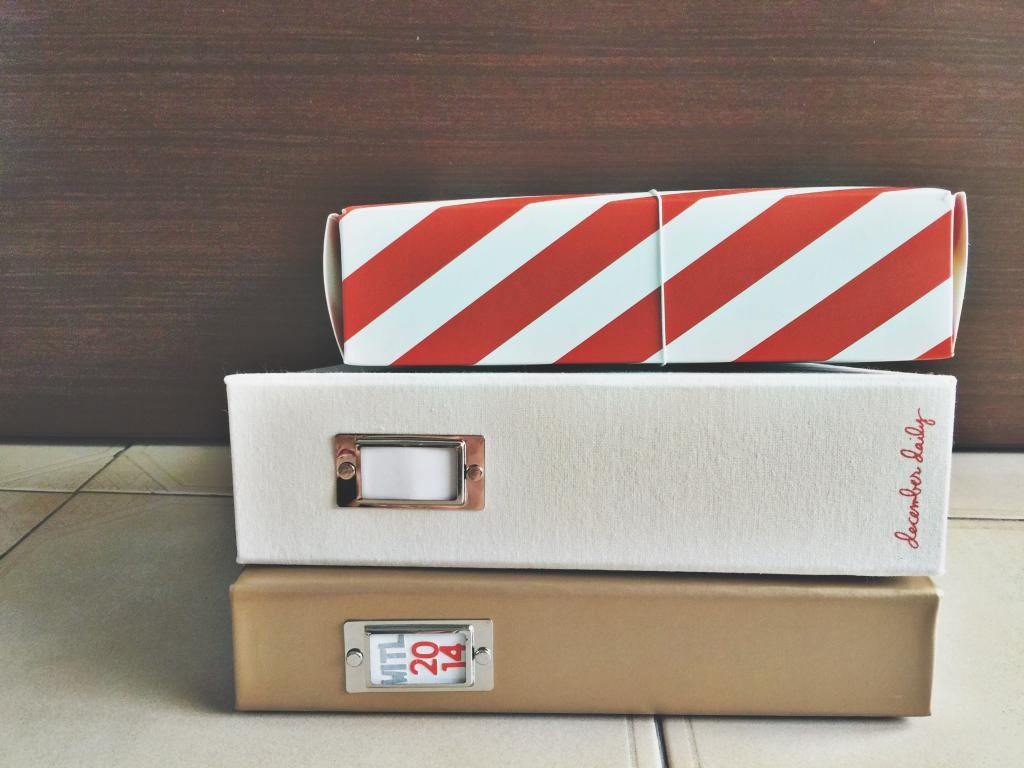
I'm so happy it's Holidays now! And I'm going to TAIWAN again this year :) Last year was my first time traveling to Taiwan and I was alot of fun, even it was just 7 days, we took tons of photo and I plan to scrapbook most of them. Embarrassed to say, I have only completed up to day 3 of the trip (even though all the photos are printed). You can see the first two days of the album completed here. This time round, I'm determined to make it easy to complete. Hence I purchased Ali Edwards December Daily Kit and made some foundation pages with the kit. 


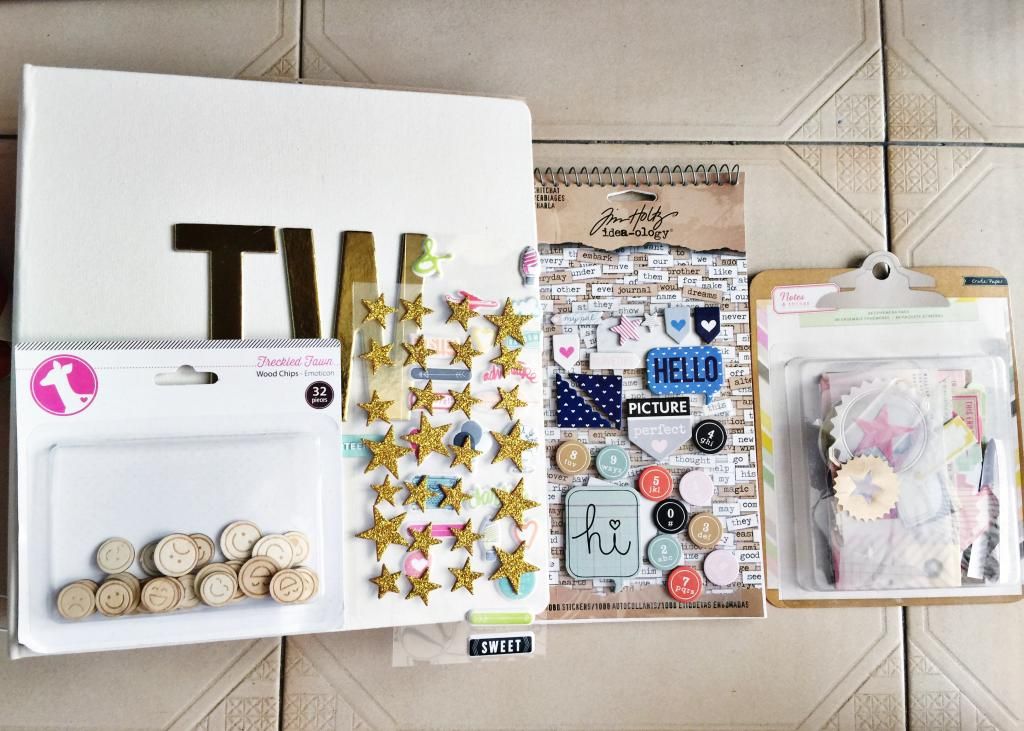
These are some items I added to the kit on top of the items that were already inside.


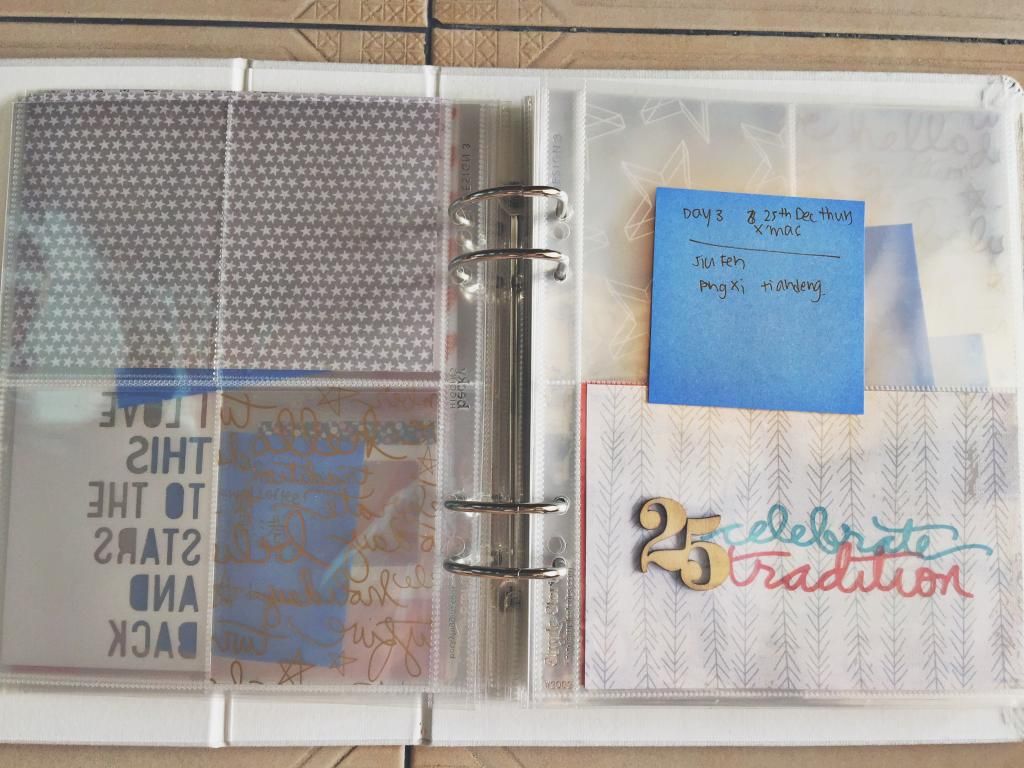
Similar to the first year, I'm making a silhouette of taiwan country. Love the idea of transparency and see through elements (greatly inspired by Ali Edwards). 


I die cut many stuff using my beloved silhouette machine and added them to the album.


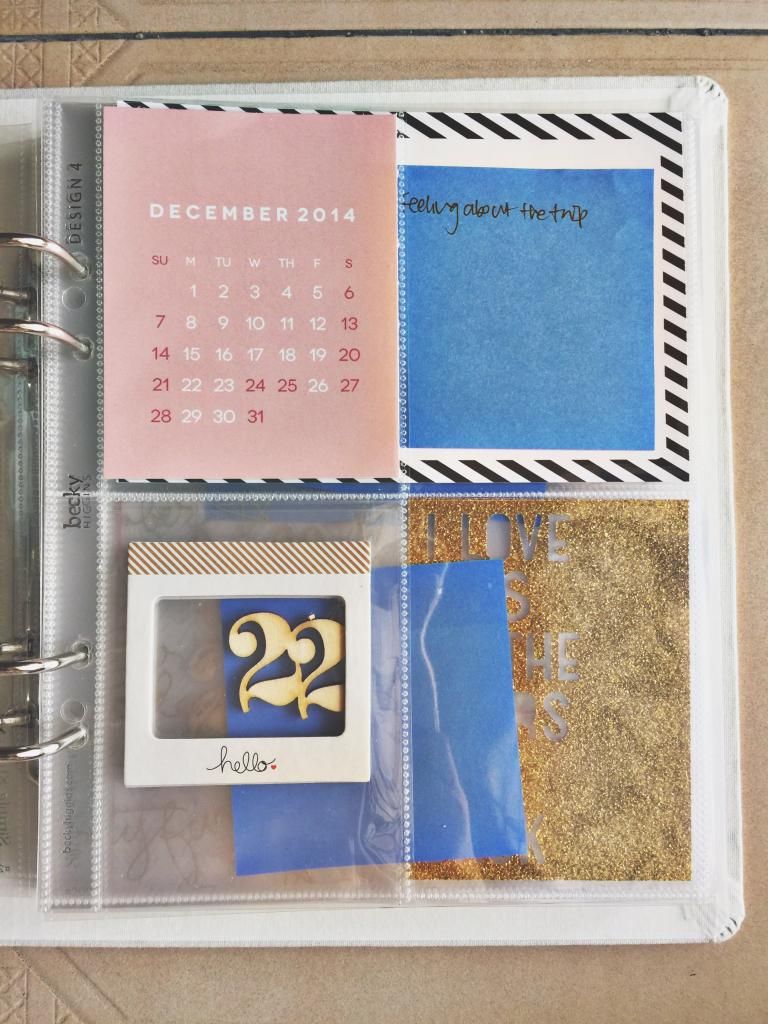
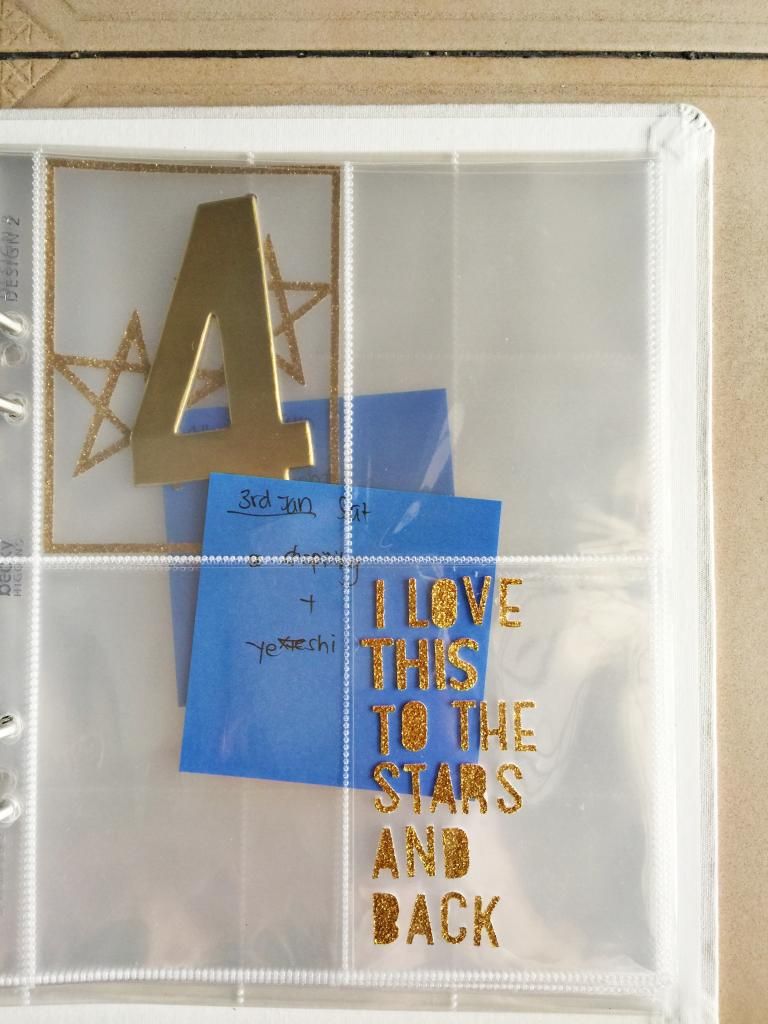
Since I get to plan the Itinerary for this trip myself, I have the schedule laid out. I divided the page protectors into 13 sets , each set for a day, and the start of the day has a large 6x8 page protector, to which i stick the post it stick , stating the day, date and the itinerary for the day. 


Thank you for stopping by, and now that this is done, I should be working on my previous Taiwan Album before I leave for Taiwan again! :D Till next time :)